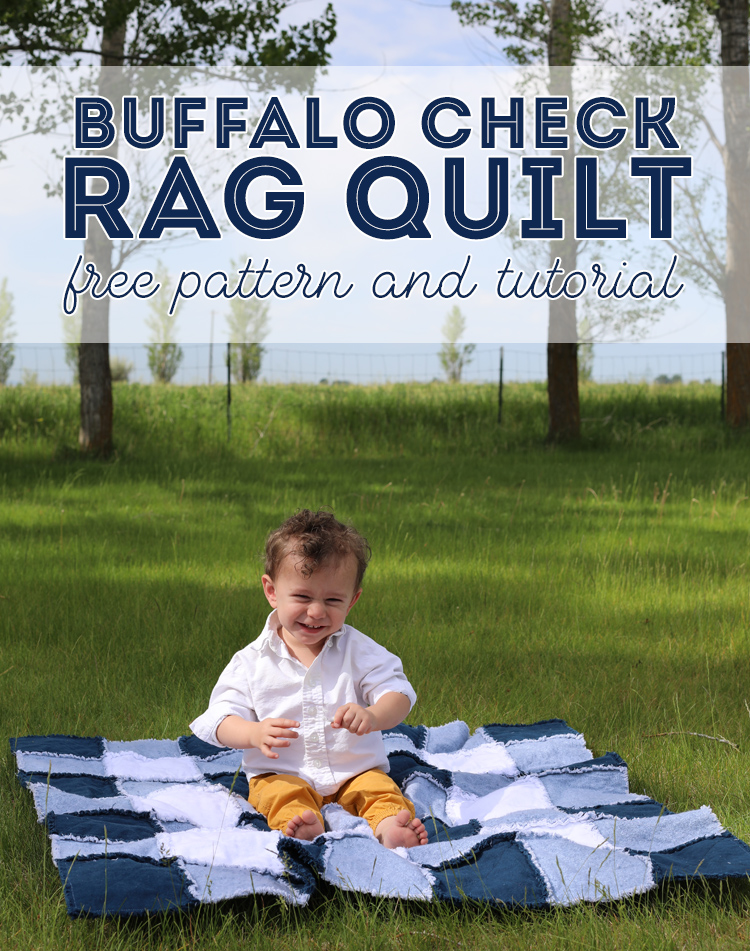
Learn how to sew a buffalo check rag quilt out of flannel fabric. It makes a darling baby blanket and is a perfect quilting project for beginners.
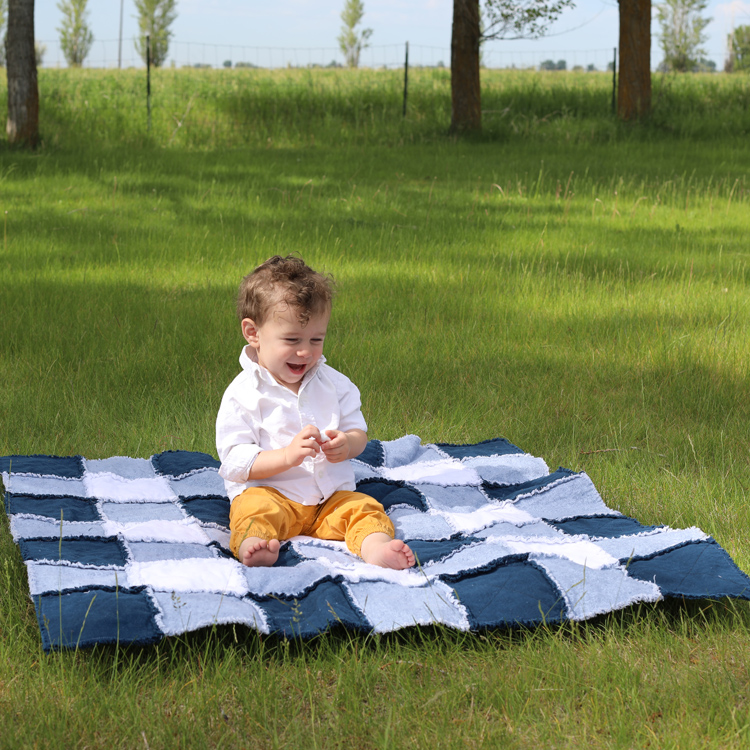
I’m so excited to share this rag quilt sewing tutorial with you today. A rag quilt is one of my favorite baby blankets ever. I loved using them with my own babies and I love giving them as gifts at baby showers. This is a beginner friendly sewing project and can be customized in about a million different ways. My favorite thing about this quilt is that you don’t have to tie it or bind it. Once you sew the squares together, you’re pretty much done with the sewing part!
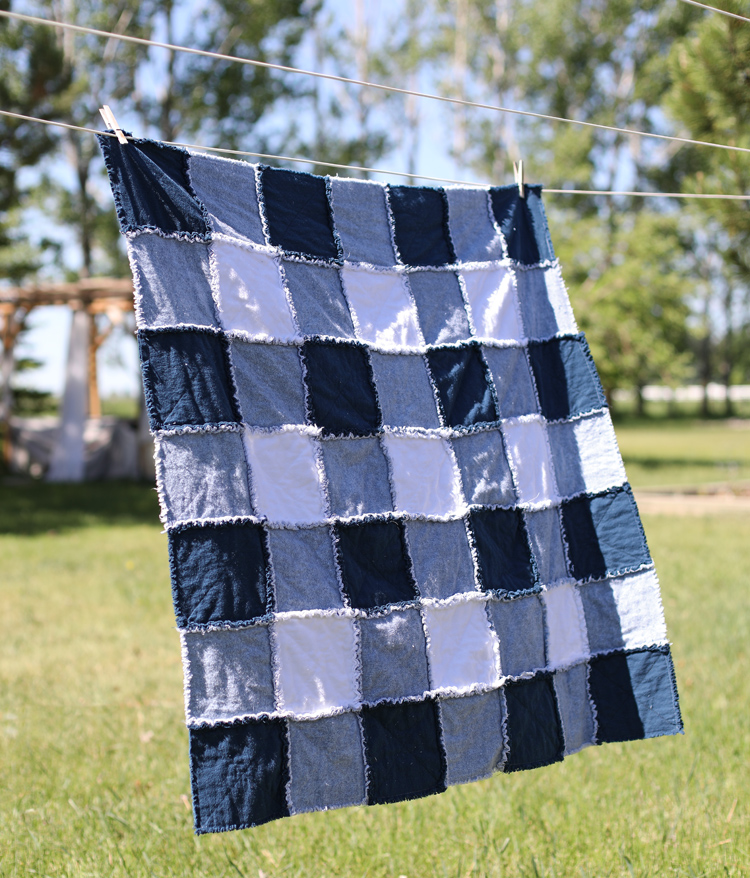
I chose fabric and laid out my squares so that my rag quilt would have a buffalo check pattern. But you can follow this same tutorial and make a rag quilt in any design using any patterns and colors you can dream up. Check out this girly pink and blue rag quilt I made several years ago for another example.
Materials Needed
- Dark Colored Fabric: 1 1/4 yard
- Medium Colored Fabric: 1 5/8 yards
- Light Colored Fabric: 5/8 yard
- Sewing Machine
- Rotary Cutter, Quilting Mat and Quilting Ruler
- Fabric Scissors
- Thread
For this project, you’ll need three different colors of flannel fabrics… a dark, a light and a medium color. I bought the navy and white solid flannels at JOANN and the medium-colored flannel with a subtle pattern is from Hobby Lobby.
Instructions
Don’t miss the video tutorial embedded at the bottom of this post. There’s also a printable version of the instructions for your convenience.
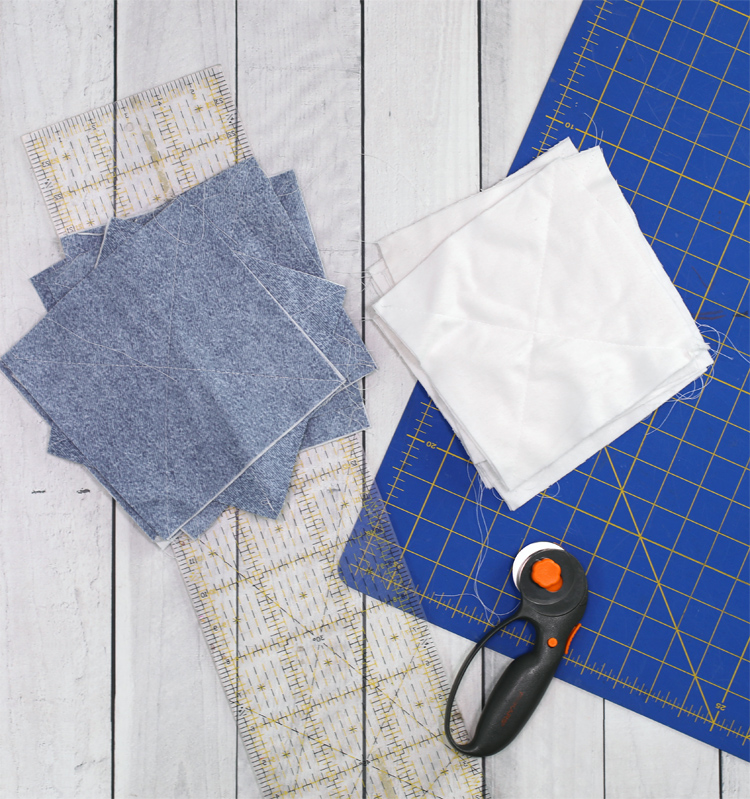
Step 1: Use a rotary cutter with a quilting mat and ruler to cut the flannel into strips that are 7 inches wide. Then cut those strips to make 7 inch squares. You will need a total of 32 dark squares, 48 medium squares and 18 white squares. As with all quilts, it’s important to make sure your squares are very square and precise. Otherwise they won’t line up very well when sewn together.
Step 2: Once all of your squares are cut, take two squares of the same color and sandwich them with wrong sides together. Do this for all of the squares, then begin sewing the sandwiches together. Sew from corner to corner to make an “X” through each square.
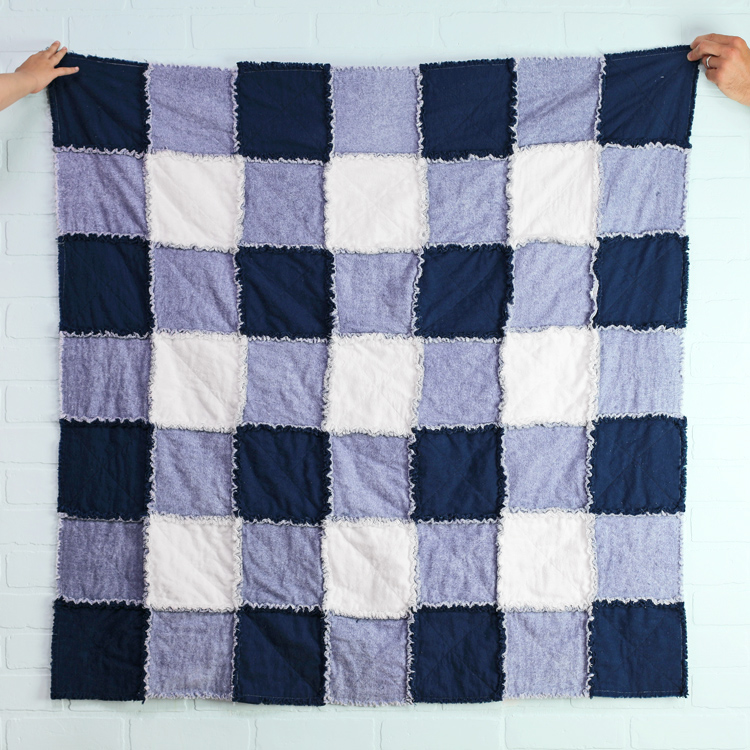
Step 3: Lay out all of the sewn squares into a buffalo check pattern. Use the photo below as a reference, or refer to the diagram on the printable pattern found at the bottom of the post.
Step 4: Stack each row of seven squares together. Take one stack at a time to the sewing machine and sew the squares into a row using a 5/8 inch seam allowance. Make sure that you keep the squares in order and that the seams all line up on the same side of the fabric.
Step 5: Repeat this process with each pile until you have all seven rows sewn together. Then sew the rows together. Make sure that you keep everything in the right order and that all of the seams are on the same side. Double check the design as you go to catch mistakes early so you don’t have to unpick anything.
Step 6: Topstitch all the way around the outside edge of the quilt with the same seam allowance you used when sewing the squares together (5/8 inch).
Step 7: Use a sharp pair of scissors to cut little snips in all of the seams. Be careful not to cut past the stitch lines or your finished blanket will develop a hole. Make the snips evenly, about 1/4 to 1/2 inch apart on all seams, including the outside edge of the blanket.
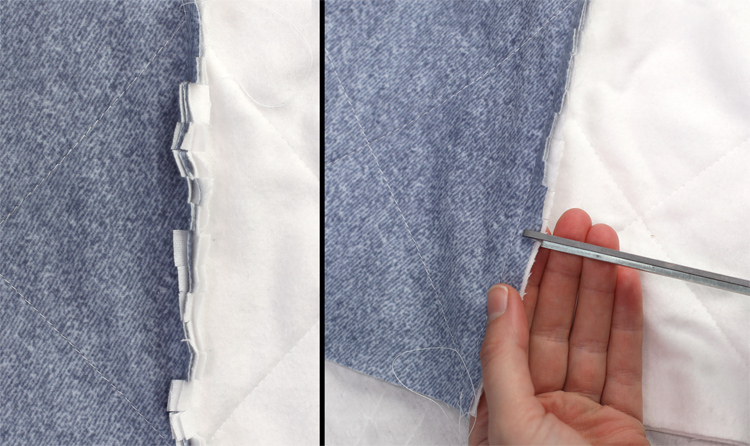
Step 8: Wash the quilt in cold water, then dry it. This will make the edges fray. Be sure it’s washed and dried alone as it will shed. You’ll need to clean out your washer and dryer after. Snip off any loose threads and remove lint and fuzz balls and your rag quilt is finished!
Buffalo Check Rag Quilt Video Tutorial
I’ve written up a printable PDF pattern with all of the measurements you’ll need to refer to while sewing, along with a diagram of how to lay out the squares. I hope it’s helpful to you as you work.
Like this project? Pin it so you don’t forget it!

Comments & Reviews
Very cute! I bought the flannel to make this but cannot figure out how you possibly get the number 7” squares with the amount of fabric it says to buy…?? My flannel is 44” wide.
What am I missing?
What does the back side look like????
Same pattern without the fringe edges!
Do you have to use flannel?
Nope! You can use cotton. I just prefer flannel for it’s softness and because it’s thicker, it makes the fringe more full looking. But cotton totally works!
It’s not a quilt without batting. I make rag quilts quite often but never without batting.
Agree to disagree? I say a “quilt” is any blanket made by sewing smaller pieces of fabric together.