Learn how to make a magic braided leather cuff bracelet.
Christmas gift-making is in full swing in The Craft Patch household. Even Mr. CP is getting in on the action this year! Can’t wait to share the fun things I’ve got planned! But you may have to wait until after Christmas. Don’t want certain diligent blog-checking family members to see what they are getting!
So for the first Christmas gift post, how about a pretty, unique, trendy, handmade cuff bracelet?!
I had a sweet coupon for 20% off my entire purchase at Joann’s, so I went hunting a bargain, and came home with silver vinyl. I got ¼ yard for 40 cents! So I thought I’d try my hand at making “leather” cuff bracelets.
I found THIS tutorial, which was really confusing and hard to follow. So I wrestled with the braiding until I figured out how to do it. Ready to follow along on my adventure?
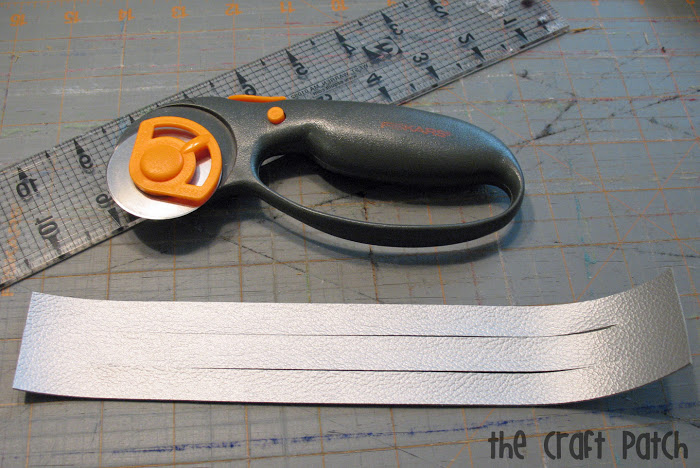
Using a rotary cutter, ruler and mat, cut a piece of vinyl that is the width you want, but longer than the circumference of your wrist. Cut even slits into the center of the band, leaving plenty of room (2-3 inches, bigger than the picture shows) on each solid end to adjust after it’s braided, since braiding makes the bracelet shrink quite a bit.
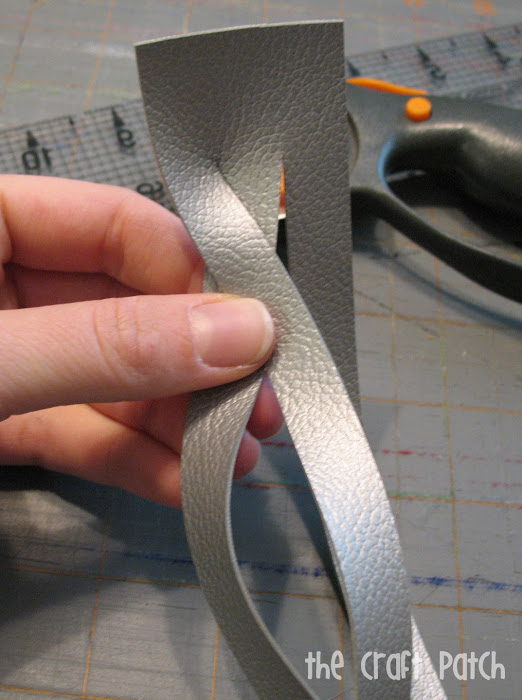
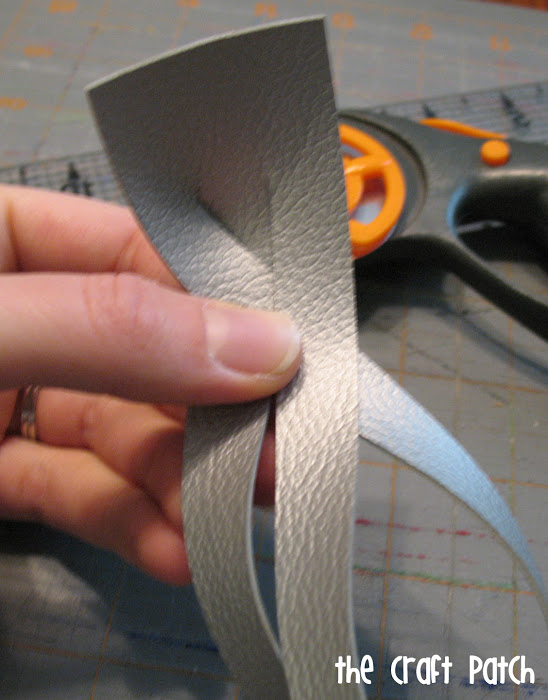
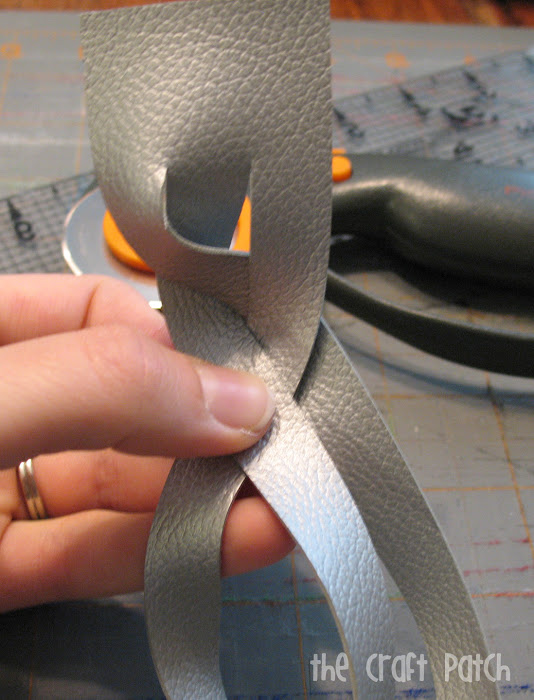
Now comes the fun part….braiding! Do it just like braiding anything else, and totally ignore the hot tangled mess you’re making at the bottom.
Left over center:
Right over center:
Left over center:
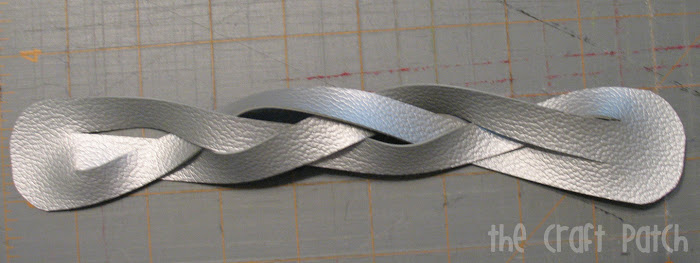
Pinch the part you’ve braided so it doesn’t come undone. Now try to untangle the bottom by flipping the bottom end through the hole as shown.
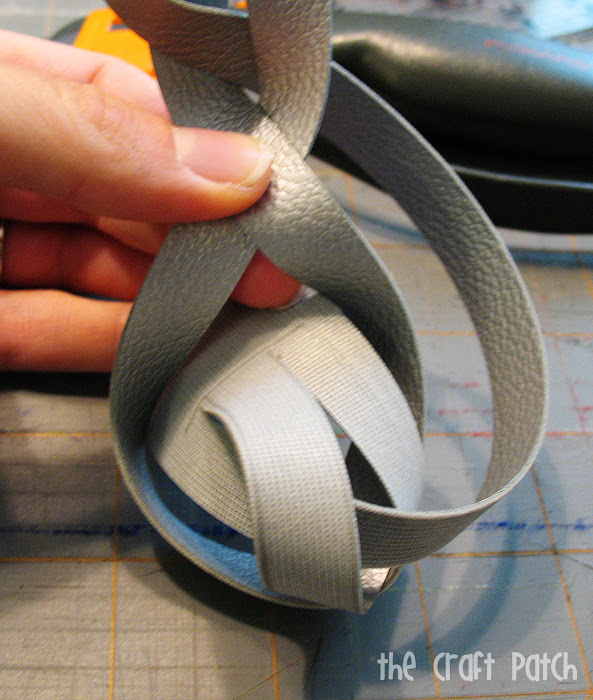
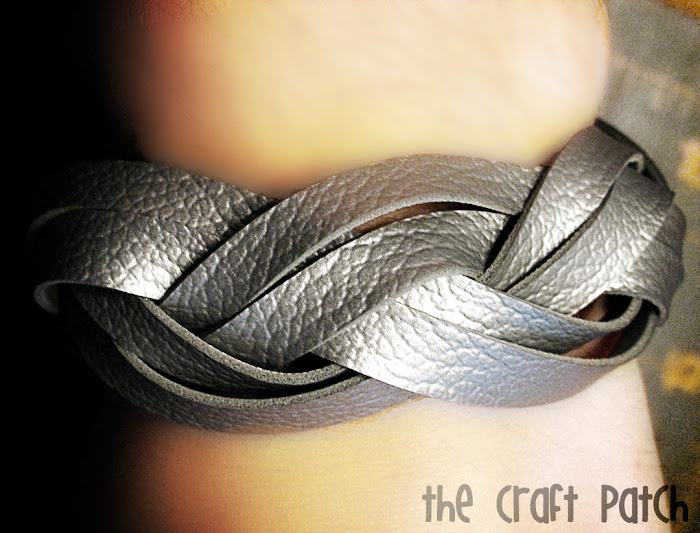
Magic! I love this look, but I wanted to experiment some more, so I undid the bracelet (then I was worried I wouldn’t be able to get it to work again) and cut each of the three strands in the braid in half, so that I had six narrow strands. Then I bunched two strands together and braided it again the same way as before, but with two strands in each of the three parts. Make sense? The end result is a more complicated looking bracelet that lays flatter on the wrist.
For another variation, instead of just braiding L/R/L once, try doing it twice. It makes a tighter braid and gives it a whole new look.
Next, it’s time to try it on and trim off the excess from the two ends. Then round the corners. Here’s how I did it:
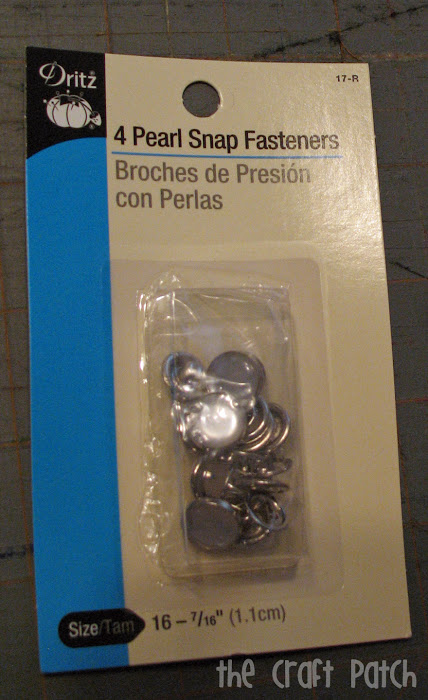
Now we add closures. I debated on this one. Buttons? Ribbon? Clasps? Hot glue? (haha…totally kidding!) In the end I chose snaps. I searched and searched Joann’s notions wall to find something stylish that didn’t require buying any setting tools, and this is what I found:
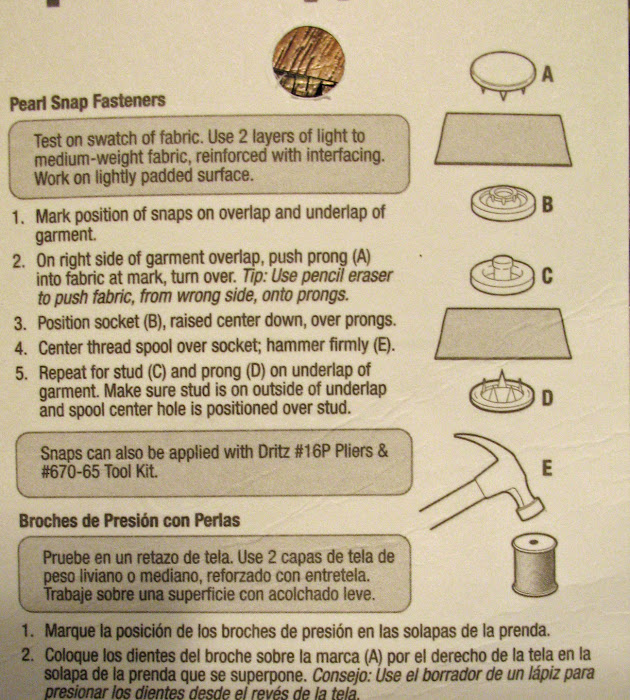
I followed the directions on the back of the package,
but here’s a visual for those who need to see it:
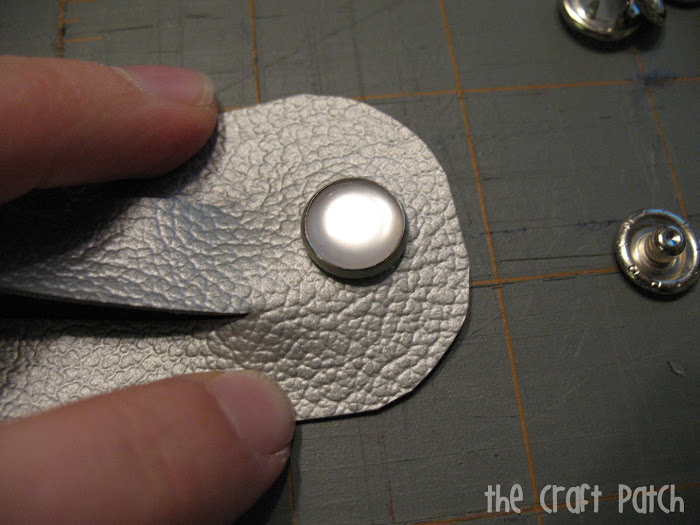
Place the pearl part on the outside of the bracelet and lightly press the tongs into the vinyl.
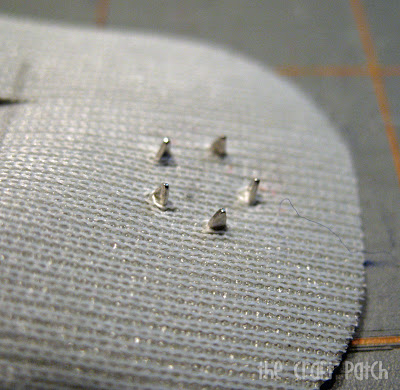
Flip the bracelet over and you should see the prongs poking through. Using the tips of your scissors or your fingernails, press the fabric all the way through so the entire length of the prongs is showing.
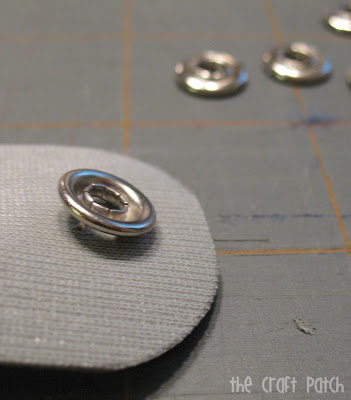
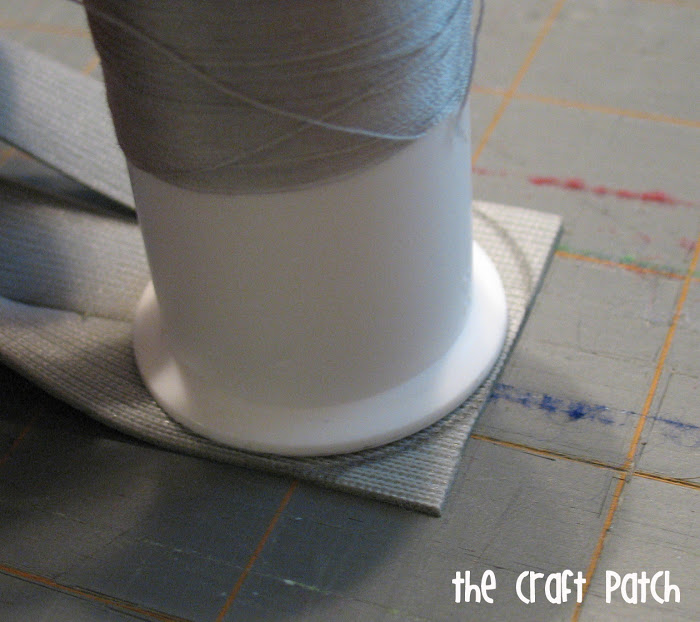
Center the back piece over all the prongs and double check that they are all in the ridge. Put a spool of thread over the back and hammer until…
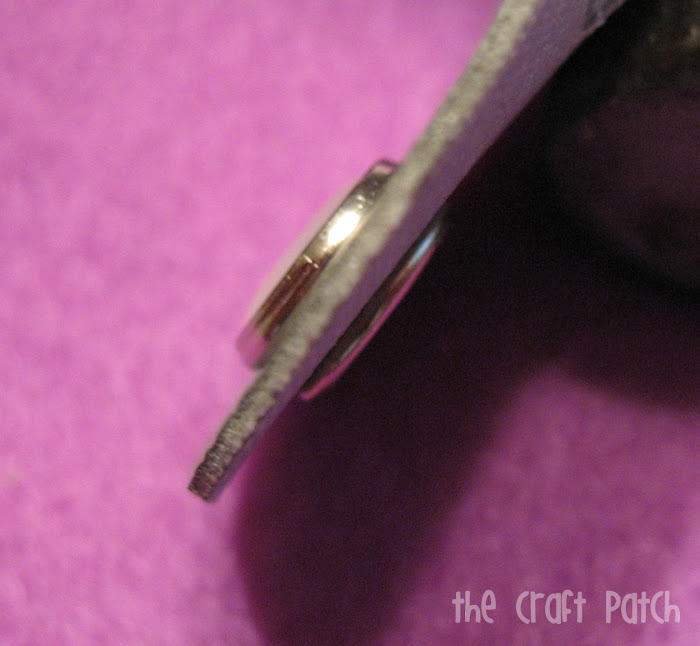
…it is flat when you look at it from the side.
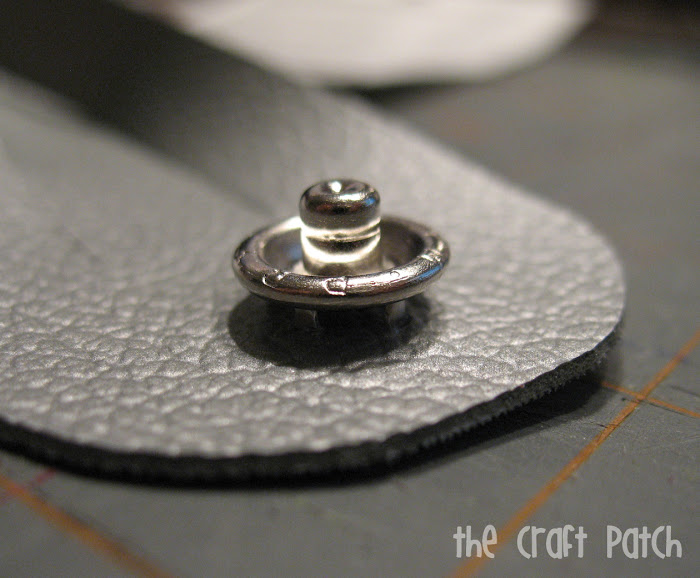
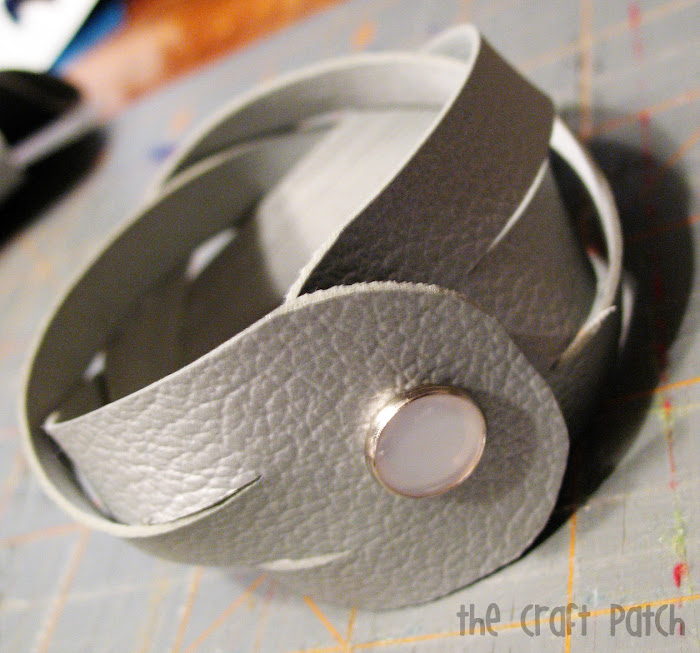
Now do the other side of the bracelet. Place the outie part of the snap on the right side of the fabric and center it. Push the prongs through like before. There’s no picture of the inside of this one, but you’ll put a little ring over the prongs and hammer until it’s flat. Then you are DONE!
Yay! I am IN LOVE with the final product! Good thing I have tons of vinyl left over so I can make one for me!
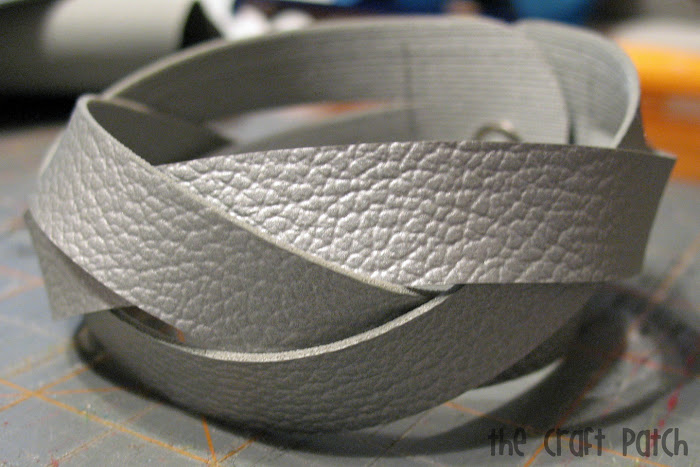
I spent $1.80 at Joann’s and have enough snaps to make four bracelets, with lots of vinyl left over. So I guess you could say these bracelets cost less than 45 cents each. Woot! Woot! Can’t beat that!

Comments & Reviews
Leather is the best choice to look trendy. I too love to wear leather fashion accessories, The Cuff bracelets made here is really simple and stylish. Thanks for the share! Keep posting!!
So cute jewelry! i love it, thanks for sharing.
wow! thanks for a great tutorial!
That braiding technique is genius! It made my brain hurt trying to understand how you just happened to figure it out. Thanks for sharing so more simple minded people like myself can make on too!
Really cool idea.
Looks simple but great idea to do. Clearly explained the way. Thanks