Make birthdays in the classroom extra fun with this giant pencil cake!
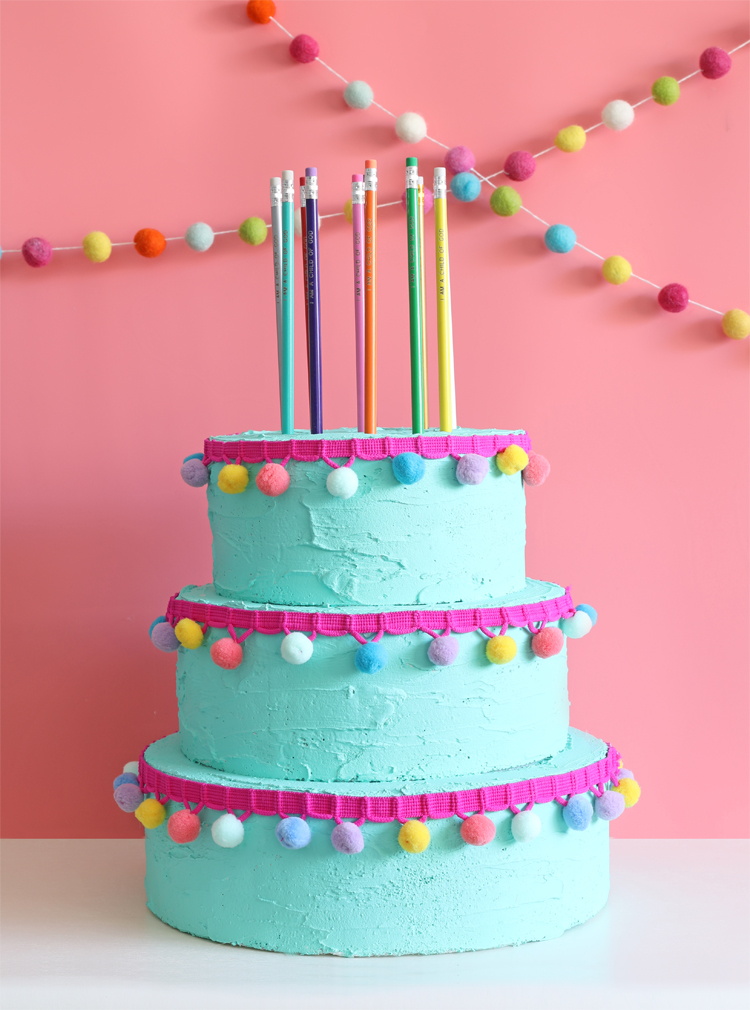
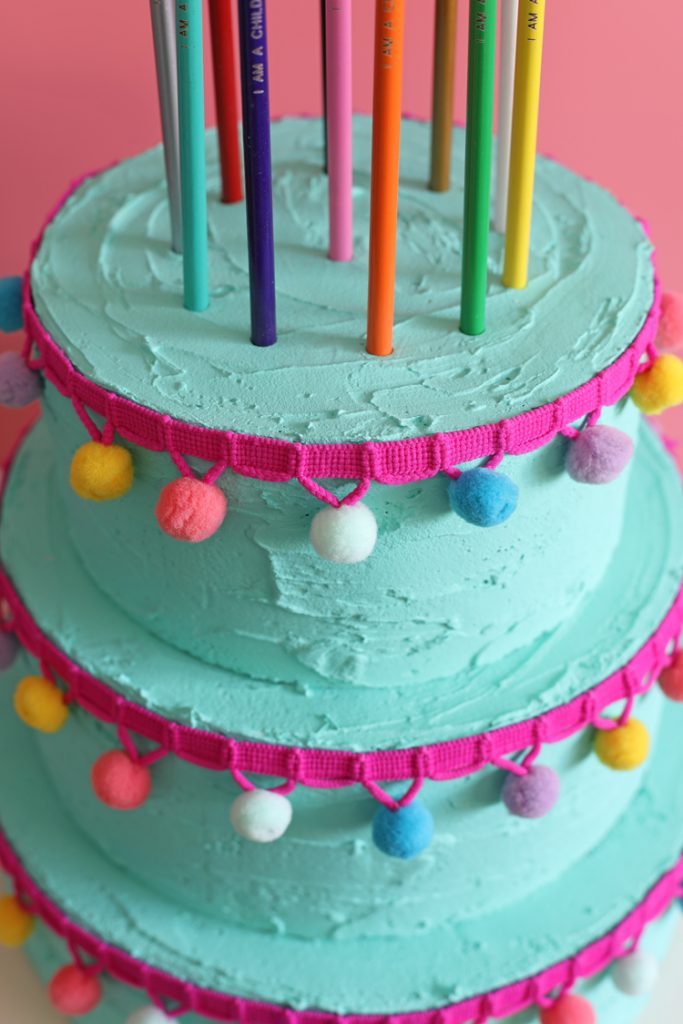
I teach the children’s class at my church and I was in charge of coming up with a fun gift to give each child on their birthday throughout the upcoming year. I decided to make a giant cake out of foam and top it with pencils instead of candles. When it’s a child’s birthday, we’ll bring out the big birthday cake and let them choose a pencil while we sing to them. I think it’s going to be so much fun!
Let me show you how to make your own giant fake birthday cake (because who doesn’t want a giant birthday cake, I mean come on!)
You will need:
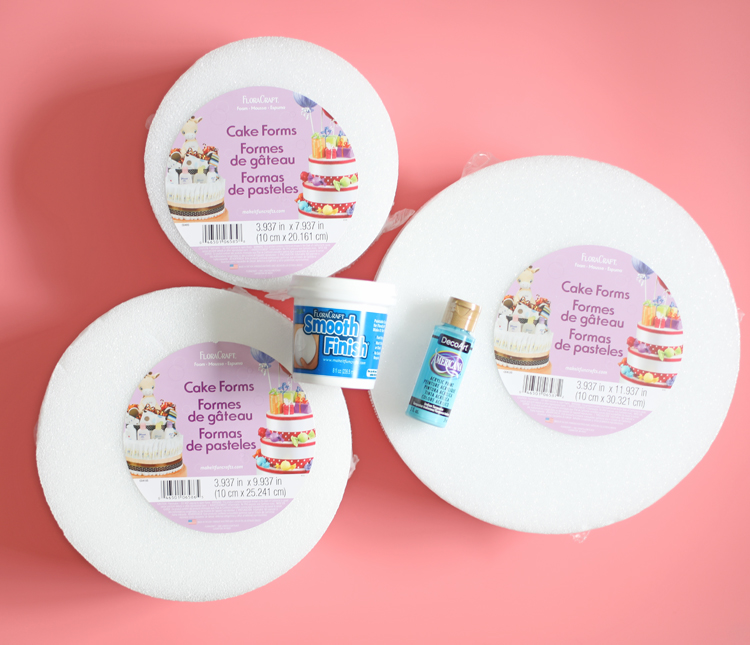
- FloraCraft 8″, 10″ and 12″ foam cake forms
- FloraCraft Smooth Finish
- Craft Paint
- Aleene’s Tacky Glue
- Hot Glue Gun
- Pom Pom Trim (I bought mine at Walmart, but then I found a similar style on Amazon for way cheaper… dang!)
All of these items can be found at craft stores like JOANN or Michaels or Hobby Lobby.
One more thing, I purchased the customized pencils from Oriental Trading. I added the phrase “I Am A Child of God” since that is our theme in Primary this year. They were a great price and I’m happy with how they look in person.
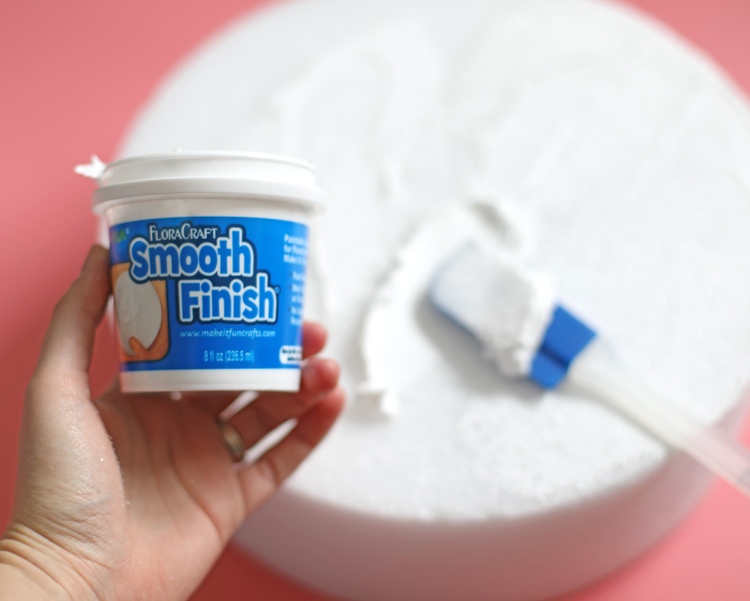
Step 1: Cover the foam with Smooth Finish. This stuff is amazing! If you haven’t used it before, it is made to fill in the holes of the foam so you can paint it. I used a kitchen spatula to apply it since I wanted it to look like frosting and guess what? It totally looks just like frosting! To cover the three cake forms (I only did the parts that would show when stacked) I used two and a half jars.
Step 2: After the Smooth Finish dries, stack the cake forms and glue them together using Aleene’s Tacky Glue. Normally I would just use hot glue, but it melts styrofoam, so Aleene’s is a great alternative.
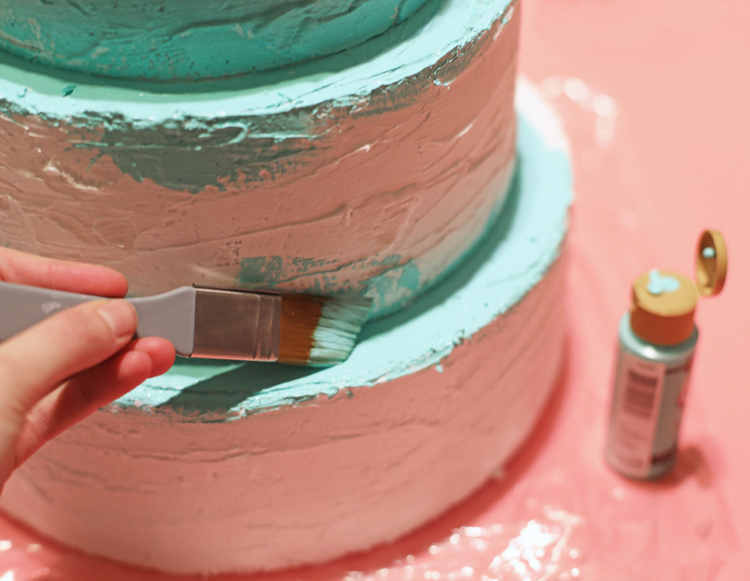
Step 3: Paint the cake in the color of your choice. The color I used is DecoArt Americana Sea Breeze.
Step 4: Once the paint is dry, use hot glue to attach the trim around the edge of each cake tier. Because there’s a layer of Smooth Finish between the trim and the foam, the hot glue works perfectly and doesn’t melt into the foam.
Step 5: Poke pencils into the top of the cake. I used one sharpened pencil to make all of the holes, then added the unsharpened pencils that I’ll be giving to the children. Be sure to keep the pencil straight when you push it in. Whatever angle the pencil is when you make the hole is the angle the pencils will sit once you’re done.
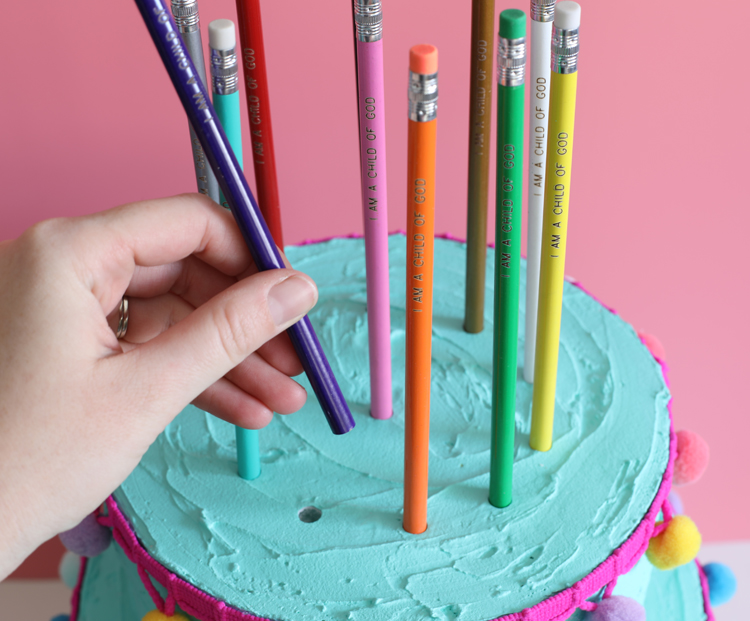
What do you think? I can just picture the faces of the children when I bring out this big, colorful cake on Sunday. It’s going to be so fun! I can’t wait!

Comments & Reviews
This is totally amazing! Really fantastic job…I’m inspired! Only problem for me is I don’t have a dedicated classroom, so I need to figure out how to make a more portable version…time to get the thinking cap on!
Thank you SO MUCH for this! I wanted to do a pencil cake for birthdays next year, but the crafty side of my brain is frazzled and I couldn’t think of a way to do it and make it look cute. I LOVE this and will be making it this week!!