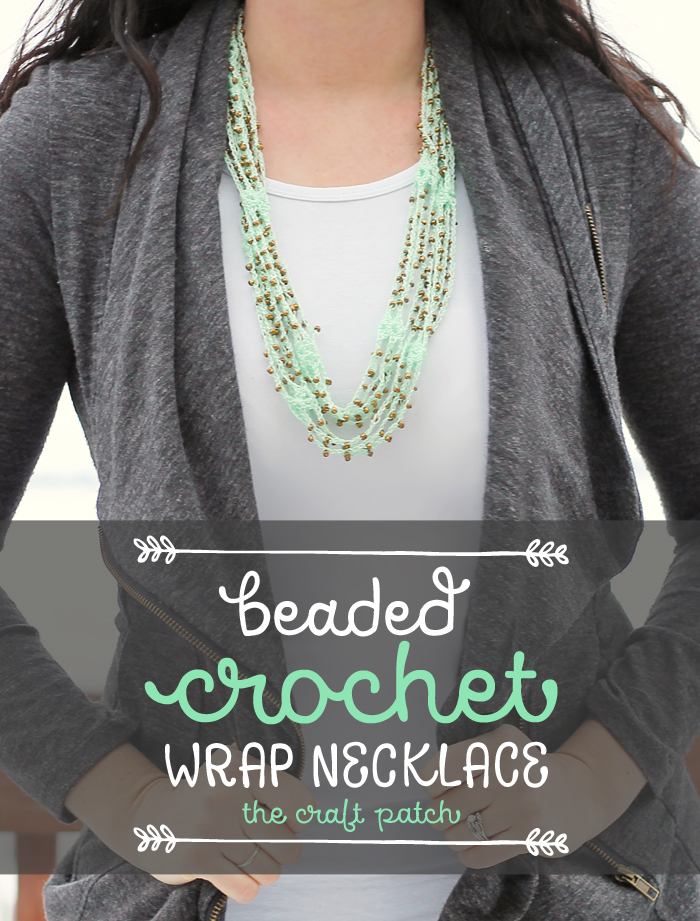
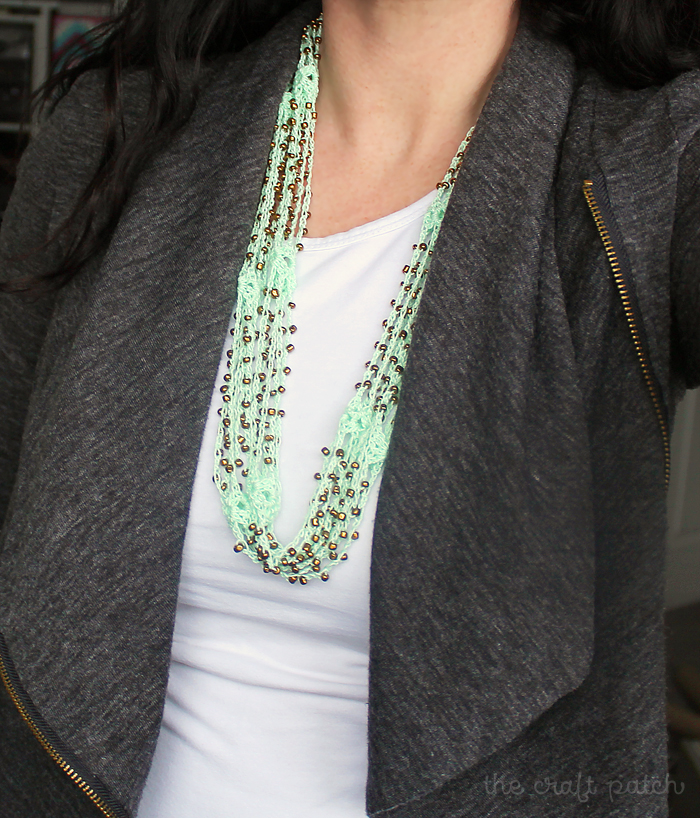
This free crochet pattern and photo + video tutorial will show you how to crochet a beaded wrap necklace.
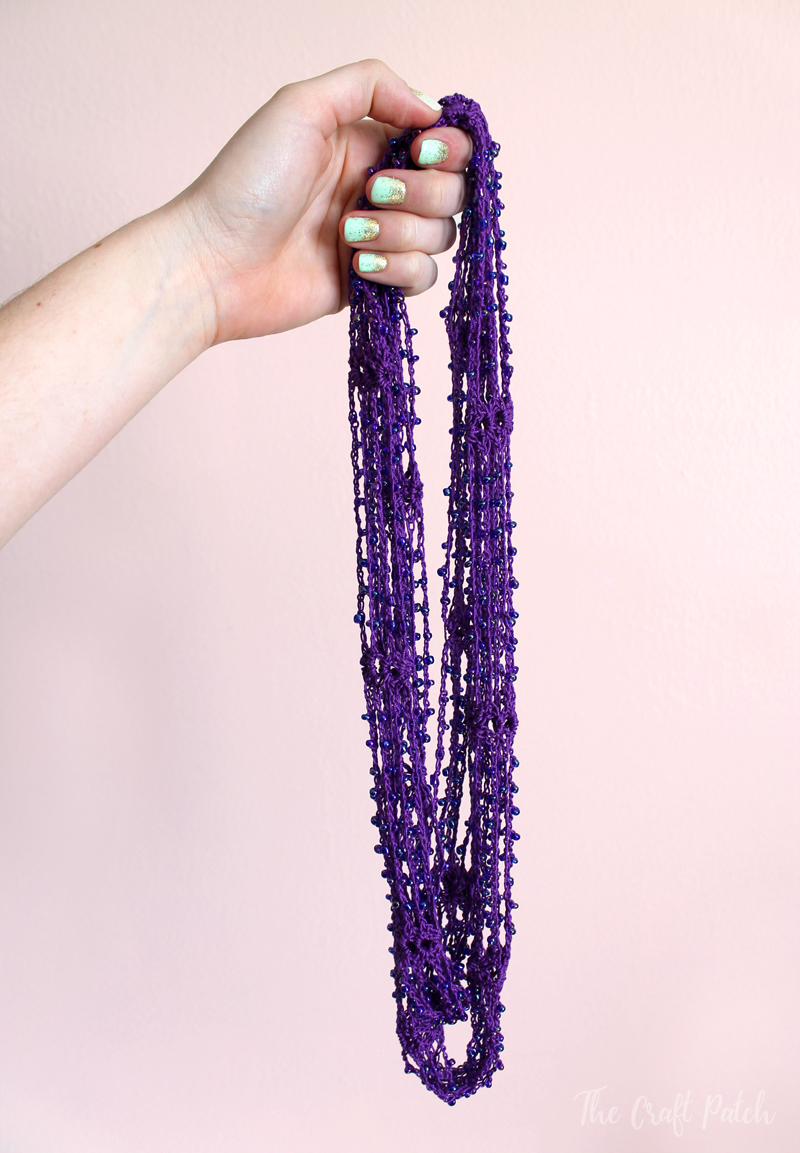
Have you ever used beads on a crochet project before? It’s a fun and surprisingly easy way to spice things up. Today I’m sharing a free pattern for a beaded crochet wrap necklace. It’s kind of a mix between a necklace and a scarf with the addition of pretty beads. I’ll teach you how to add beads to any crochet project and share the pattern for this fun project.
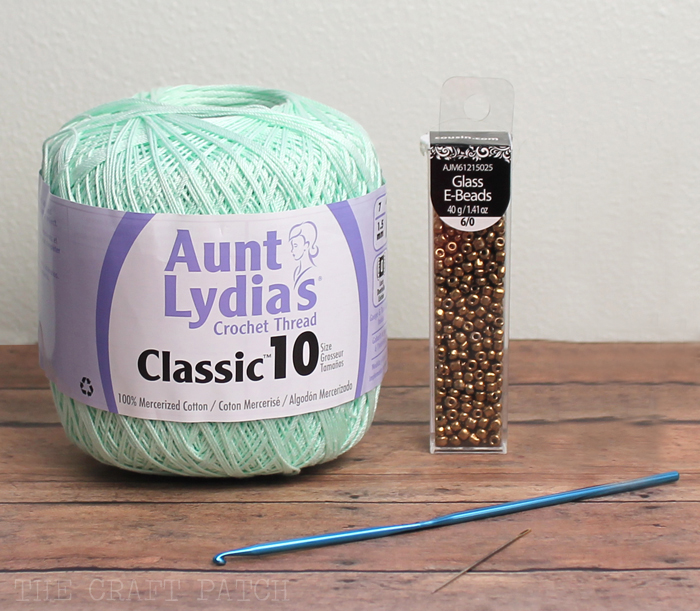
To make your necklace, you will need:
Materials Needed
- 1 ball cotton crochet thread size 10
- 560 glass E-beads or other small beads
- crochet hook size E
- blunt tip embroidery needle (check to make sure the beads fit over it)
The first step is to string the entire package of beads onto your ball of thread using the embroidery needle. This takes a while, but the beads are worth it, so turn on Netflix and handle it.
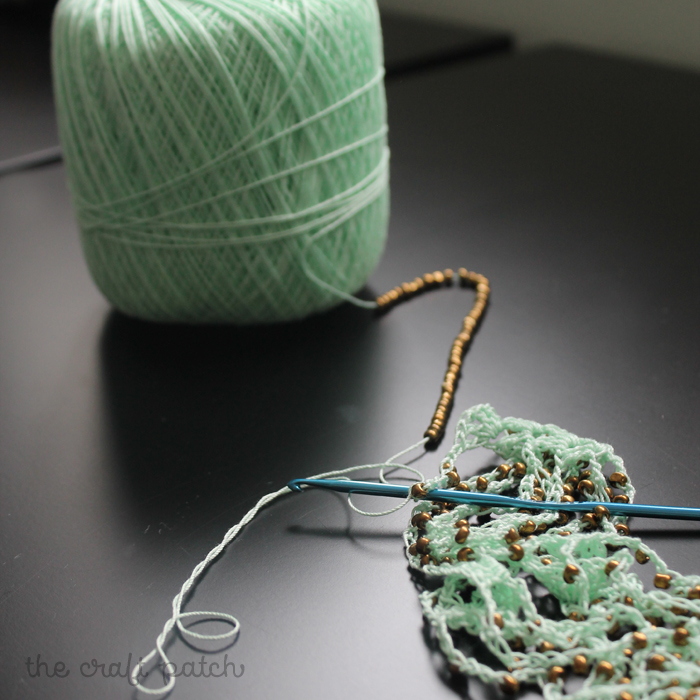
Once all of your beads are strung, you can begin crocheting! I’ve written out the entire pattern at the bottom of this post so you can easily refer back to it while you’re working.
Here are a few photos to help you understand how to add the beads. When the pattern calls for a bead, bring one up, yarn over, then pull through. It’s really not much different than a normal chain stitch, you just chain around the bead!

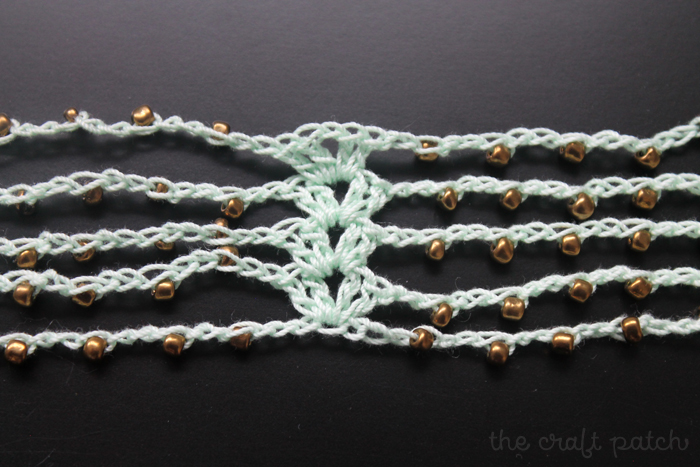
The only other stitch you need to know is the shell stitch. The shells connect the layers of beaded chains together.
The shell stitch is two double crochet, chain 1, two double crochet, all in the same space.
Here’s a close up of what the shell stitches look like when complete:
Ready to get started? I promise it’s easy once you get going. I was able to complete the whole necklace in about two hours and that’s while I was crocheting with friends, so I was very distracted!
There’s a printable PDF version of the pattern available at the bottom of this post.
Beaded Crochet Wrap Necklace Tutorial
Instructions
Using the embroidery needle, string all of the beads onto the thread.
ROUND 1:
Ch 4.
*(Ch around 1 bead, ch 2.) Repeat 7 times. Ch 7.*
Repeat between ** 13 times.
(Ch around 1 bead, ch 2.) Repeat 7 times. Ch 3.
Now you should have 14 beaded sections.
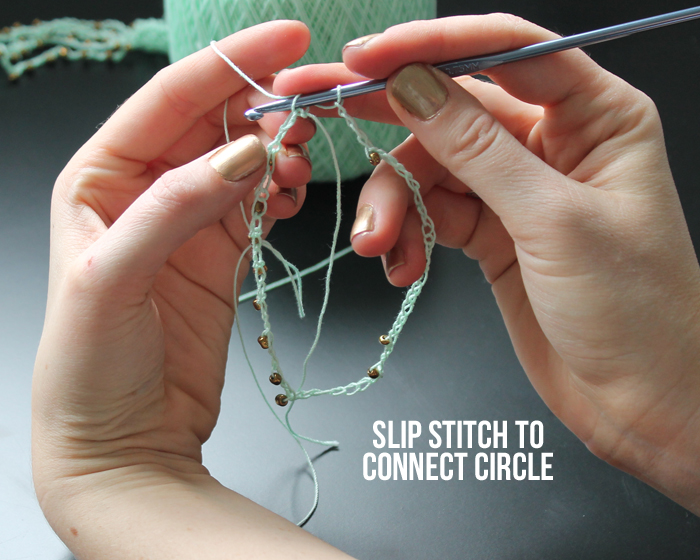
Slip stitch into 1st chain to make a complete circle. This will also complete your last group of 7 ch stitches. (see picture A below)
ROUND 2:
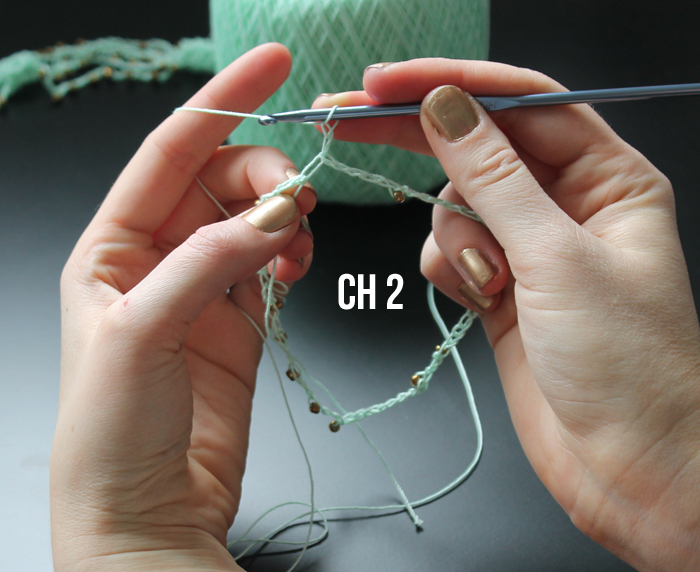
Ch 2 (see picture B below), then in the first stitch (where you slst previously), DC, ch 1, 2DC (see picture C below). This is the shell stitch.
*Ch 2. (Ch around 1 bead, ch 2.) Repeat between ( ) 7 times. Ch 2.
DC into the 4th st of the ch7 section from the previous round. In the same space DC again, ch 1, 2 DC.*
Repeat between ** all the way around the circle.
ROUNDS 3-5:
*In the ch 1 space (center of previous round’s shell), 2 DC, ch 1, 2 DC.
Ch 2. Ch around 1 bead, ch 2. Repeat 7 times. Ch 2*
Repeat between ** all the way around the circle.
Attach the last beaded section to the shell stitch with a slip stitch.
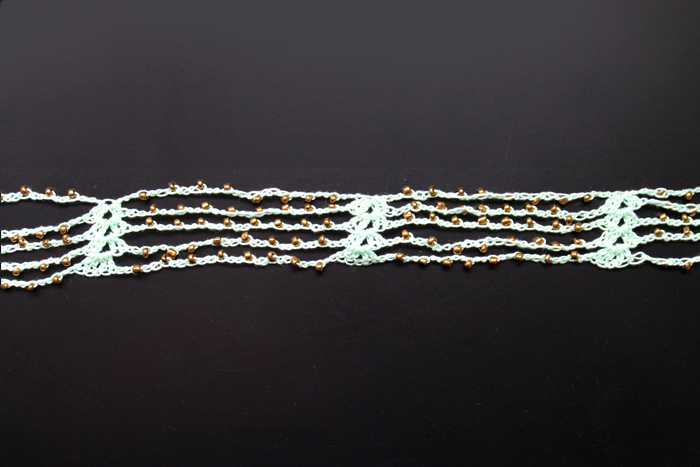
Now you should have five different strands all connected together with shell stitches. Of course, you can customize this and make it thinner or thicker depending on the number of strands you choose to do. Just remember that if you go thicker (more rounds), you’ll need to add more beads to your thread before you start crocheting.
Tie off and weave in ends.
Here are a few pictures of key steps:

Here’s a close-up of the finished product to help you see how it’s supposed to come together:
I love my necklace! It’s such a fun and unique accessory that I think I’ll make a few more in different colors with different kinds of beads. I think I NEEEED one in coral, don’t you?

Comments & Reviews
Very cute! Thanks for sharing.
You're welcome!
oooh, lovely! Thank you! I haven't tried crocheting with beads, but I really don't know why!
I hadn't tried beads either, but now that I have… watch out world! I want to bead everything!
It turned out beautiful!
Thank you! That means a lot coming from you!
Thanks for sharing.
I got the beads and such today. Searched forever to find the right needle to thread. Found that some of the beads would not fit over the needle….so I'm hoping to figure another way to thread them. I'm thinking I can use one of those "threaders" the dentist gave me for flossing my teeth.
I actually have a really great tip for you!!! Dip the end of your yarn in Elmers glue and let it dry. Then the thread will be stiff enough you can push it through the bead holes. It's like an invisible needle with no bulky head!
I think there is something missing in the directions. I just made the first shell stitch and the next set of beading but the instructions don't say where to connect it to the "circle". I assume I slip stitch in the middle of the chain 7 stitches in the loop and continue in that manner until I get back to the first shell stitch. That would be where you connect the shells stitches from row one and row two together?
Ok so now I know that my previous comment/instructions is not correct. After I join the 14 sections together to complete the circle my circle is very large. I just completed the first shell stitch and this *Ch 2. Ch around 1 bead, ch 2. Repeat 7 times. Ch 2. What I don't understand is where do I attach the beaded strand? How do I work around the Giant circle?
You do a shell stitch in the same stitch that you connected the circle together. This shell is what takes you to the next "level" of beaded strands. Does that help? So just to say it another way: connect the 14 sections into a circle with a slip stitch. Then create a shell stitch in that same space. Then make your second level of beaded strands and keep going like that until you have five levels. Does that help?
So after the first shell stitch you make another "round" of 14 sections and then make another shell stitch in the ch. 1 space of the first shell? Each "level" has only one shell? In the photo it appears to have many shell stitches around each "level".
There are shell stitches connecting the layers at every plain ch7 section. Connecting the first round and second round is the hardest. After that, it's really obvious where to shell stitch because you just do it in the center of the previous round's shell stitch.
On the second round, add the first beaded section with 8 beads. Ch 2, make a shell stitch in the center stitch of the previous round's plain ch7 section, then repeat for all 14 sections until round 1 and round 2 are connected with shell stiches in the center of each ch7 section all the way around. Keep asking questions! I want to help!
Looks good! I did 4 rows instead of 5. Am anxious to get your opinion.
Started making mine and giving up. Directions are not making sense. I am a visual person so different pictures would help. :O(
I found a problem with the pattern and it is fixed now… Darn it. As many times as I proofread it, I still didn't catch the mistake! Hopefully you'll be able to understand it better now. I also added a few more pics. I'm a visual person too!
Totally lost. Wish there were more pictures or clearer instructions. I see many people having the same problem I am.
I just updated the pattern and added a few more pics. Let me know if that helps!
thank you thank you thank you :O)
I tried making this necklace and the pattern, though it appears to have been edited a couple of times, still does not make any sense. It says there are "chain 7" spaces, but with the way the instructions are written, with a chain 2 at the end of the repetitions, it makes chain 9 spaces. Still, even with that I can see where she's going and how to accommodate for it. What I can't seem to get, is how to move from round 2 to round 3. As it's written, you finish with a shell stitch and then move directly into the next shell stitch on the previous row without ANY chain spaces, beaded or otherwise, between. That would either mean A) a drastic decrease or B) 2 shell stitches crowded together without any chain spaces between them, and I don't see that pictured. Please post a picture of the complete necklace where rounds 2 and 3 come together. This transition either isn't pictured, or more likely, isn't written. I would really love to make this. Thanks!
Rachel,
I'm sorry you're having a hard time understanding the pattern. I'm new to writing patterns and it's harder than I thought! I am working on a video tutorial so if all else fails, I guess you could wait for that. BUT… I think I can answer your question.
On the second round, as you near the end, you {ch2 add a bead} repeated 7 times so you end up with 8 beads. Then ch2, yarn over, insert your hook into the center of the previous round's shell stitch. DC into the same stitch and you have the first side of your shell. Ch1 then 2 DC into that same stitch and you've completed the shell. This is the part of the pattern that moves you up to the next round.
It really is so simple to do and so hard to explain. I'll work harder to get that video up pronto!
Hi there! I am figuring out the pattern OK, but my necklace is WAY too long – do you double it up? I did the 14 sections of 8 beads but it is ridiculously long. Just wondering why yours is so much shorter.
Hi Erin,
Yes, you wrap the necklace around your neck twice, so it does seem really long when it's not doubled over. No worries… it sounds like you are doing it right!
Good luck! Send me a pic when you're done. I'd love to see how it turns out!
How long is the finished necklace? (prior to 'looping' around neck. I saw a similar mass produced necklace some time back and felt I could make my own. Your instructions will be a great help. Thanks for sharing. Ms NanC An
I just made this for my step-mom and it came out beautiful! Making one for my aunt now. These make great Christmas presents!!
So awesome!
Lovely , I just found this pattern it is very lovely ,I am making it now.
I use a Christmas ornament hook for my bead needle , if they are thin enough you can save some money instead of beading needles you just bend the wire straight then bend the end up, and put the thread in the loop and press and easy peasy threading the beads .or any thin wire .thank you so much.
That is SUCH a great tip! Thanks for sharing that idea! Next time I make a beaded project I'm going to try it out.
Jennifer … thank you for this wonderful necklace … I have made a gazillion of these using different threads … I have a friend who would like to make one … do you have a written pattern or as a last resort, I will have to type this for her. Thanks.
Marie, I will add a PDF pattern to this page as soon as I can.
I love the necklace. I wanted to know once your done with the necklace how do you finish it off?
Tie off, then weave in the ends just like normal crochet projects.
Jennifer,
I have been looking for a pattern similar to this . I really am just a beginner but the scarf I purchased looks so simple. can you decipher if i send you a picture of the scarflace?
Dawn, I’m so sorry, but I don’t think I can.