Learn how to sew a basic dress for an American Girl doll or other 18″ doll. This free pattern is versatile and easy to follow!
I’m obsessed with making 18″ doll clothes lately. It’s so much fun! If you would like to try making some doll clothes, I have come up with a very simple pattern that is super versatile and great for beginning sewers. Once you master this pattern, you can whip up a variety of outfits for your doll.
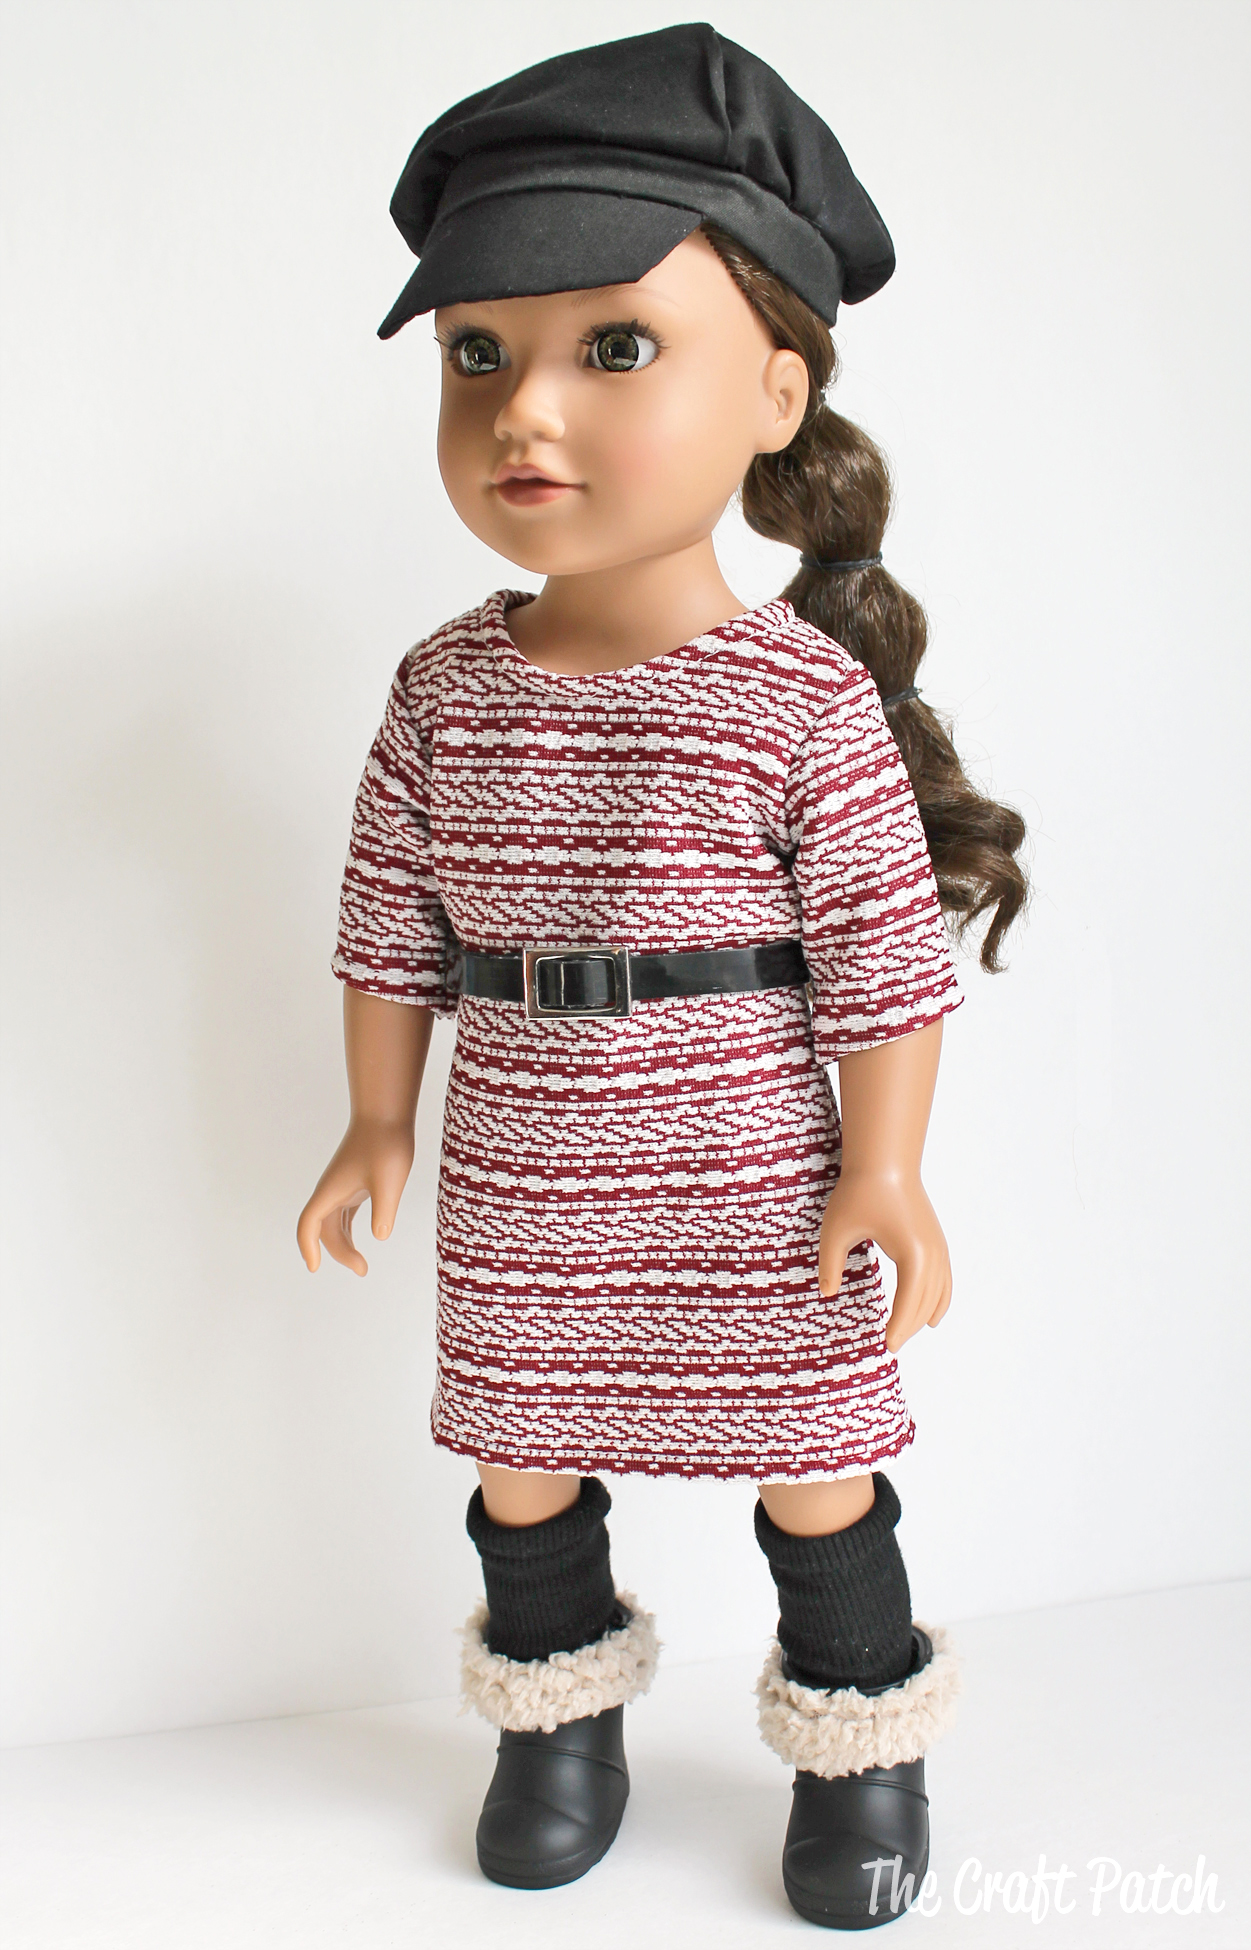
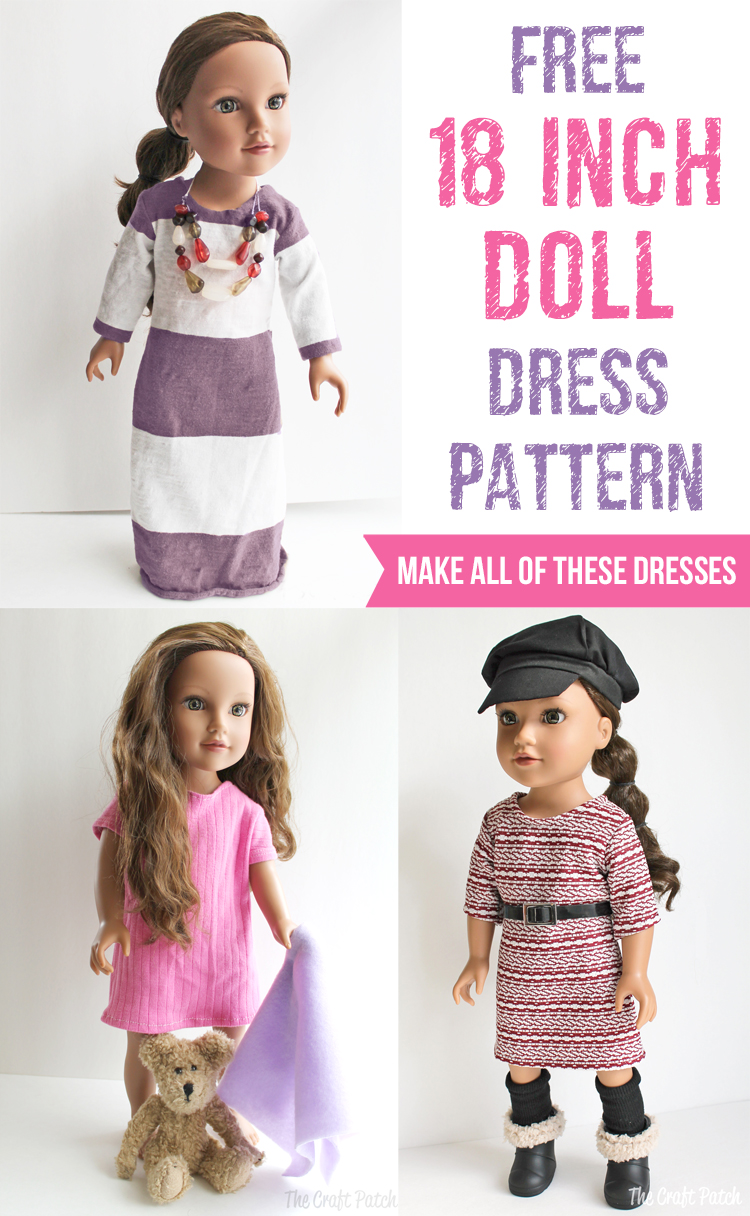
Like a sweater dress:
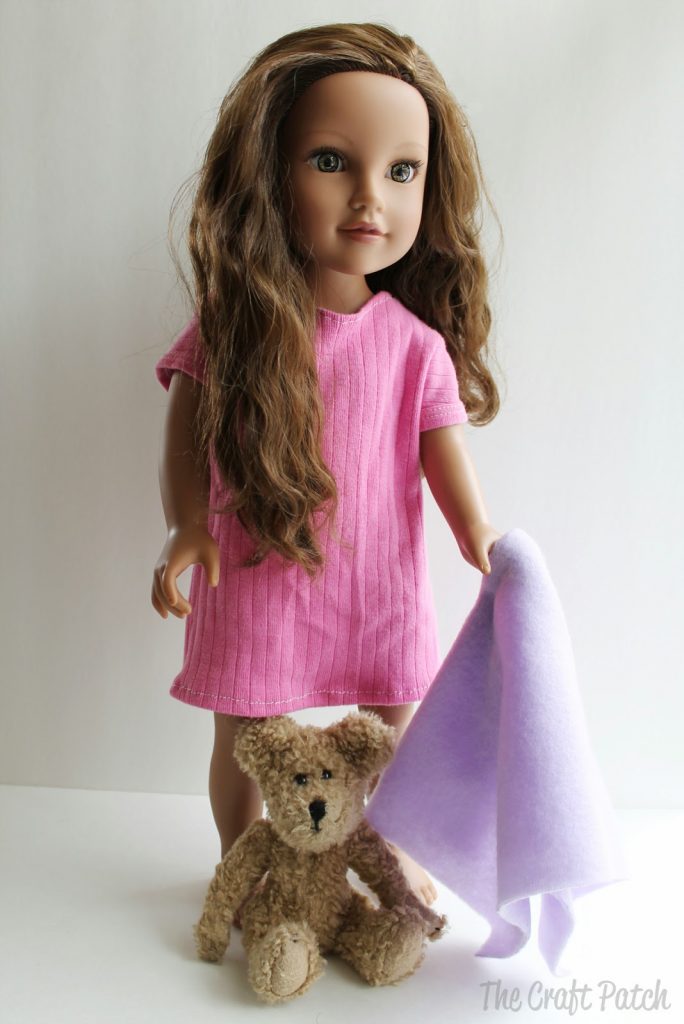
A comfy nightgown:
Or a long, flowy maxi dress:
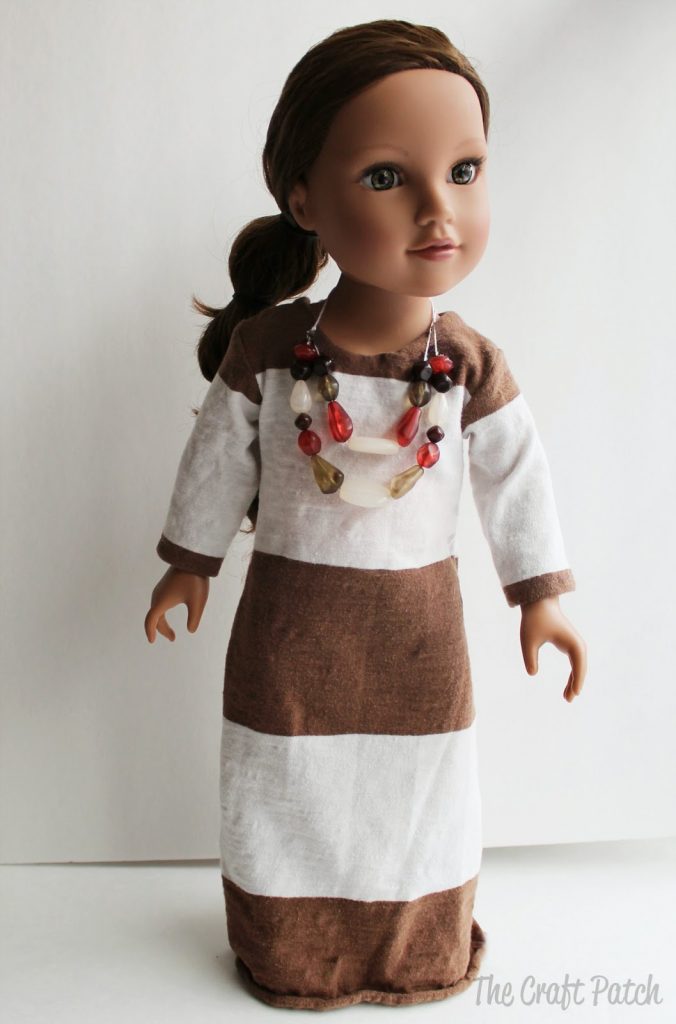
So many possibilities with just one pattern! Let’s get started!
1. Print out the three pattern pieces. There are three PDF files to download and they’re all in the same folder on Google Drive. Click on the big blue button at the bottom of this post and you should be able to download the patterns to print out.
2. Choose fabric. I suggest using stretchy knit fabrics with edges that don’t fray. That way you don’t have to roll edges under twice… which makes finishing the neckline and hems so much easier. This is a great project to use old t-shirts that don’t get worn anymore. If you decide to go with a woven fabric, you will need to serge all the raw edges and fold all the hems under twice. And that’s why it’s so much easier to just use knits! 🙂
3. Carefully cut out all your pattern pieces. If you are repurposing an old shirt, try lining up your pattern pieces to take advantage of the already-finished edges.
4. With right sides together, sew the front piece to the two back pieces at the shoulder seams using a 1/4 inch seam allowance.
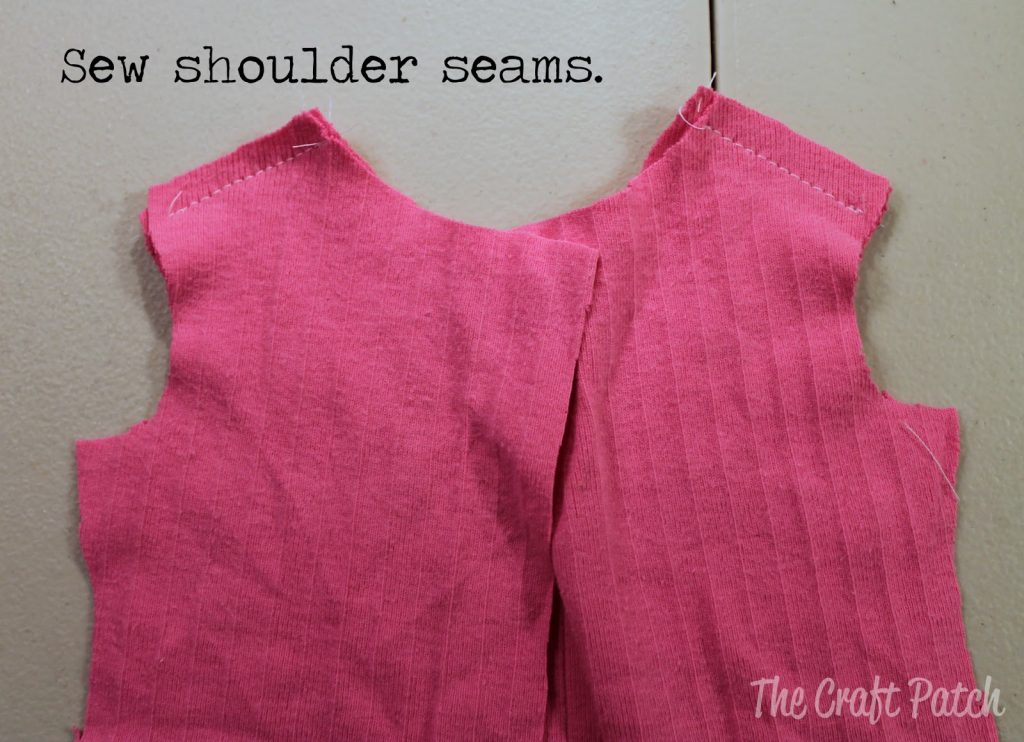
5. Roll the fabric under about 1/8 inch and finish off the neckline. Be careful not to pull or stretch the fabric or your neckline will pucker.
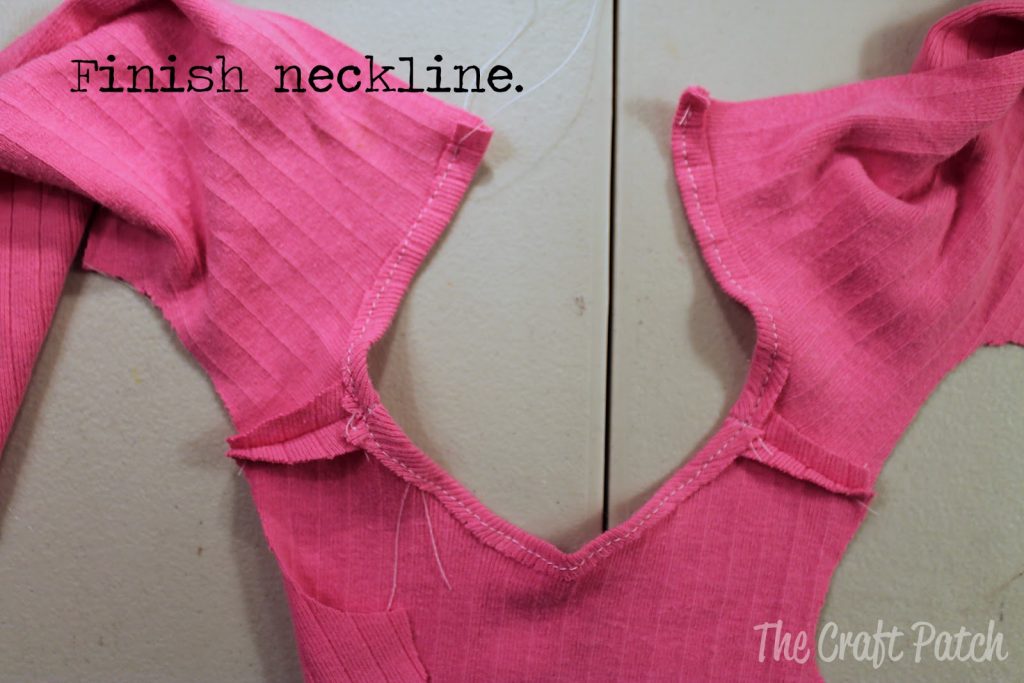
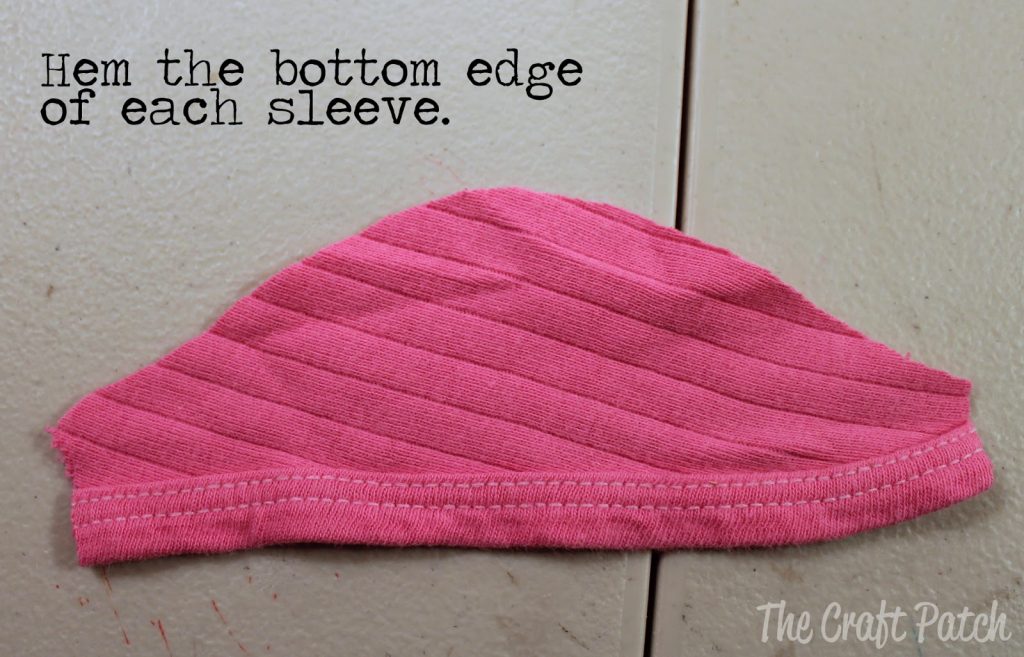
6. Roll the bottom edge over and narrow hem. In this photo, I took advantage of the shirt’s pre-finished hem, so I got to skip this step!
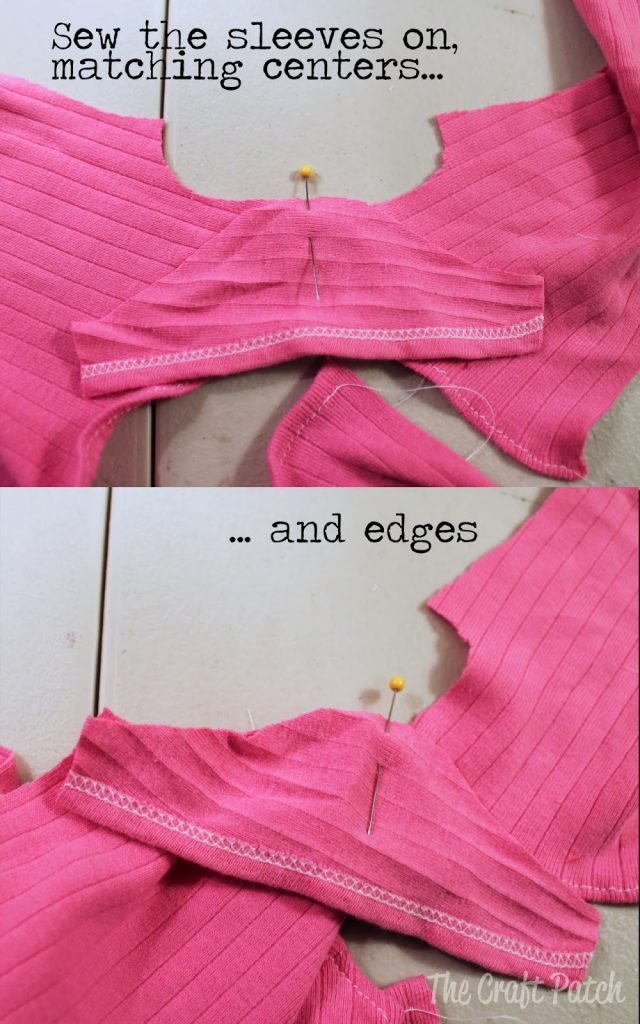
7. With right sides together, match the sleeve center with the shoulder seam. Pin in place. Then match up the edge of the arm hole with the edge of the sleeve and sew, easing the fabric (that means fiddling with it to make the two pieces line up) as you go.
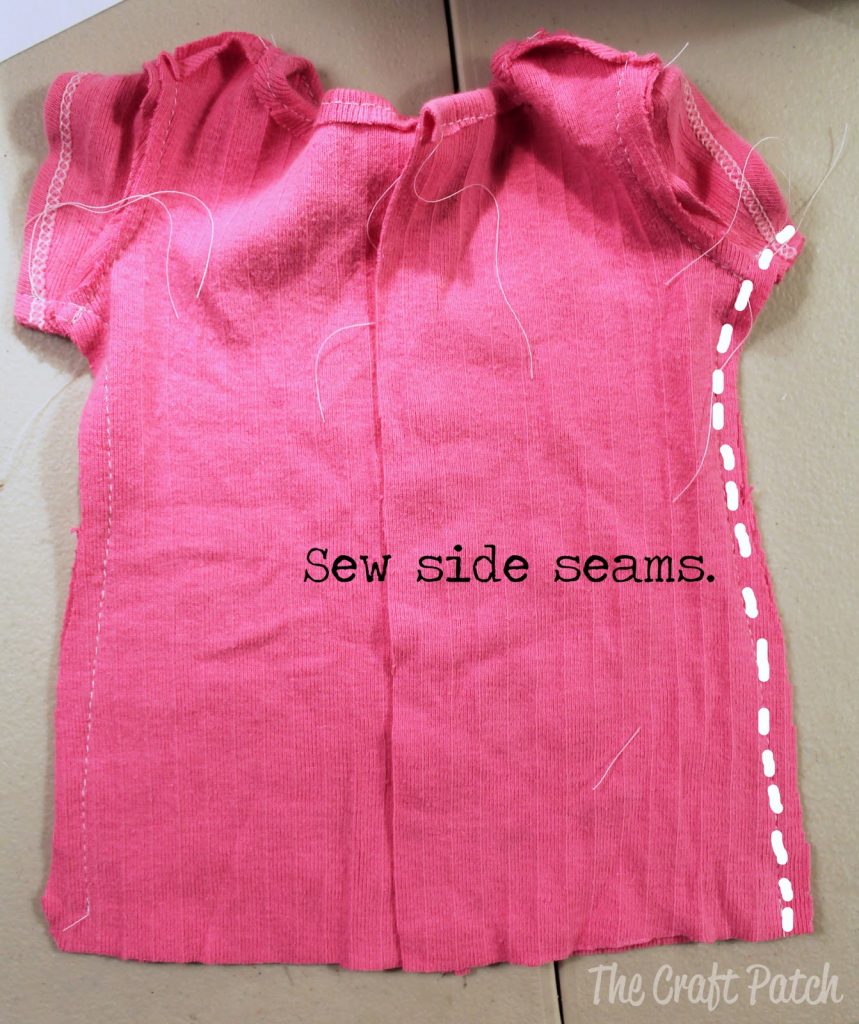
8. With right sides still together, line up the bottom sleeve edges and sew from the sleeve all the way down to the bottom hem.
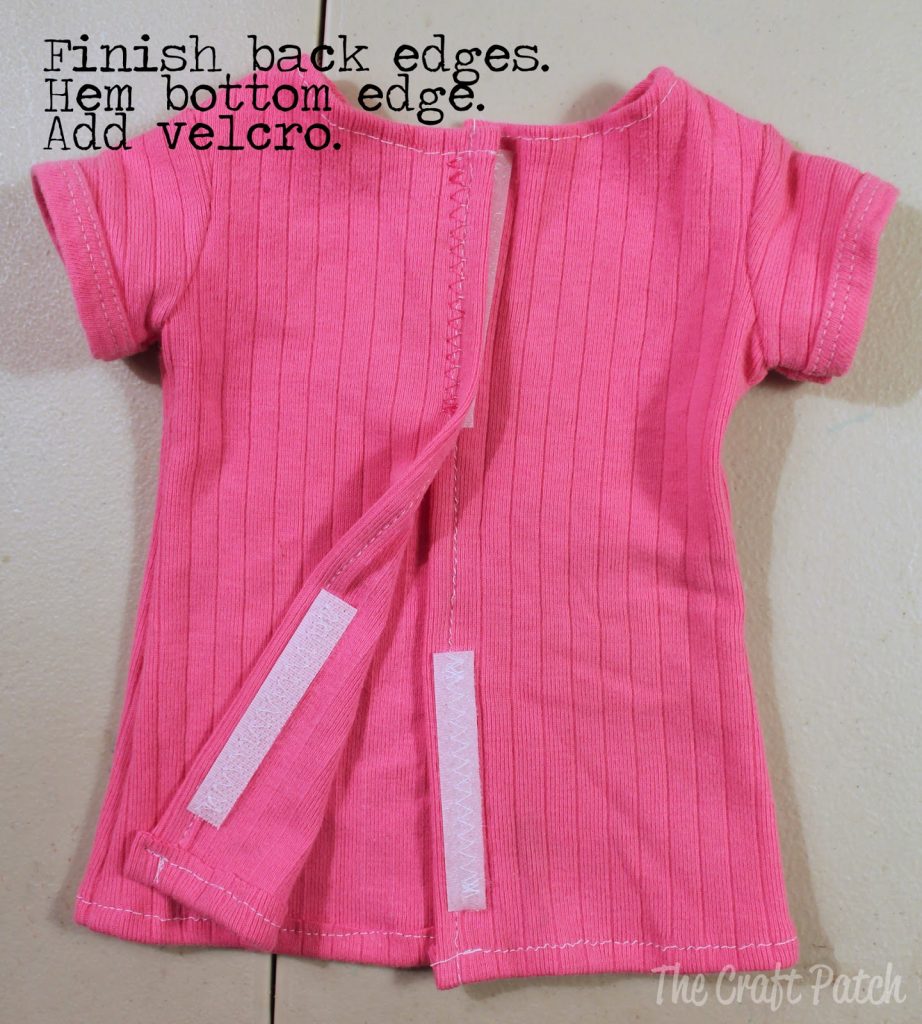
9. Finish the back edge openings, then narrow hem the bottom edge. Add some velcro closures (I like to use a zig zag stitch) and you are done!
I see so many possibilities with this little pattern. Cut it short to make a tunic-style shirt to pair with leggings. Add a ruffle to the bottom hem. Use two fabrics for a color blocked look. Add a tuxedo bib detail. Use it as the bodice for a dress and add a gathered skirt. Or turn it around and make a cardigan with little faux buttons over the velcro. Fun, fun, fun!
Pin it so you don’t forget it.
Looking for more DIY American Girl doll ideas?

Comments & Reviews
So cute! Ah! June can't come soon enough. I love the Maxi Dress
Used your pattern an it is great. I used it to make a shirt for my daughter's doll. I didn't see where it said what seam allowances you used, so for most of it, I used the edge of my presser foot (about 1/4 inch). I will definitely be making more.
Dangitt! I even told myself that I needed to include the seam allowances in the instructions and I STILL forgot! I DID use 1/4 inch, so good guess! Glad to hear the pattern worked well for you. 🙂
Thanks! I'm just about to make some more. I'll be sure to link to you when I get them blogged.
Can't wait to see them!
Can't get your pattern to print correctly. Can you e mail it to me? terrislv1@gmail.com
This is awesome! Thank you!
My daughter enjoyed sewing her own matching pajamas. Thank you for the pattern!!!
I am delighted to find your pattern. I can understand your obsession. My youngest granddaughter (and I) are discovering the 18 inch dolls and she is having a doll party for her 7th birthday. My daughter realized all the girls invited would not have a dolll so we have collected Our Generation dolls from Target for the last couple of months. I am making gift bags for all of the girls with some necessities in it like a night gown (Hence the delight in your pattern!), sleeping bag, purse, wallet, totebag, money, checkbook, etc. I am also passing along the links to make all these and several clothing and furniture links to the Moms.
I'm glad to find a kindred spirit out there. These dolls are for daughter, mom, and grandmother too! Thanks for sharing. Your party sounds amazing!
Almost finished a knee length version. To finish the neck and sleeves, I cut a 1" strip of similar fabric and ironed it in half. I then attached it to the neckline with a 1/4" seam after sewing the shoulder seams and to the sleeve hems before sewing any of their other seams. Now I have a dress very similar to the one I am giving my daughter. Thanks so much for this great and versatile (and quick) pattern.
That sounds really cute, Alycia! I'm so glad you've had a chance to use the pattern. Happy sewing!
Love this, I can't wait to get started.
Thank you; enjoyable reading.
Can this pattern be used for cotton fabric also?
Yes, you can use cotton. You just have to Serge or roll the seams since cotton frays.
We have a sparkly knit nightshirt (kinda looks like twinkling stars in the night sky), that both of my daughters used for about two years. I was sad at the thought of donating it to the thrift store, since it holds so many good memories for us, and no one would love it as much as we have. Your pattern is so perfect for turning it into doll dresses for my girls 18" dolls. Thank you so, so much for making this pattern available for free. God bless you!
I still have the very first crochet barbie dress i ever made when i was 23 pregnant with first(boy) and i couldnt make sleeves. so why not keep that one item
Will this work for a 12in Baby Alive?
I don't think so… American Girl dolls are a lot thinner than Baby Alive dolls. You could probably modify the pattern a little and make it work!
The dolls pictured are not American Girl size. Will this fit an 18 inch doll? Thank you!
Good eye! The dolls shown are a bit smaller, but the pattern is made for regular 18 inch dolls.
thank you so much..this is all I needed, the basic pattern, to make so many dresses and clothes
I LOVE this pattern! My granddaughter arrived at my house the other day with a naked 18″ doll. So, during her nap, I whipped up a dress using your pattern and she was just thrilled. Tonight I made another dress using left over fabric from a dress that I made for her, so she and her doll will match. What fun!!
Thanks so much for sharing this pattern!!
this is awesome
Hello!
I’m an absolute beginner with sewing and am so embarrassed to be asking such a basic question, but if you don’t ask, you’ll never know!
With the pattern pieces, the front says Cut 1 on fold and the back says Cut 2 and the Sleeve says Cut 2… Is this referring to quantity?
Do I cut 1 of the front pattern and 2 of the back pattern. (The sleeves I have obviously figured I cut 2 of lol)- but the rest isn’t so clear to me. What does it mean to ‘Cut 1 on fold’ too please, when it comes to the front?
So sorry for the ridiculously basic question, but my daughters have got doll clothes making fever and I’m trying my hand at this for the first time ever!
Hi Zimarina! Please don’t be embarrassed. We were all beginners once. I’m absolutely happy to help!
CUT 1 ON FOLD means that you fold the fabric in half and line one edge of the pattern up with the folded edge. Then cut around the outside of the pattern piece. When you unfold it, it makes the shape a mirror image with each side exactly the same.
CUT 2 means to cut out that pattern piece shape twice. You can cut two at the same time by folding the fabric over so it’s a double layer OR you can just cut one, move the pattern piece, then cut the second piece. Either way works!
I hope you have a ton of fun making doll clothes and learning to sew in the process. Best of luck to you!
I need a bit of clarification too as I am also a “newbie” to sewing. Here’s my query… when cutting the (2) back pieces, if the fabric is printed on only 1 side do I need to cut 1 on the right side, turn the pattern piece over and cut the second piece?
You are correct. Instead of flipping the pattern and cutting it out twice, usually you just fold the fabric in half so that you can cut both out at the same time. Then the two pieces are automatically mirror images of each other. Does that make sense? Either way would result in the same pieces, it’s just quicker to cut once through both pieces of fabric.
Thank you for free pattren .. sooo nice⚘
Thank you so much for this free pattern! I am sewing up a storm for 2 granddaughters which each have two dolls! Whew. I needed a simple dress pattern and this is great. God bless you for sharing.
THANKYOU for these loose-fitting doll clothes patterns! Many ideas are now able to be sewn into reality 🙂
9 years since they were posted, hope you can still read this….
So fabulous my granddaughter will be so happy with these thank you
Looks good! Anxious to mske sevheral!
How did you sew the knit fabric. Mine either put stitches all at the beginning because it wouldn’t advance or on the other seam it stretched it all out of shape
It can be really hard to sew with knits. It just takes experimenting with the exact fabric you’re using and your sewing machine. Sometimes it helps to use a zig zag stitch. Or if you have a serger, that’s how the pros sew knits. Sorry I can’t be more help!
looks like fun