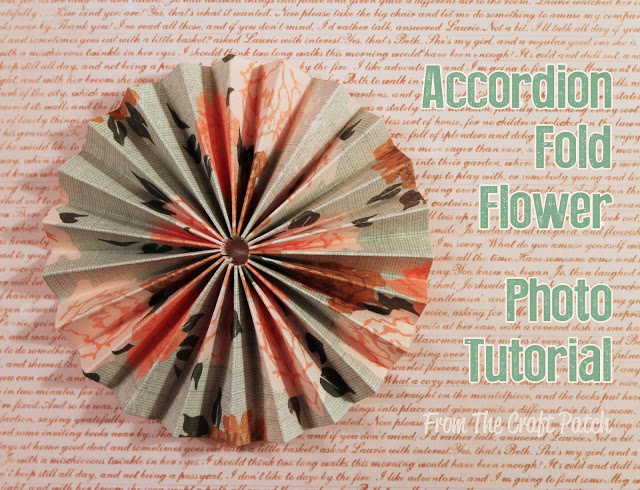
I was at a local craft store yesterday and found some adorable scrapbook papers in the clearance bin. I really wanted to buy them. But heaven knows I don’t actually scrapbook anymore (my poor second and third children will have no baby books), so I had to stand there and come up with a reason to buy all this clearance paper when I have shelves full of it already. (I know, I know…true craft addict mentality right there.) Then I remembered seeing a cute wreath on Pinterest made from paper. Perfect! An excuse! I snatched up the paper and decided to post an accordion fold flower tutorial while I made enough circles for a wreath.
So from one addict to another, here’s a use for all that paper you have in your stash. Let’s make accordion fold paper medallions!
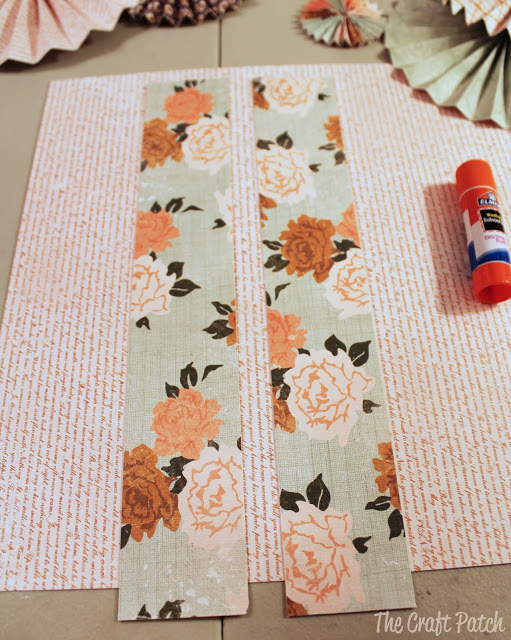
Step 1: Start by cutting two 12″ x 2″ strips of paper. You can really do any size you want, but if you make the strips wider than 3 or 4 inches, you will probably need a third strip of paper to make it long enough to complete the circle. The wider you make your strips, the more length you’ll need for your circle.
Step 2: Score the strips of paper. Scoring means to put a little crease or dent in the paper, but not cut all the way through. This makes the paper fold crisply. I have an attachment for my paper cutter that scores, but you can also use a ruler and knitting needle in a pinch. Here’s a great paper trimmer with a scoring head if you’re looking to buy one.
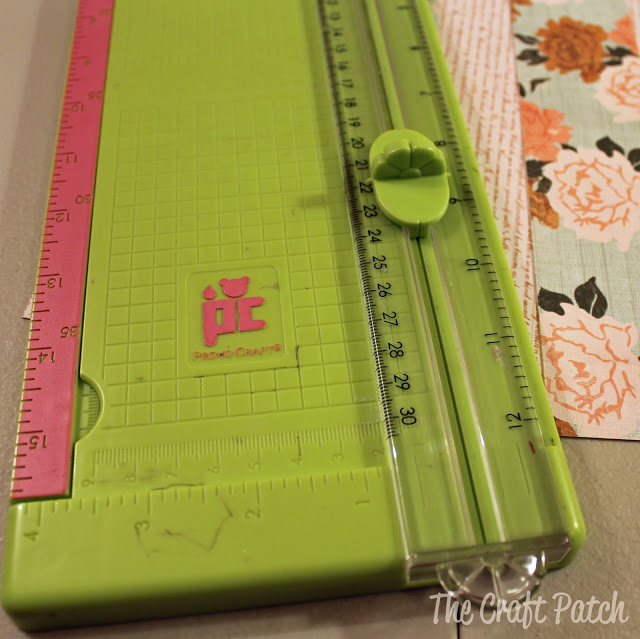
Can you see the score lines? I spaced them 1/2 inch apart.
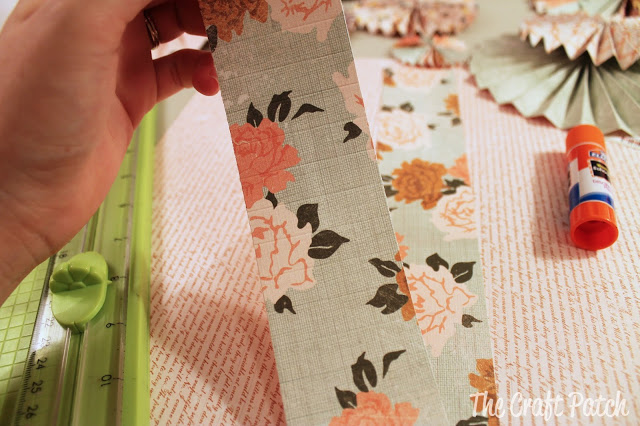
If you get to the end and have a little extra piece, just trim it off with a pair of scissors.
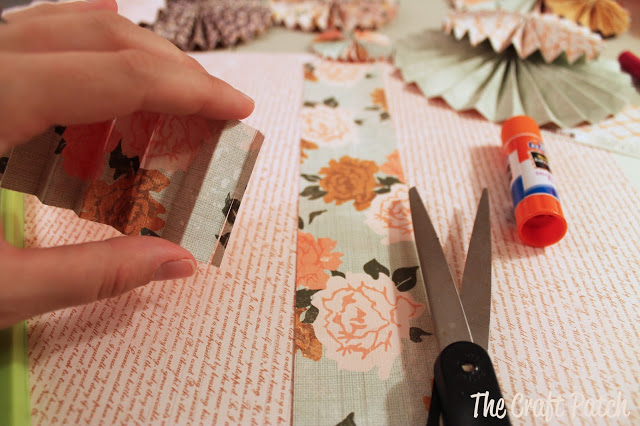
Step 3: Now you get to accordion fold the paper. Accordion fold means you fold in a zig zag pattern so that the edges go up and down. Start the first strip by folding up and start the second strip by folding down. This will make the next step easier.
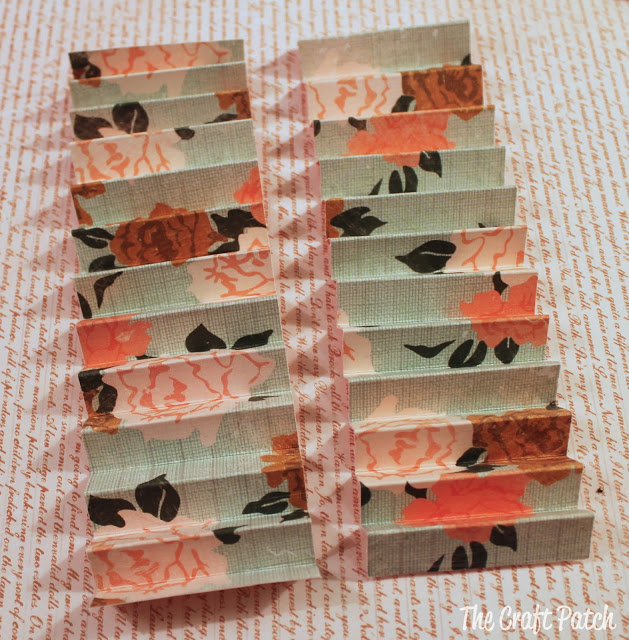
Step 4: Glue the two strips together using a glue stick or hot glue. If you folded one up and one down, they should lock together and give you a seamless connection.
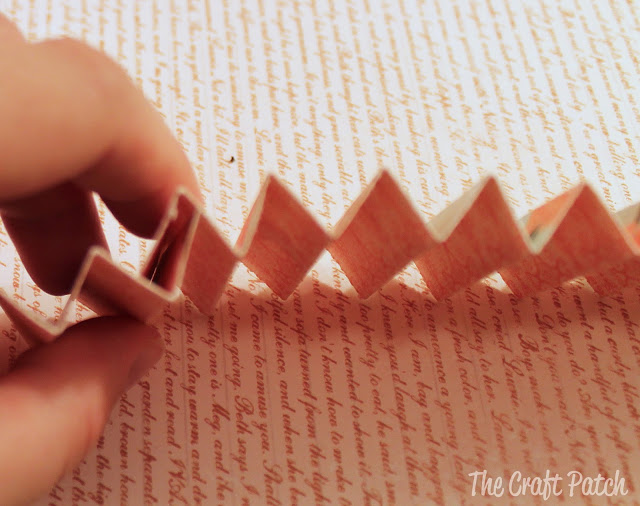
Step 5: Glue the other end of the strips together to form a circle.
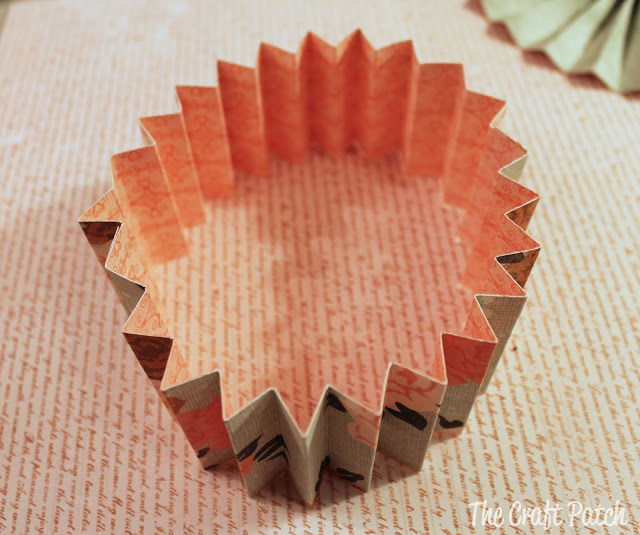
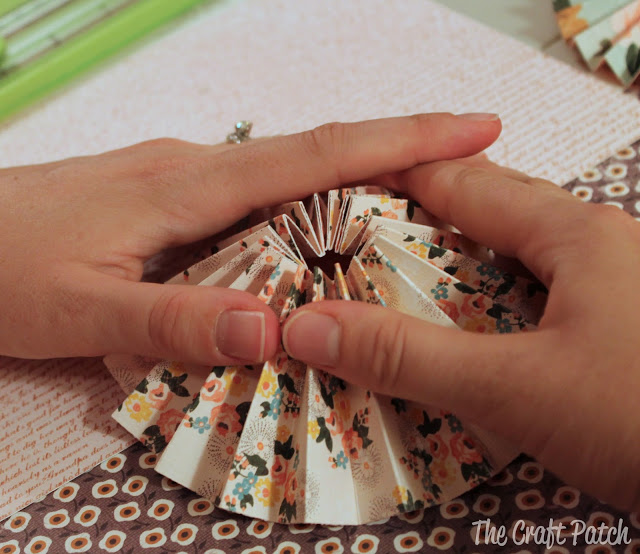
Step 6: This is my favorite step… push the top end of the paper together and it will magically lay flat! Of course, as soon as you let go, it will pop up again. You’ll need to glue a piece of paper onto the back to keep it flat.
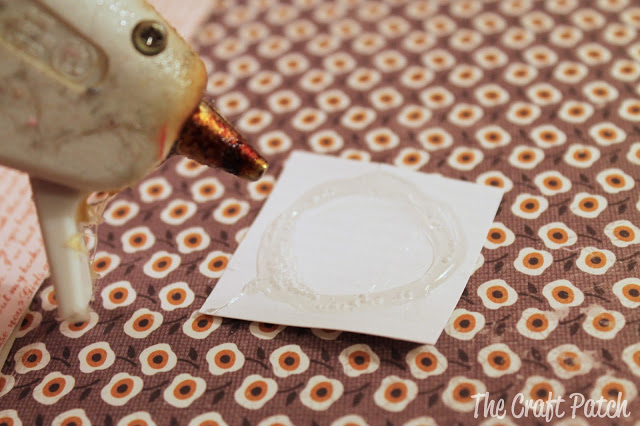
I cut a square of cardstock and dabbed a ring of hot glue on it.
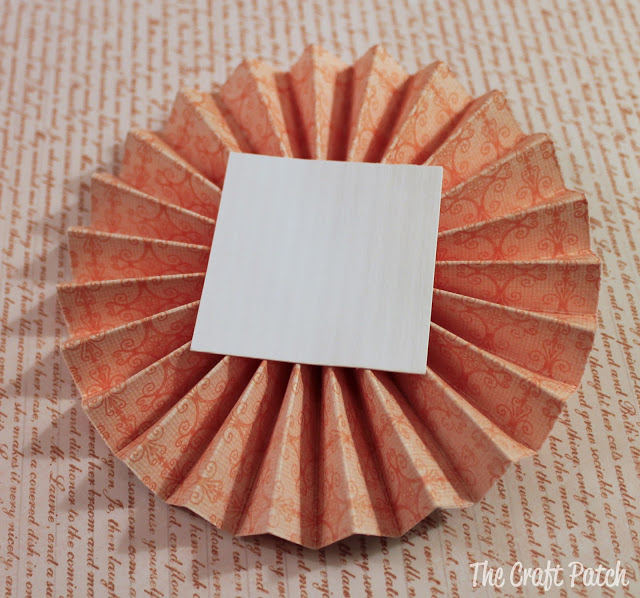
Then I pressed the square onto the back side of the flower until the glue cooled. Hot glue does work best for this step just because it dries quicker so you don’t have to hold the circle down forever. If you want your medallion to be pretty from both sides, cut a nice circle of decorative paper to glue to the center instead of an ugly scrap. LOL.
All done! Isn’t she beautiful?!
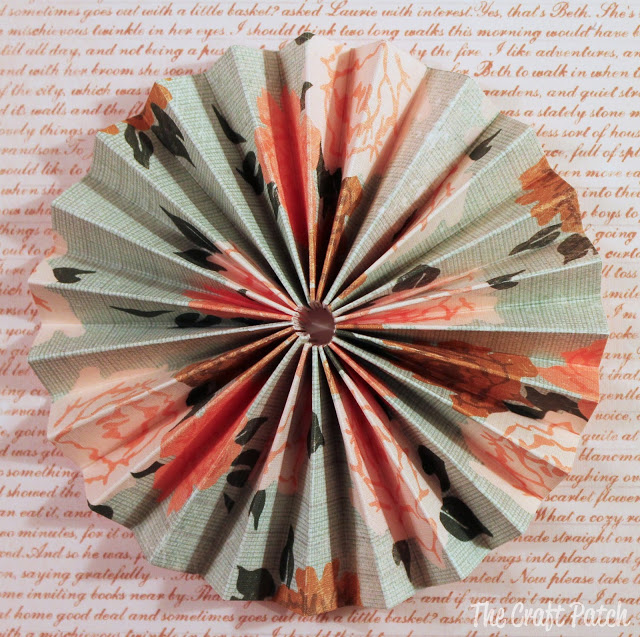
You can make many different variations of this medallion by changing the width of the strips and the spacing of the score marks. See?
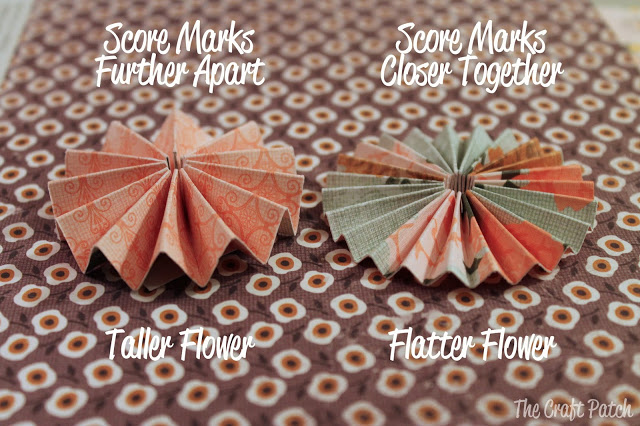
You can even cut different edges on your paper strips. Check out some of the variations I’ve made in the past HERE.
Now that you’ve learned how to make a paper medallion, what can you use them for? The possibilities are endless! I used them to decorate my daughter’s nursery wall. I made a Halloween banner. You can make itty bitty ones to use on handmade cards and scrapbook pages. I used one in the center of a paper shamrock wreath I made for St. Patrick’s Day. And today I used them to make a wreath for my front door…
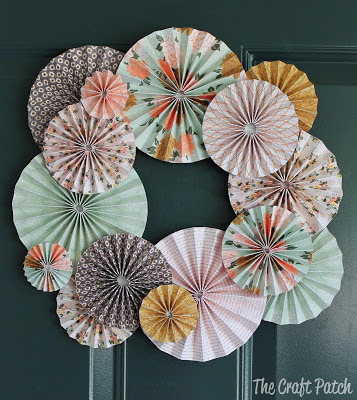
Check out the paper medallion wreath details HERE.

Comments & Reviews
I can't wait to try!
Amanda Rose
http://sewmuchtosay.blogspot.com
Great tutorial! Worked perfectly 🙂
I am so glad to hear that! T"hanks for the feedback, Gayle.
Great!!! & Cute!!..i cant wait to try it out too!
Thank you much!
Can’t wait to try this out for my craft fair. Thank you
Love, love, love! Can’t wait to try it! I just started making cards and will def use one on my next card!