Learn how to sew a fabric basket liner to custom fit any wicker basket.
As you know, I’ve been slowly working on the nursery. I saw this basket at a thrift store for $1…
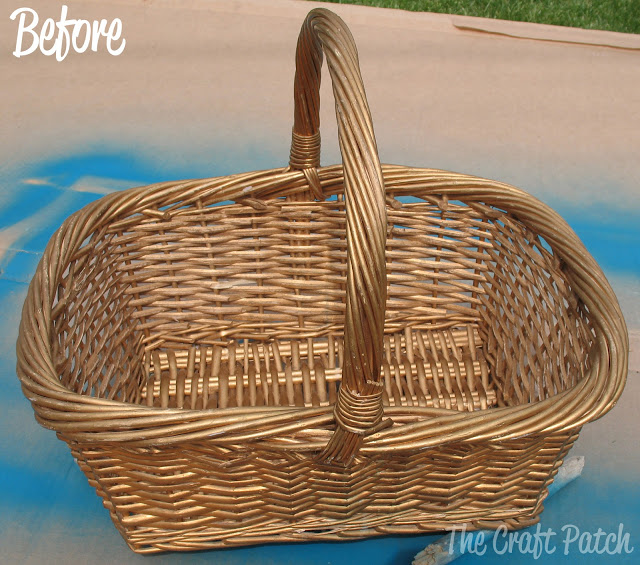
…and knew it would be perfect for holding diapers and wipes. What you can’t tell from the pictures is that it’s actually a pretty large basket. It’s about 20 inches across! I could totally see the potential hiding behind the tacky gold paint, so I brought it home with me. And…
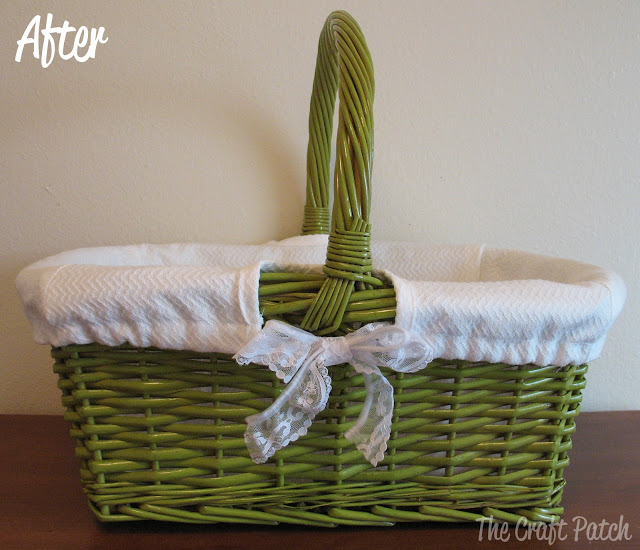
…tah dah! New, cute basket to keep diapers within easy reach. Yay!
First step was to spray paint it. I used Krylon’s Ivy Leaf and love the color. It took a whole can to get good coverage, but like I said, it’s a pretty big basket.
Then I made a basket liner out of a nice, thick piece of white woven fabric I’ve had in my stash for years.
I read a tutorial that suggested draping the fabric onto the outside of the basket and pinning it all to give you the shape you need. Since my basket has sloping sides, I thought this sounded easier than trying to get the right angles and sew several pieces together.
So I turned my basket upside down and pinned the fabric tight around the corners. I forgot to take a picture when I was making the actual basket, but here’s a little demonstration of how it’s done:
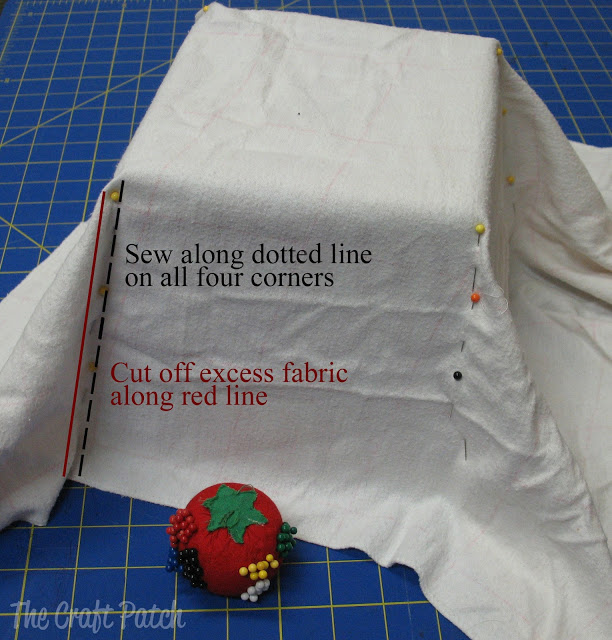
Then I sewed where the pins were, which left little triangular flaps. I cut those off. I tested the fit inside my basket and realized that I needed to sew the corner seams just a smidge tighter. Next I trimmed around the opening part to get an even edge. Make sure you leave lots of room for it to fold around the basket and still have room for a casing for the elastic. I used elastic because it needed to hug the curves of my basket and I wanted it to stay snug. If you are making a liner for a square container, you don’t really need elastic.
Because my basket had handles, I had to make holes for them. I just cut the shape I wanted and used double fold bias tape to finish it off. You want to do this before you finish the top edge so that the bias tape can be tucked inside the final top edge’s seam.
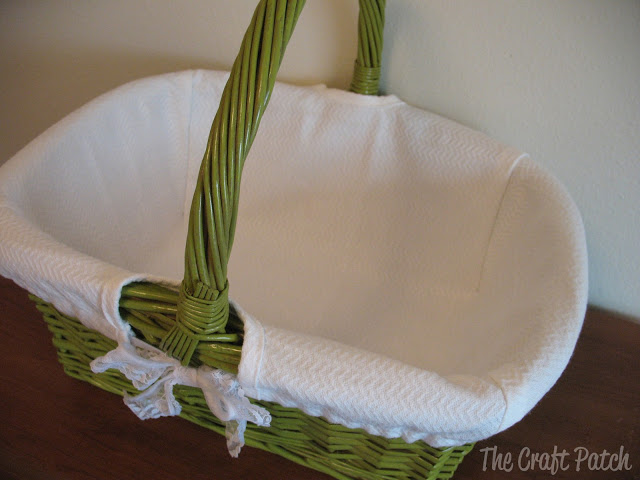
Then I made the casing to hold the elastic. When I got to the holes for the handles, I just secured the elastic with a few stitches and strung the lace across the hole to tie it and keep it tight.
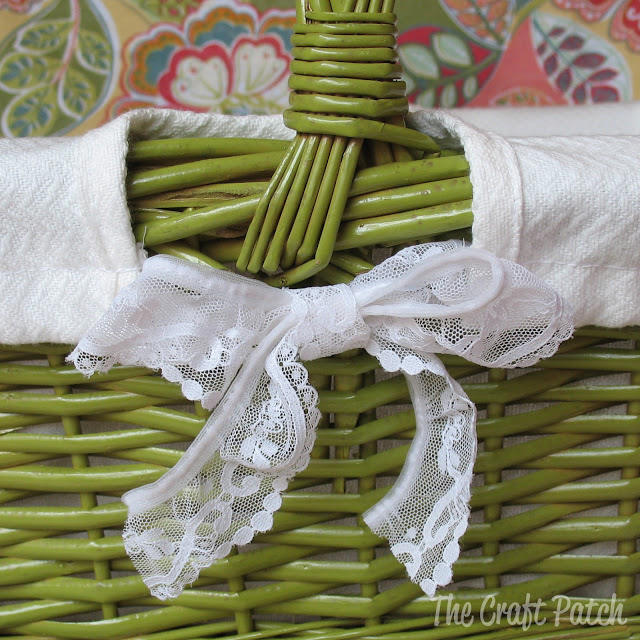
I am happy with this little project. I already had the spray paint, fabric and lace, so the total cost was just $1. Yay! Even if I had to buy the paint and fabric, it still would have only been around $5. Not bad!

Comments & Reviews
omg yours is the easiest tutorial for a liner! love it!! Thank you!! 🙂
This is the easiest basket liner tutorial I have seen!! Love the whole basket!! 🙂
I am so totally jealous of all of your awesome craft /sewing projects. Your nursery is going to be gorgeous. You have a great eye for design.
love it! great job
I've been wondering how a basket would look if painted – thanks I'm no longer afraid to try.
Hi I like the way you did the basket it looks nice and neat too thank you so much
Just the tutorial I was looking for, only easier, thanks so much!
Omg! I save boxes I want to use in my sew room but don't want to put fabric in the raw boxes. Thanks to you, I now know what to do. And how! Magic! Need to use up a lot of fabric. What a way to decrease my stash!
I make slipcovers in this same way, with the fabric inside out…but do you think I could figure that out lining my picnic basket??? UGH!! I lined our picnic basket and lined it wit an insulating layer so that the food/drinks will stay cool, so I obviously had to do this technique twice, but SO WORTH IT!! Thank you for sharing!!
Yay! I'm so glad you found this useful and I love the idea of a lined and insulated picnic basket. So cool!
I love the easy way to do this. What kind of fabric is this??
I have a couple of crates that I have painted and will seal, although I will be making these inserts to the directions you have given and work a draw-string on the outside. Although I love the fabric and would like to know what kind it is. I think they will turn out nice.
1st – grandbaby on the way 🙂
Hi Deanna, I’m sorry… I don’t know what kind of fabric it is. It was a scrap someone gave me. I can tell you it was very thick and woven. Sorry I can’t be more helpful!
Excellent!