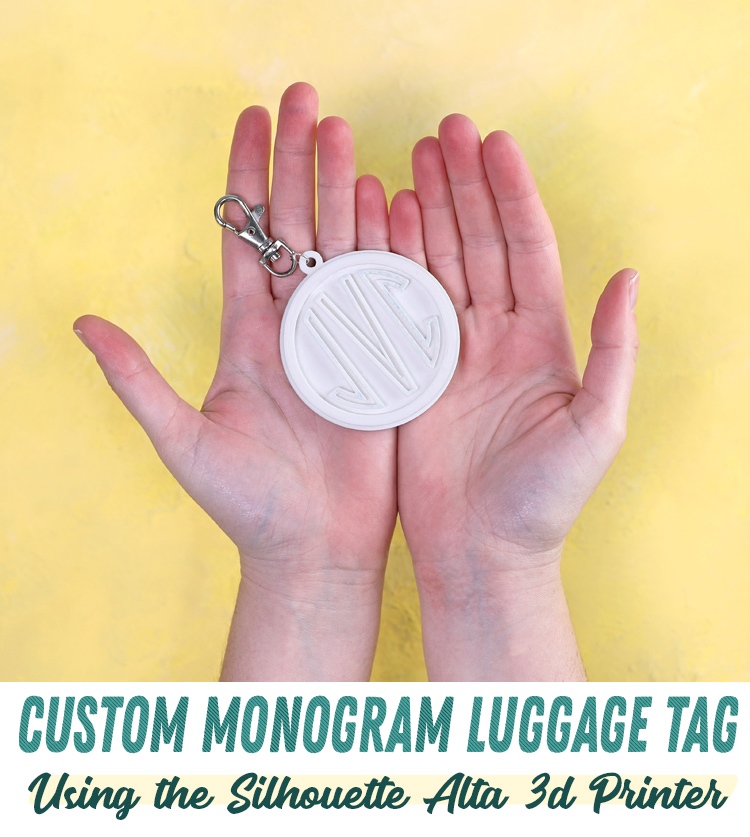
Learn how to make a customized monogram luggage tag using the Silhouette Alta 3D Printer.
Have you bought a 3D printer yet? Holy moly, it opens up a whole new world of crafting possibilities! You can make just about anything you can dream up! Here’s a quick overview of what the Silhouette Alta is and how it works. I have been diving into it lately and it’s so fun!
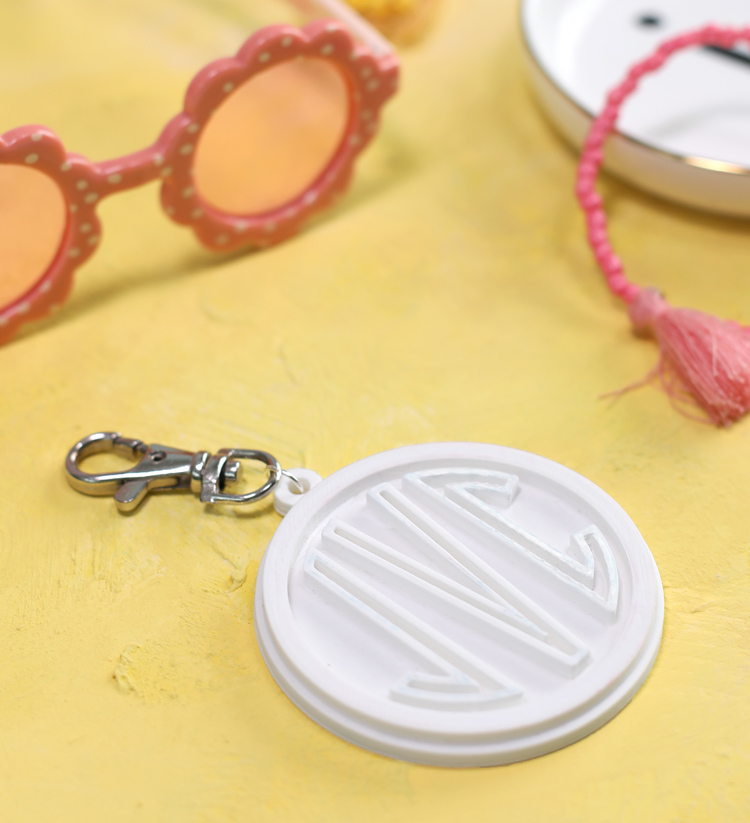
Today I’m going to show you how to make a custom monogrammed luggage tag.
This post is sponsored by Silhouette America. All ideas and opinions are my own.
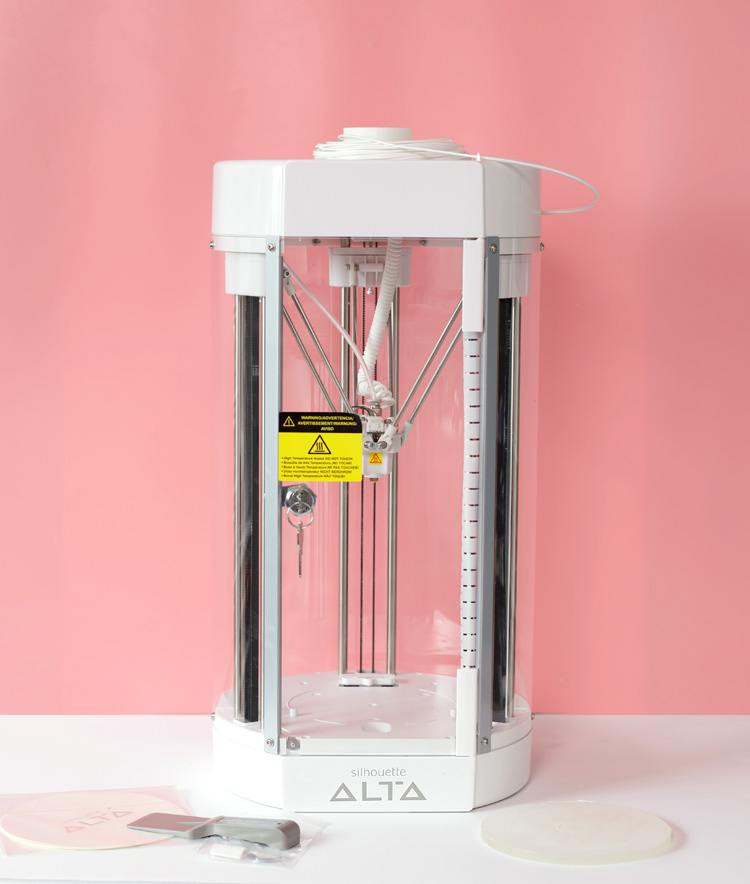
Materials Needed
- Silhouette Alta or Alta+ 3D Printing Machine
- Plastic Filament
- Luggage Tag Silhouette File (Free Download HERE)
- Jump Ring and Hook (Optional)
The coolest part of using the Silhouette Alta is that you can take any of the Silhouette design files you already have and turn them into a 3D shape with one click of the mouse.
To make your monogram, download the luggage tag Silhouette file and open it in Silhouette Studio. Add your monogram to the design using a monogram font (here are a bunch from Design Store), then save the file to your desktop.
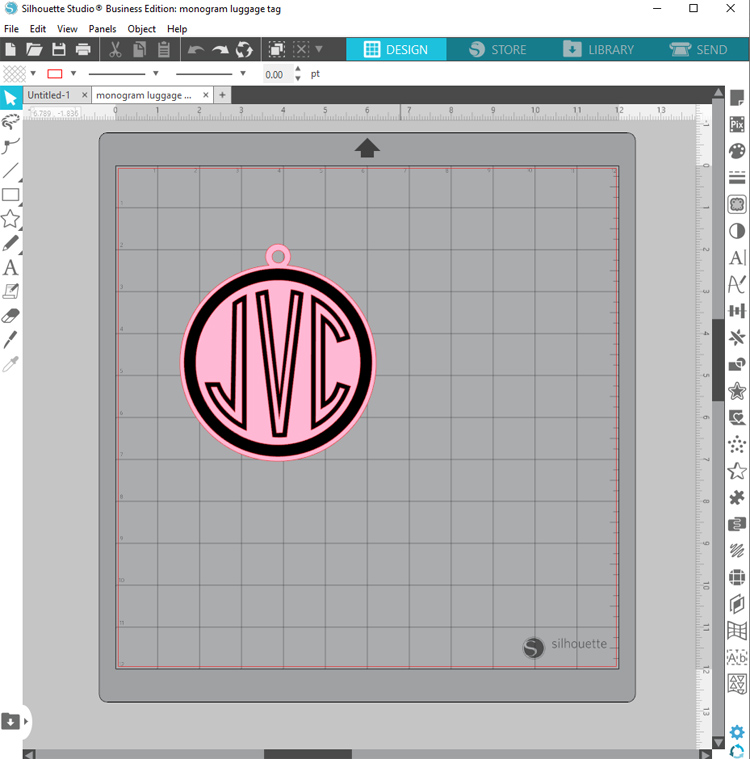
Open the Silhouette 3D software program. Select FILE > OPEN and then find the downloaded template. This screen will then pop up:
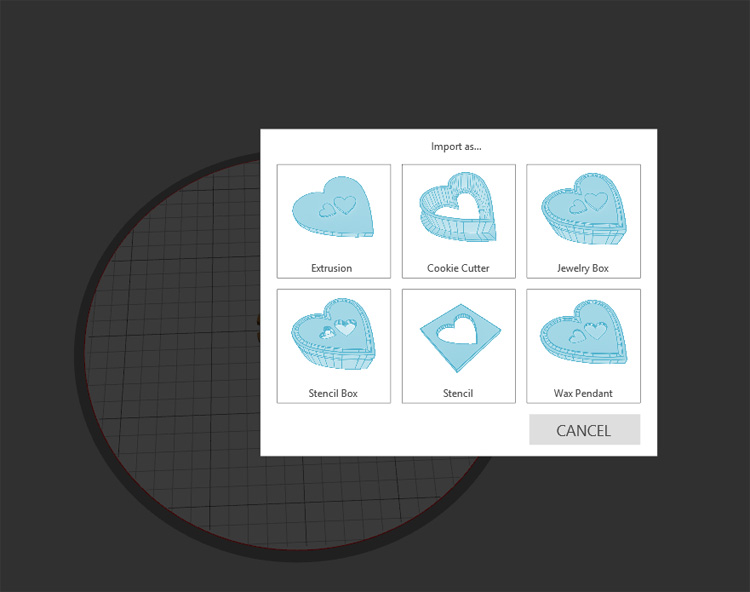
Choose the Extrusion option.
Then you can resize the whole tag, adjust the depth of the different parts of the design or customize it any way you’d like.
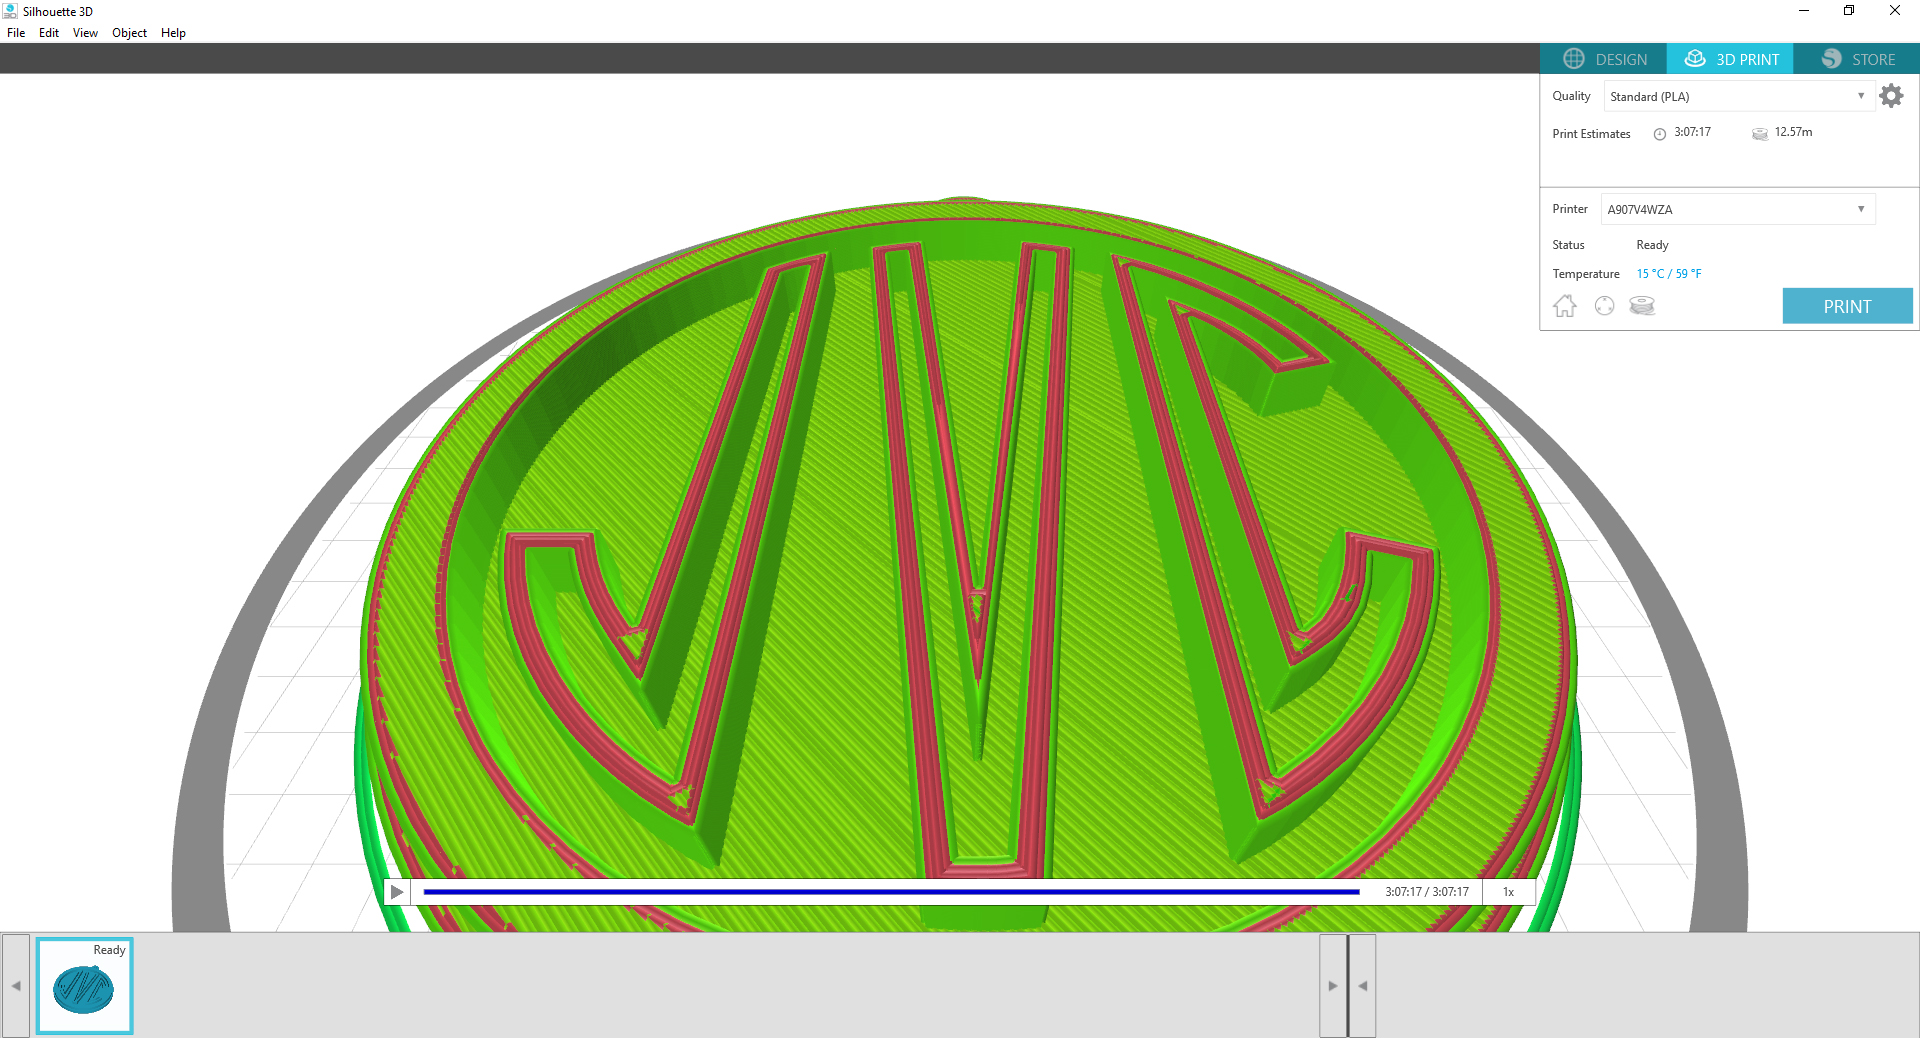
Once your design is how you’d like it, send it to the Alta to print. This takes quite a while, depending on the settings you choose. The software will give you a time estimate before you send it to print.
After the design is finished, carefully pop the plastic off of the base. Then you can add a jump ring and hook or a ribbon loop for hanging from a suitcase. I’m telling you, no one will believe you made it. Seriously, it’s just so cool that you can craft out of plastic and get such amazing, professional results.

Comments & Reviews
Could I have access to the 3d monagramed luggage Tag file?