Learn how to make plastic 3D printed label holders with the Silhouette Alta 3D Printer. Free 3D print file!
I can’t stop printing in 3D. It’s just the coolest thing and every time I am blown away that I can make things out of plastic!
Today I’m going to show you how to print label holders that you can attach to any storage bin and I’m even including the 3D printer file for free so you can give it a try.
This post is sponsored by Silhouette America. All ideas and opinions are my own. Affiliate links are included, which means when you purchase through my links, I make a small commission at no cost to you.
Materials Needed
The Silhouette Alta comes with everything you need to get started, but you may want to buy extra filament in different colors. I used black filament to print my label holders, but then I decided that I wanted them to look like metal, so I simply spray painted them with metallic gold spray paint after they were printed. They look great! Did you know you can paint the filament after it’s printed?
Silhouette also just released a bunch of cool specialty 3D filament options, including metallic finishes, glow-in-the-dark filament and even a wood-look filament. I can’t wait to get my hands on those to experiment!
Instructions
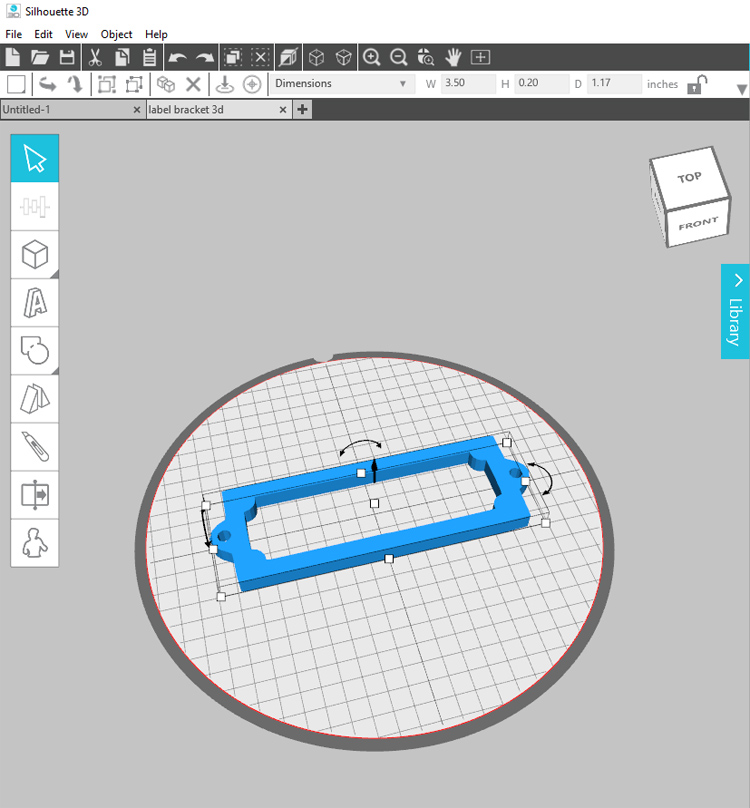
Step 1: Download the 3D file from the bottom of this post. Open the file in Silhouette 3D by clicking FILE > OPEN and then finding the file where you saved it on your computer. The file will look like this:
You can then use the little white squares to adjust the size, proportions and thickness of the design if desired. The cube shape in the upper right hand corner is how you adjust your view of the design.
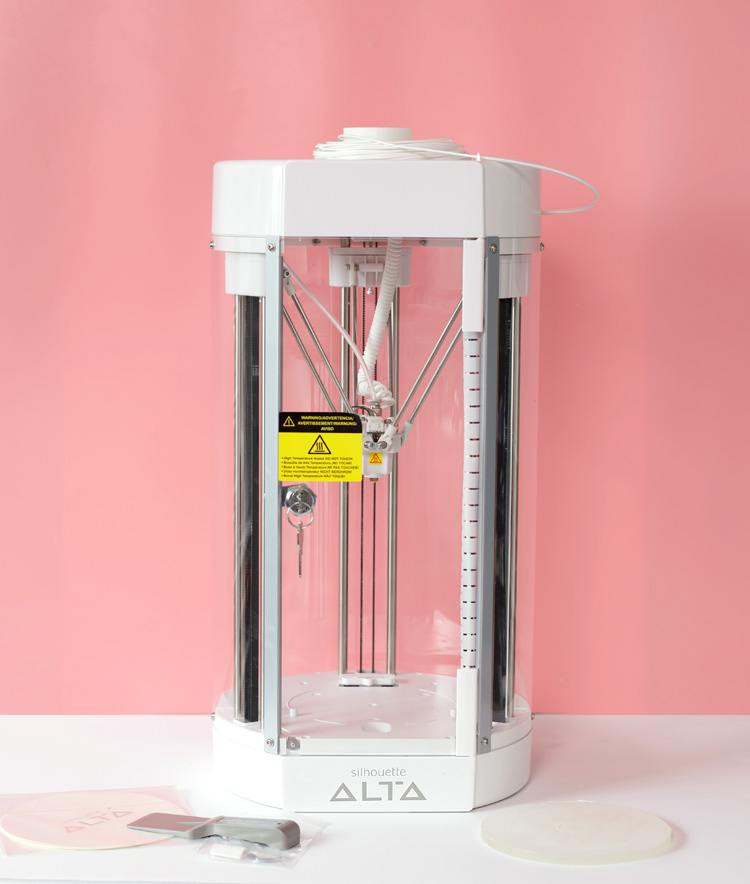
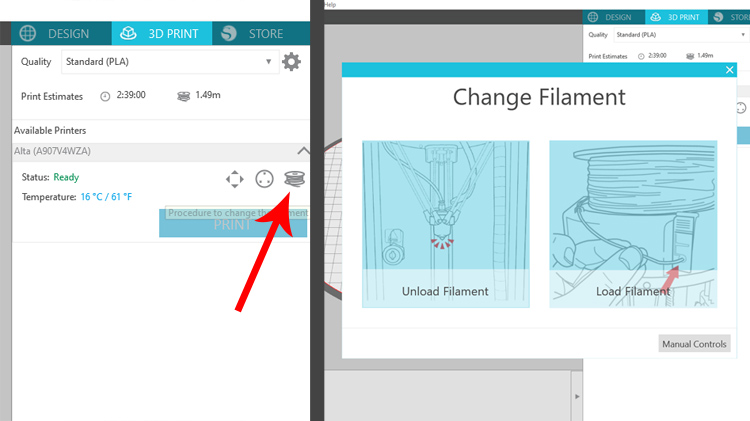
Step 2: Turn on your Alta machine and make sure it’s plugged in to your computer via the USB cord. Load the filament color of your choice into the machine by clicking on the filament icon and following the screen prompts.
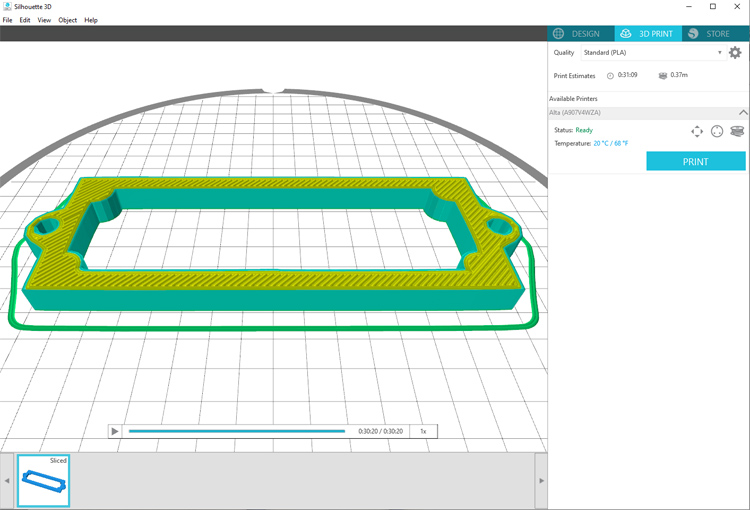
Step 3: Select the 3D PRINT tab in the upper right hand corner and choose the print quality. I selected STANDARD (PLA). Then click the blue PRINT button to send your design to the printer.
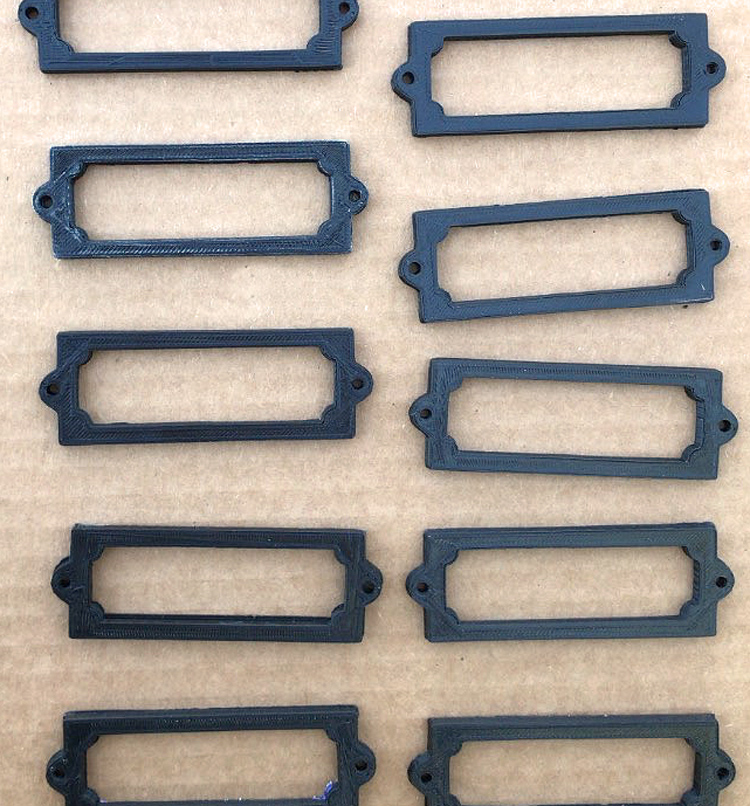
This is what my designs looked like before painting.
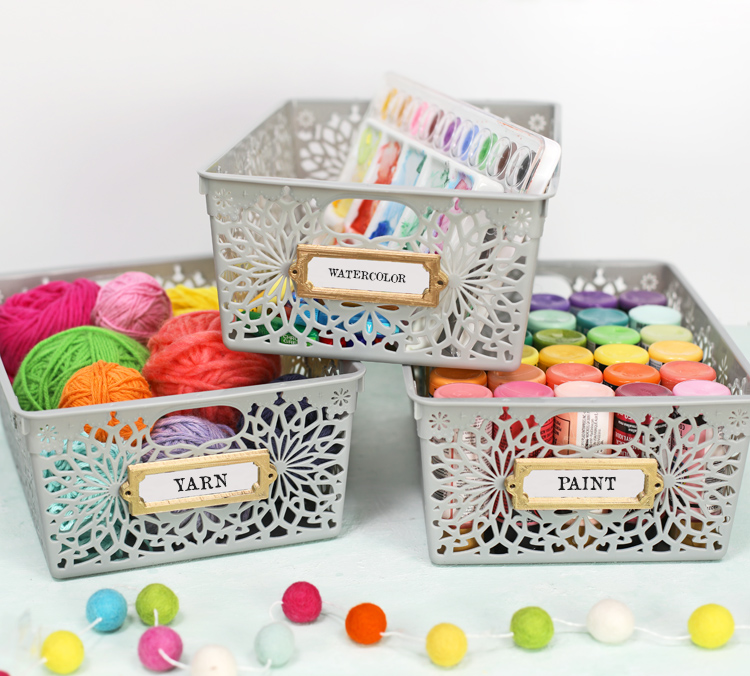
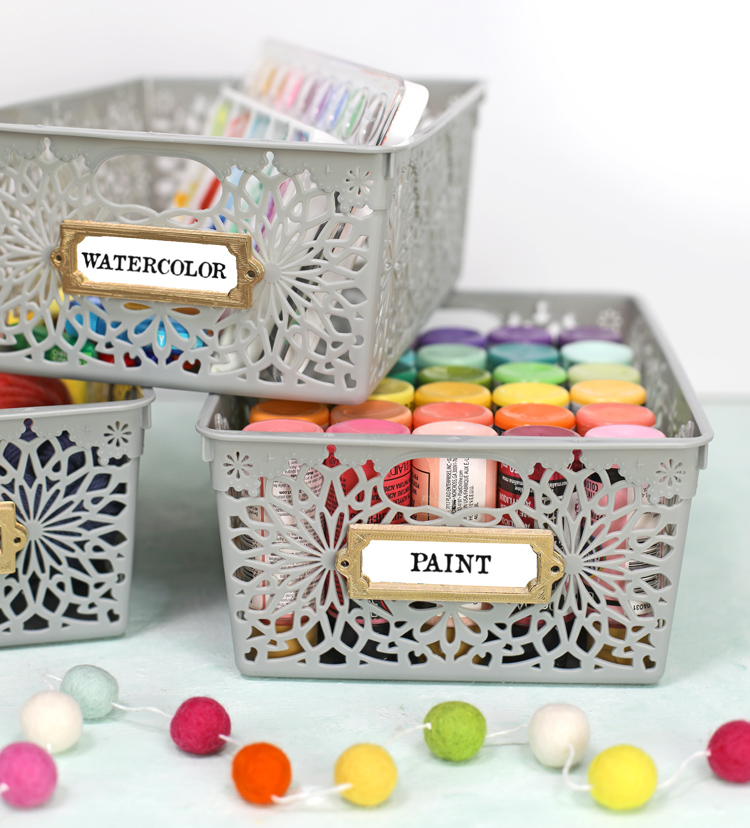
I found these cute plastic storage bins at the dollar store and just used hot glue to attach the labels to them. I only put glue on the bottom and sides and left the top edge open so I could insert the paper labels into the label holders. The label holders also feature a hole on each side that could be used to screw them into place if it works with your project.
So what do you think? Are you blown away?
Download the free 3D printing file here.
Like this project? Pin it so you don’t forget it!

Let’s Get Social
I’m sharing tons of fun ideas on my social channels and I’d love for you to join me there.