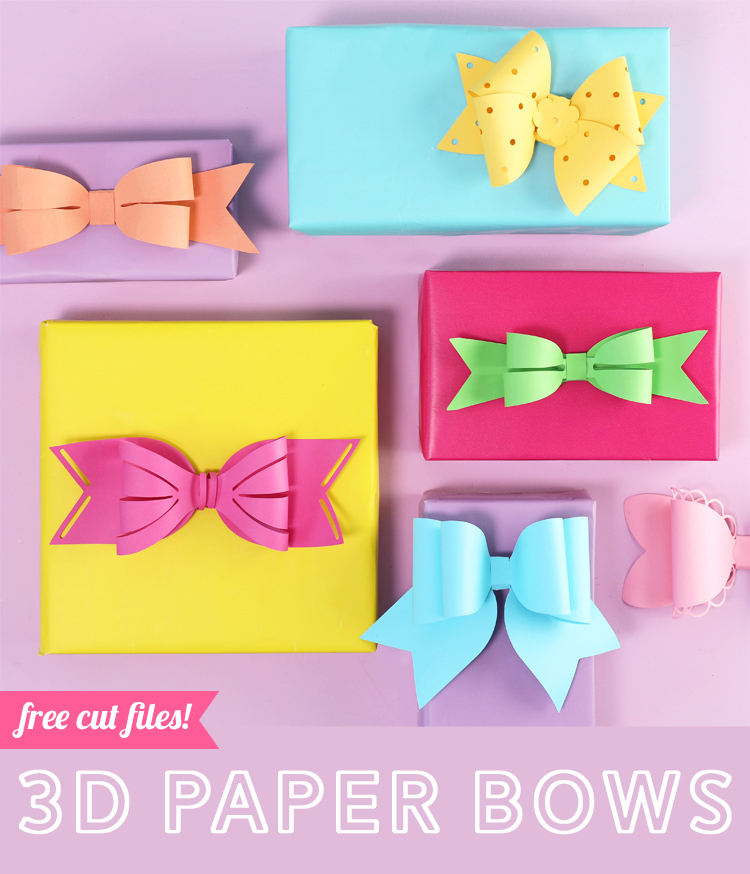
Learn how to make 3D paper bows using a Silhouette machine and the included cut files below.
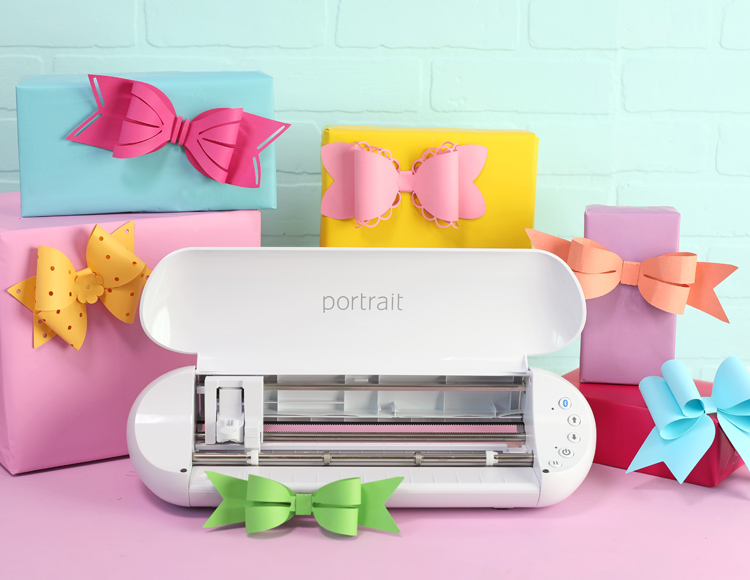
Today’s an exciting day! Silhouette has launched a brand new updated Silhouette Portrait 3 machine and to celebrate, I’m sharing a fun craft idea and free cut file with you.
This post is sponsored by Silhouette America. All ideas and opinions are my own.
The Portrait is the perfect machine for the casual crafter. If you want to cut paper and vinyl or make custom stickers, this machine will work perfectly for almost everything you’d want to make. It is smaller than the Cameo 4 and can only cut material that is 8 inches wide, but if you mostly use letter sized paper or vinyl, then that size works perfectly.
The Portrait 3 is smaller and less expensive than the Cameo 4, so if you live in a small apartment or need to be able to tuck your machine into a cupboard, this one is light and easy to move from place to place. It’s also cheaper, so if cost has kept you from taking the dive with a cutting machine, the Portrait would be a great way to get started before making a larger financial commitment.
There are three main differences between the Portrait 3 and the older model Portrait 2:
- A new tool chamber can house the new autoblade
- Automatic tool detection feature saves you time while making
- Matless cutting mode called pop-out cutting
The Portrait 3 has bluetooth so you can send projects to the machine without having to plug in to your computer, which is super handy. It does NOT support the new rotary blades and kraft blades used with the Cameo 4, so if you want to cut fabric, this machine may not be right for you.
Anyway, let’s get to the craft project!
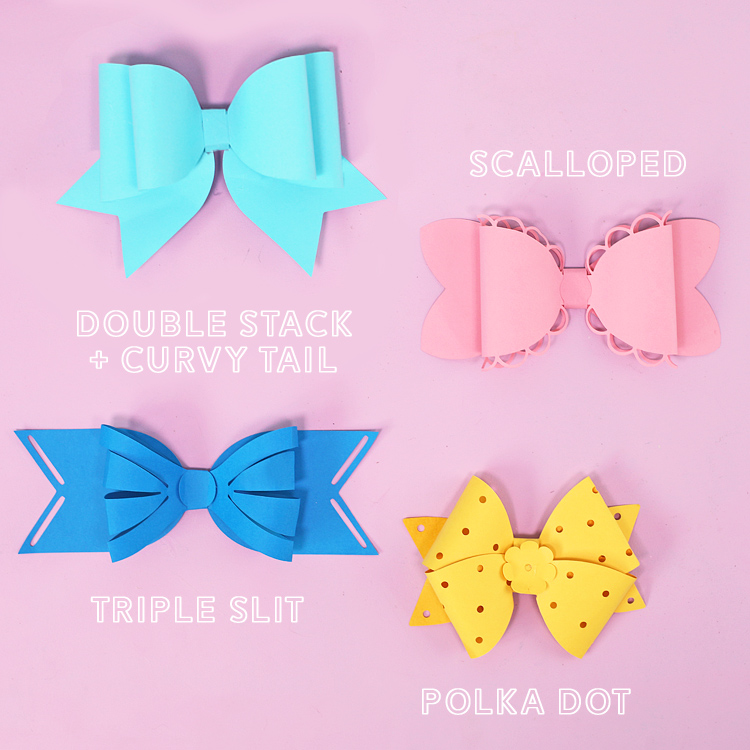
Today I’m making 3D paper bows that are just so stinkin’ darling. I have designed four different bow patterns and you can download the free SVG files at the bottom of this post.
All you’ll need for this craft is the Portrait 3, colored cardstock and a glue gun.
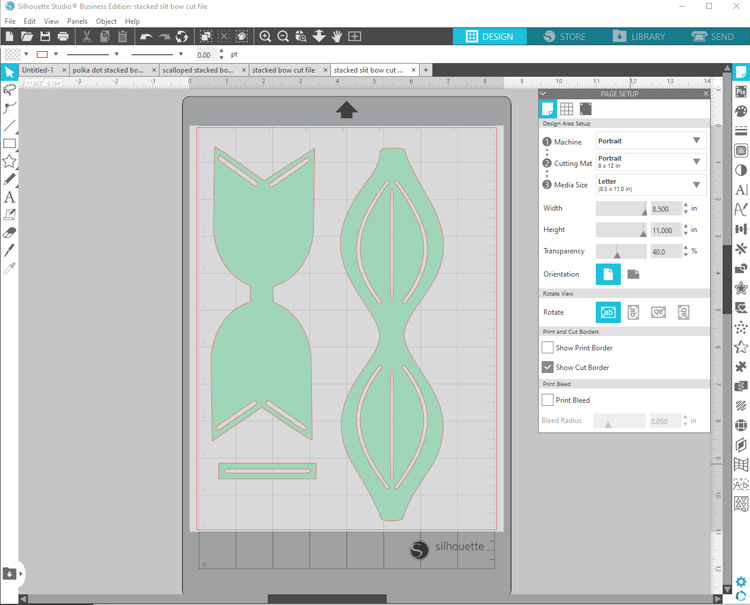
Step 1: Download the cut files from the bottom of this post, then open them in Silhouette Studio. Adjust the size of the bows, if desired, by dragging the parts larger or smaller. Keep the different pieces locked together when resizing to make sure they are scaled in proportion to one another.
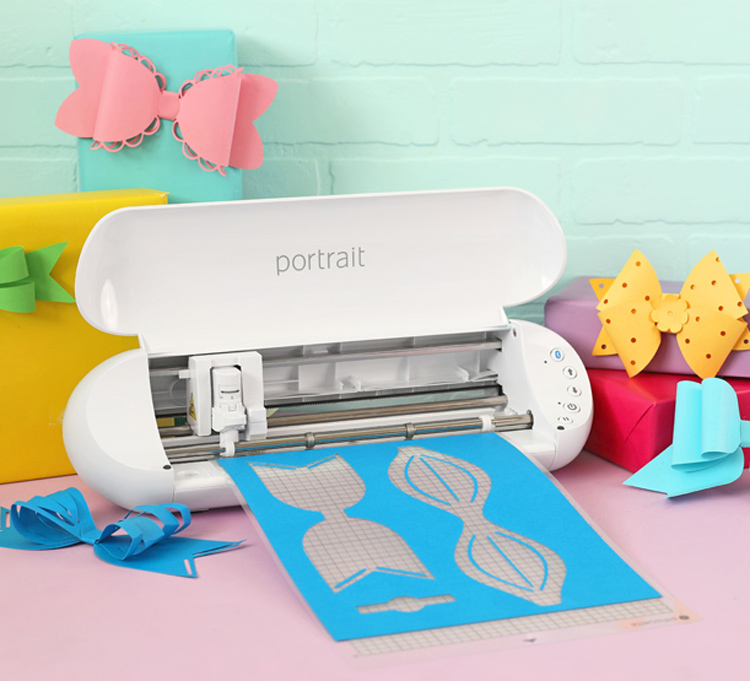
Step 2: Place a piece of cardstock onto the Portrait cutting mat and load it into the machine. Adjust the cut settings to cardstock, then send the design to the machine to be cut.
Step 3: Remove the pieces from the cutting mat and begin assembling the bow.
Each bow has three parts:
- THE BOW This is the loopy part that goes on top.
- THE TAIL This is the bottom piece that sticks out both sides.
- THE CENTER WRAP This piece finishes off the middle of the bow and covers over the seams of the bow piece.
How To Assemble A 3D Paper Bow
- Gently loop one side of THE BOW into the center and secure with hot glue.
- Repeat for the other side of the bow. Be careful not to make any folds. You want them to stay round and loopy without fold lines.
- Glue the looped BOW piece onto THE TAIL.
- Wrap the CENTER WRAP around both layers and glue the ends down on the back side of THE TAIL.
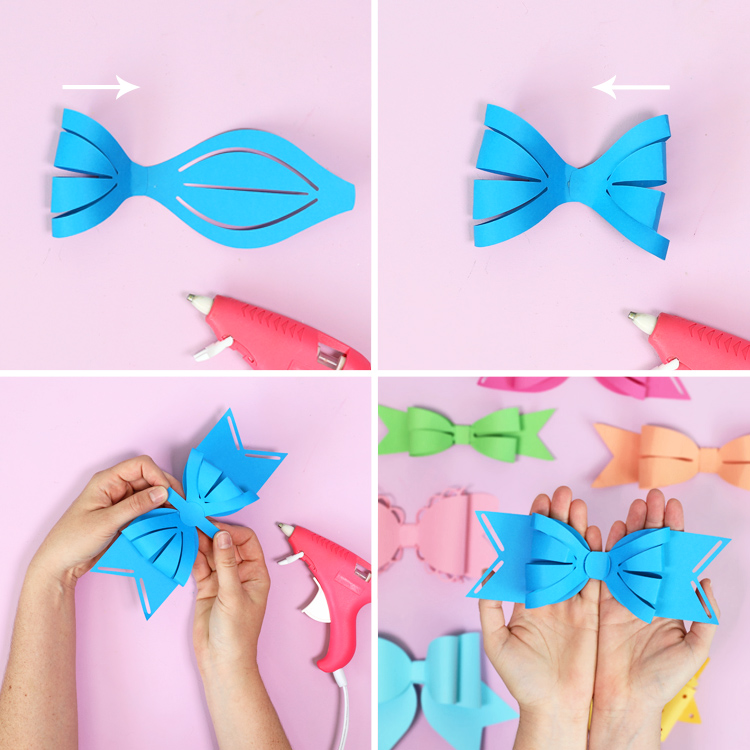
And there you have it… a perfect paper bow!
The fun thing about these bows is that you can mix and match different bows and tail shapes and centers to create so many different styles. You may have to resize things a bit if you decide to mix pieces together, but it’s fairly simple in Silhouette Studio, so go wild and make alllllll the pretty bows!
These bows can also be cut out of leather to make boutique style hair bows. You’ll just need to adjust the cut settings for the thicker material.
Now is a great time to snag a Portrait machine because Silhouette is running some awesome deals and bundles. Head to the Silhouette Portrait 3 hub where you can see all of the different options for purchasing and as always, happy crafting!
Like this post? Pin it so you don’t forget it!

Comments & Reviews
Ok. Now I know how I am wrapping gifts this year!
why without a video 🙁
I don’t make videos for everything I post because videos are easily three times the amount of work!
Thank you!! Love the bows
Is it still possible to get the SVG files anywhere?
Unfortunately the Download link does not work anymore.
I know its an old post. But I would love to have these Bow files. 🙂
Fixed the link! You should just be able to click on the download button and get all the files now. Enjoy!