Learn how to install floating shelves over a tile backsplash.
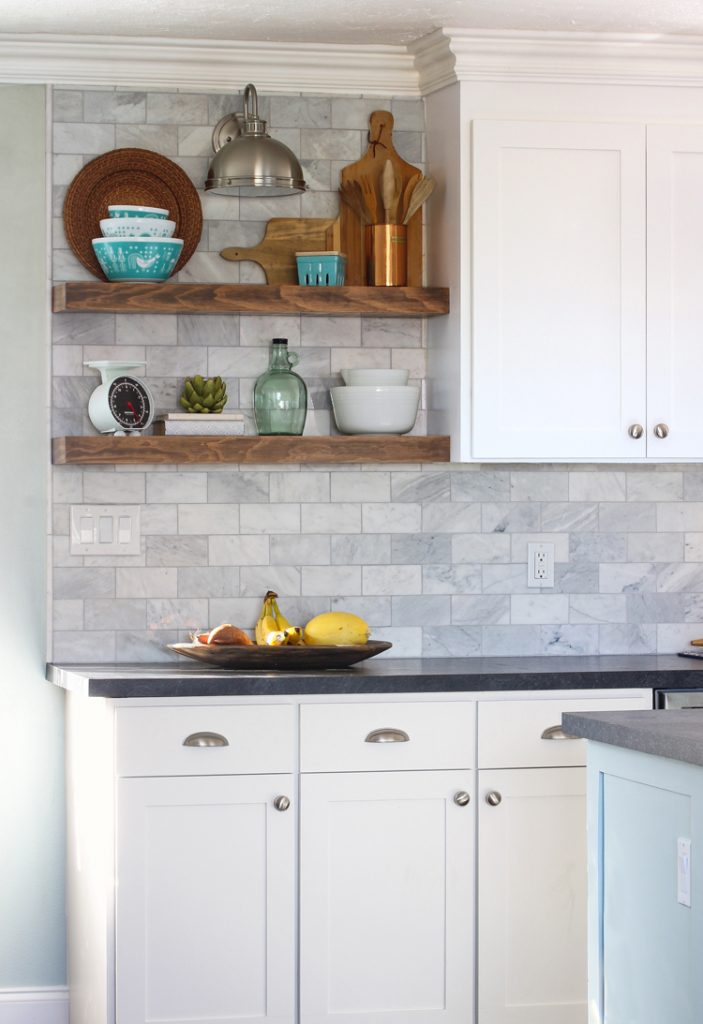
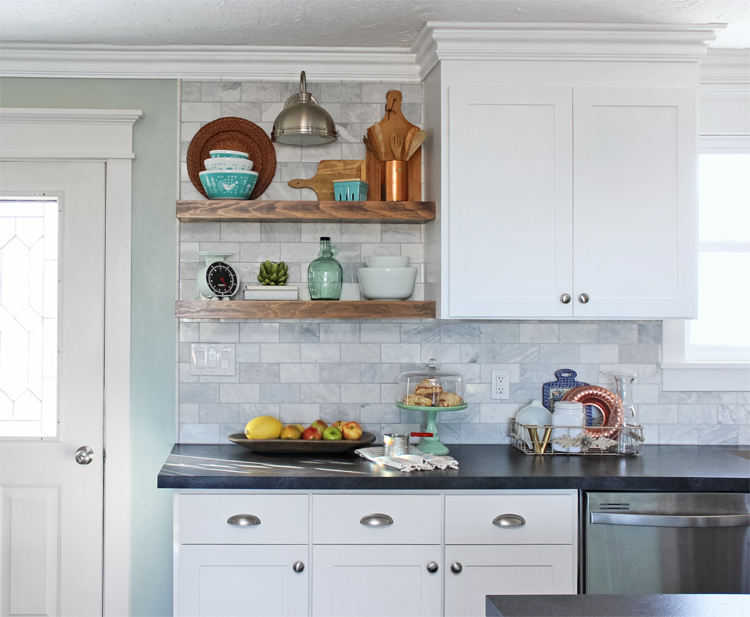
One of my favorite features in our kitchen remodel so far are the floating shelves we installed over our marble backsplash. It is such a pretty focal point in the kitchen. As we were researching how to install floating shelves over tile, I realized that there’s not a whole lot of information out there about how to do it. Do you build the shelves first, then tile around them? Do you drill holes into the tile after the backsplash is already installed? We just weren’t sure! So after a lot of research, we came up with the best way to install the shelves so that they would:
- be strong and sturdy
- anchor into the wall studs
- have the least possible chance of damaging the backsplash.
If you want to do something similar, we’re sharing the nitty gritty details with you today!
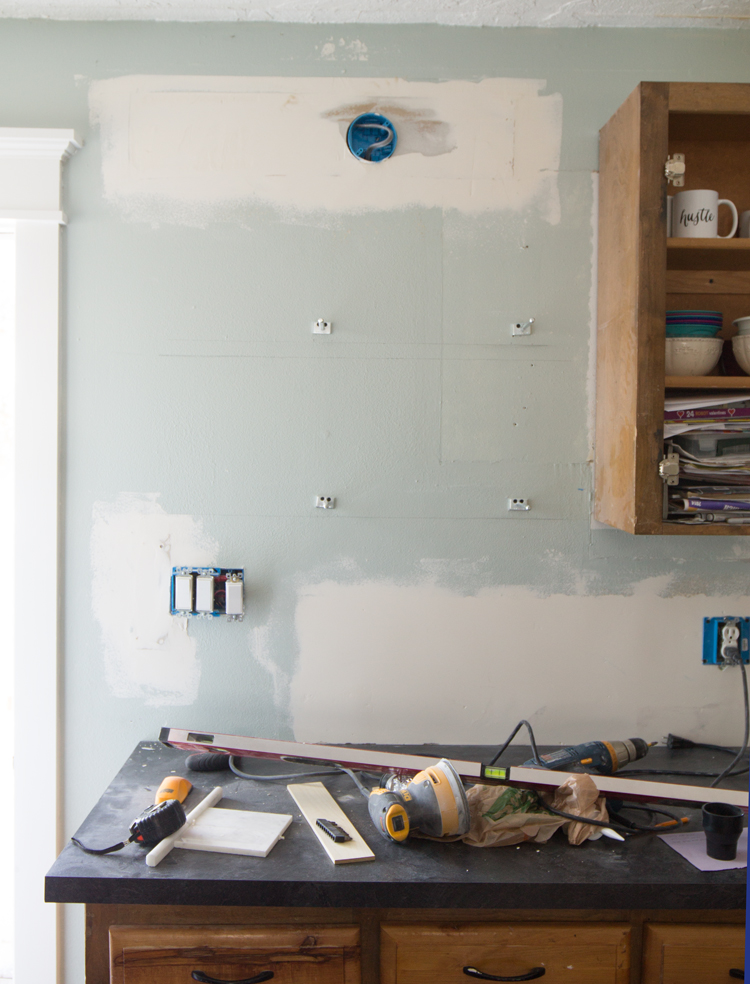
Step 1: Install hidden supports. We purchased THESE blind shelf supports and anchored them into the studs on the wall where we wanted our floating shelves to be. You can see in the photo below that they are off center from left to right because that’s where the studs happened to be. But they are at the correct vertical height.
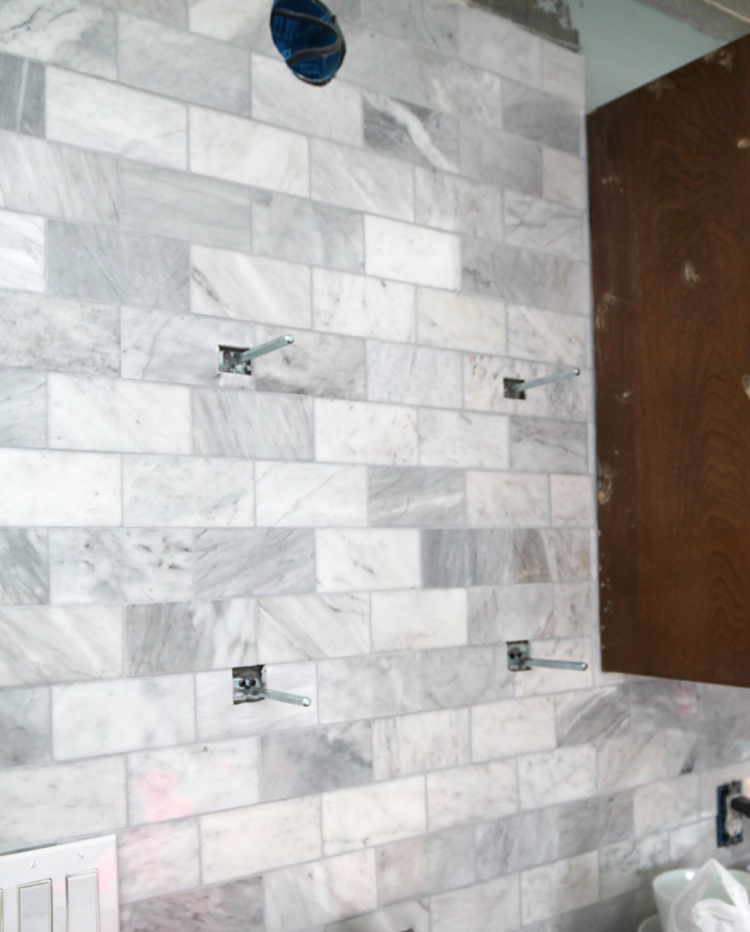
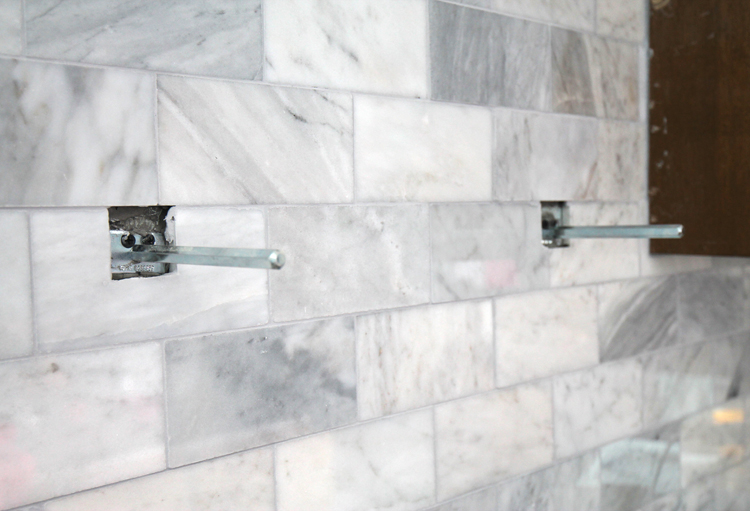
Step 2: Tile. We tiled all the way up the wall and around the shelf supports. We chose to do it this way so we could make sure the brackets were in the studs and that we didn’t have to drill through tile after the fact and risk cracking it. Marble is especially soft and prone to breaking, so I definitely think this was the right choice for us. You can see the shelf brackets sticking out of the tile in these pics:
Step 3: Build the shelves. I wanted chunky shelves, but it was going to be really expensive (and heavy) to make solid shelves that thick, so we built hollow boxes instead. We used 1×3″ pine for the edge pieces and 1/4″ birch ply for the tops and bottoms. Then we added two cross pieces inside the shelves.

We rabbeted the top and bottom edges of the 1×3’s to give the ply a place to sit.
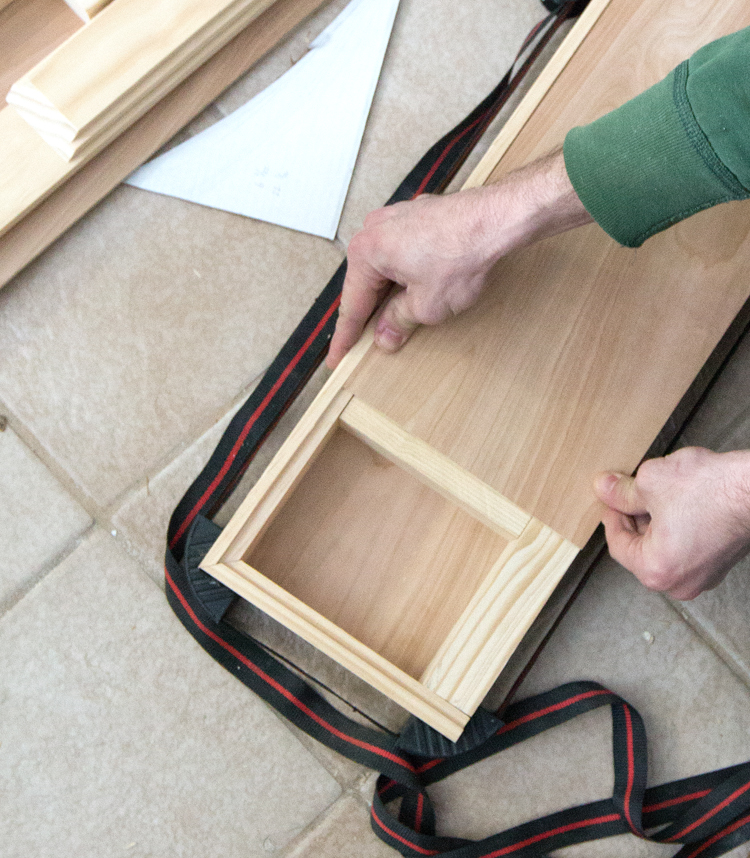
Once we were happy with the fit, we glued the ply into place, added clamps and let dry overnight.
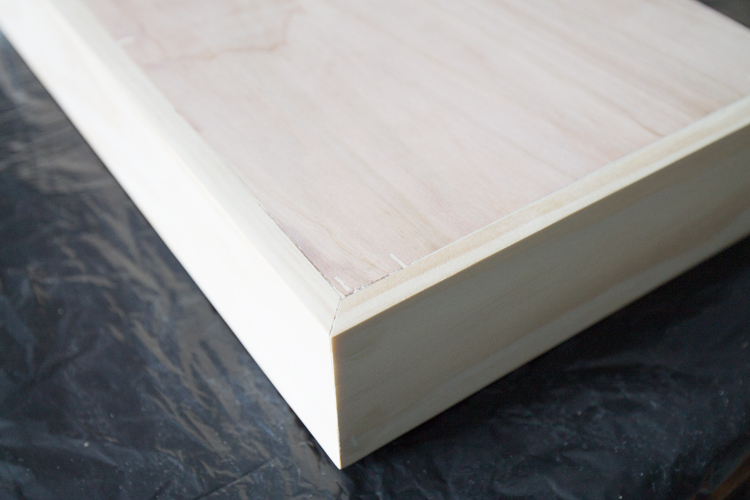
Here’s a close up of the back to give you an idea of how the shelves are constructed.
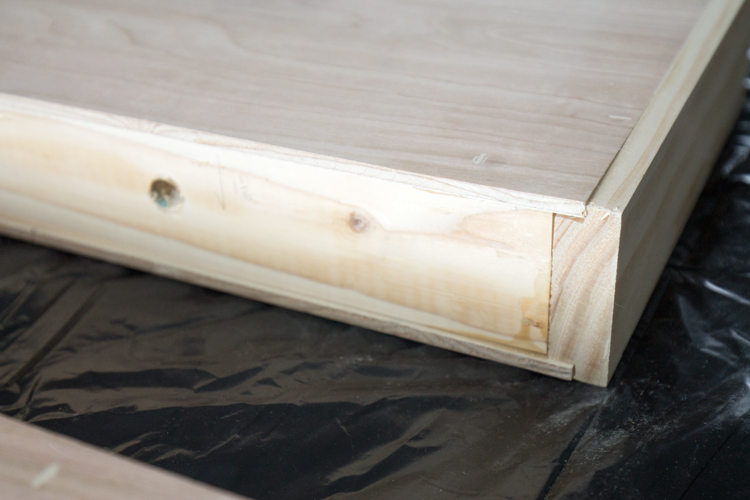
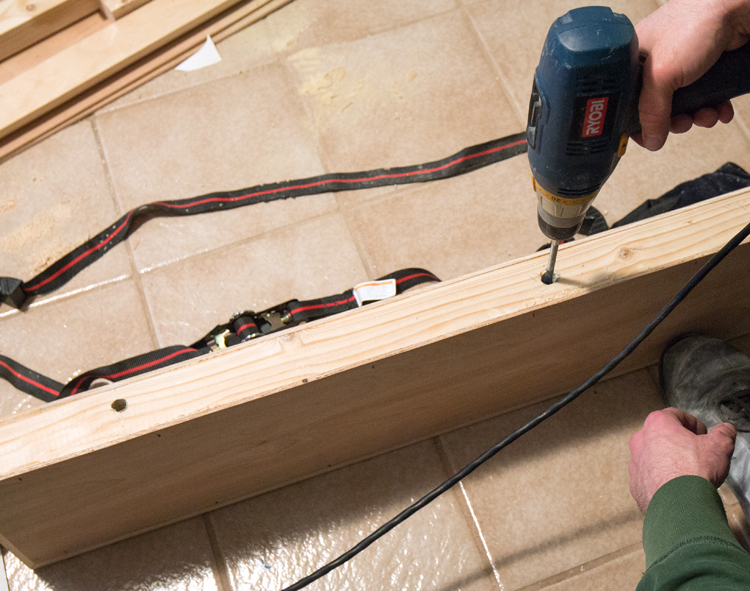
Now, remember the two cross sections inside the shelves? Those are there so that we’d have solid wood to drill through. We used a drill bit just a teeny bit bigger than the metal pegs and carefully drilled into the wood, careful to keep the holes straight.
Next came the fun part. After a thorough sanding ending with 400 grit sandpaper, I coated the shelves with pre-stain conditioner, then a light coat of Varathane Wood Stain in the color Briarsmoke.
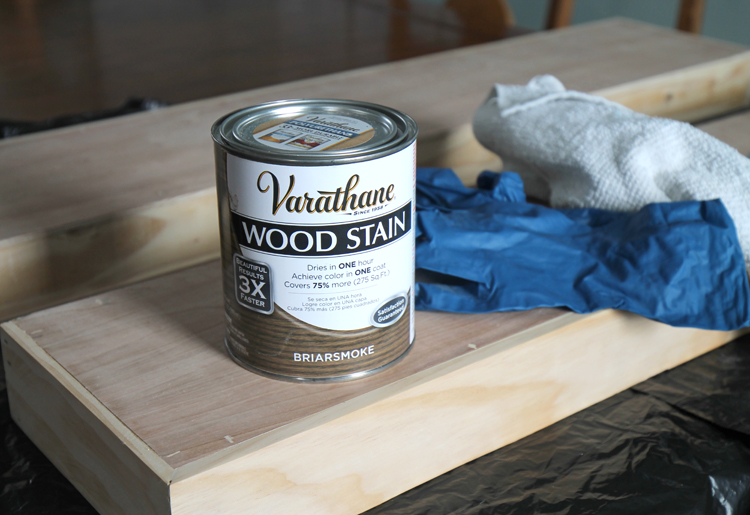
It was really pretty, but I wanted a little more depth to the color, so I went over the wood again with a super light coat of Rustoleum Dark Walnut. You can see the difference in the color in these pictures:
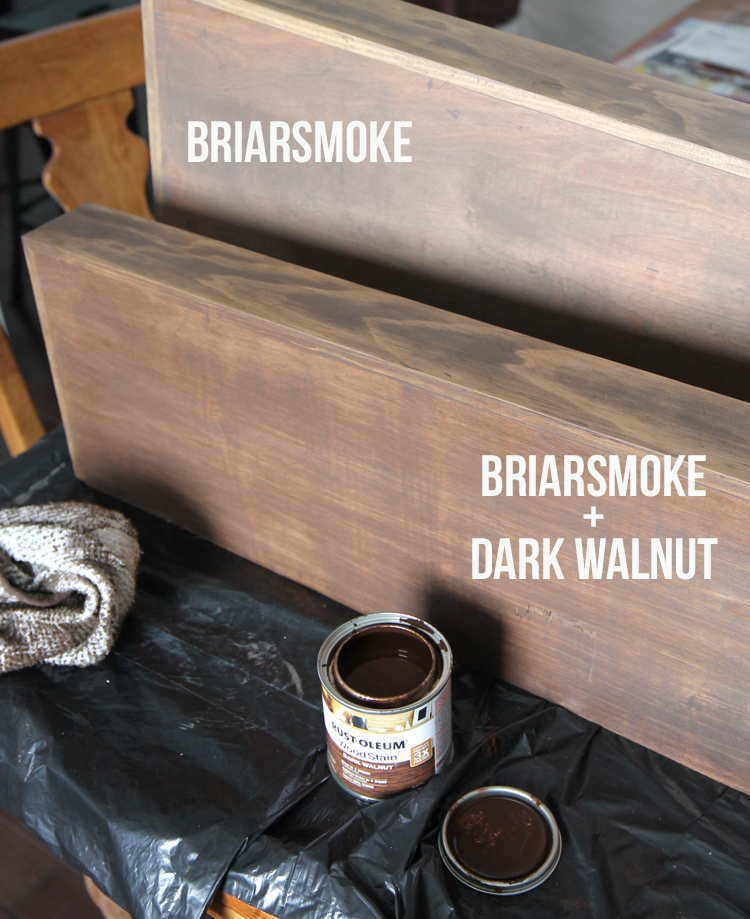
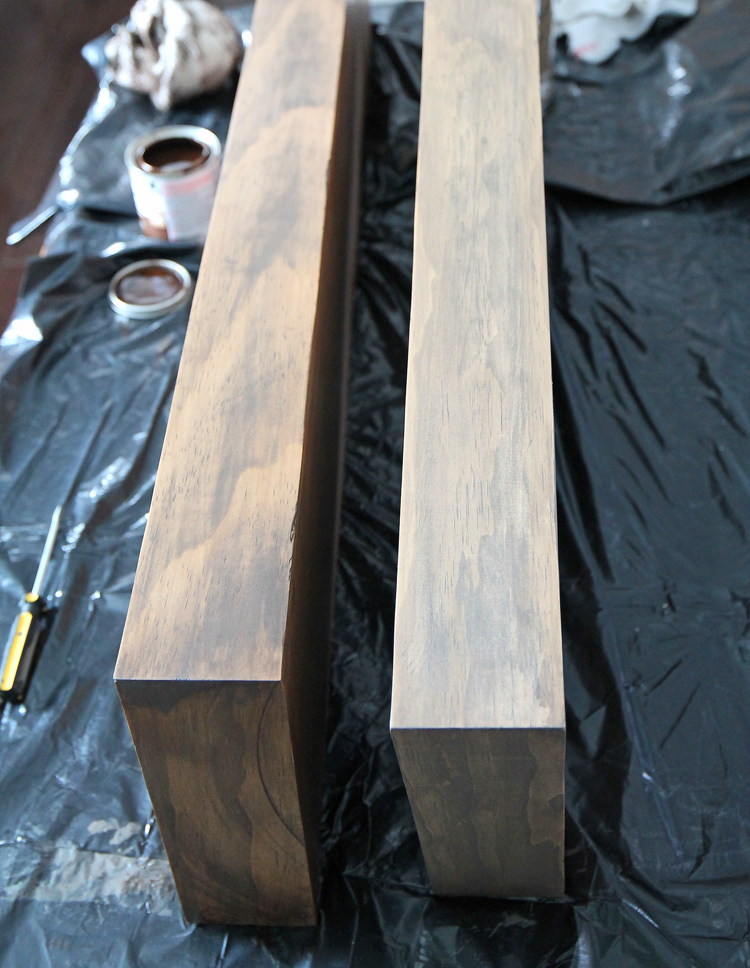
I finished the shelves off with two coats of wipe-on Poly. The hardest part was waiting for the finish to dry so I could hang them up and style them!

Comments & Reviews
love it! I love the darker color of the shelves.
Thank you, Karin!
where did you purchase your brackets for the floating shelves?
http://www.rockler.com/blind-shelf-supports
Did you apply the dark walnut stain immediately after the briarsmoke or did you let briarsmoke dry first and then apply dark walnut?
I didn't wait between coats.
I purchased the Briarsmoke but it turn out to be solid gray . Did I did something wrong ? It didn’t turn out like yours
I applied a very thin coat. Maybe that was it?
Did you sand it after you stain the final coat? Or did you just finished by adding the poly?
I did not sand after staining. I just added the matte polycrylic
What backsplash is that? We’re looking for some and love this.
I wrote a post all about our tile! You can read it here: https://www.thecraftpatchblog.com/diy-marble-subway-tile-backsplash-tips/
Hello! Thanks for your helpful information. Just wondering- how many inches of space are between the bottom and top open shelves. I was thinking of 12.5″ for my 2 open shelves but not sure if I should space them out more. I like the spacing between your two shelves. Thank you!
My shelves have about 12 inches between them, so it sounds like you are right on track!
How much weight can these handle? I am wanting open shelves but worry they won’t be able to handle much.
I have never even felt my shelves budge even a tiny bit and I have piled them high with dishes and decorations. I am sure it depends on how long the boards are and if you properly secure the metal brackets into the studs, but I feel pretty confident you won’t have a problem if you follow the manufacturer’s suggestions.