Learn how to make candy bar and money graduation leis.
It’s graduation season and I love the tradition of giving leis to graduates. My favorite kind of lei is the candy and money kind. Ha!
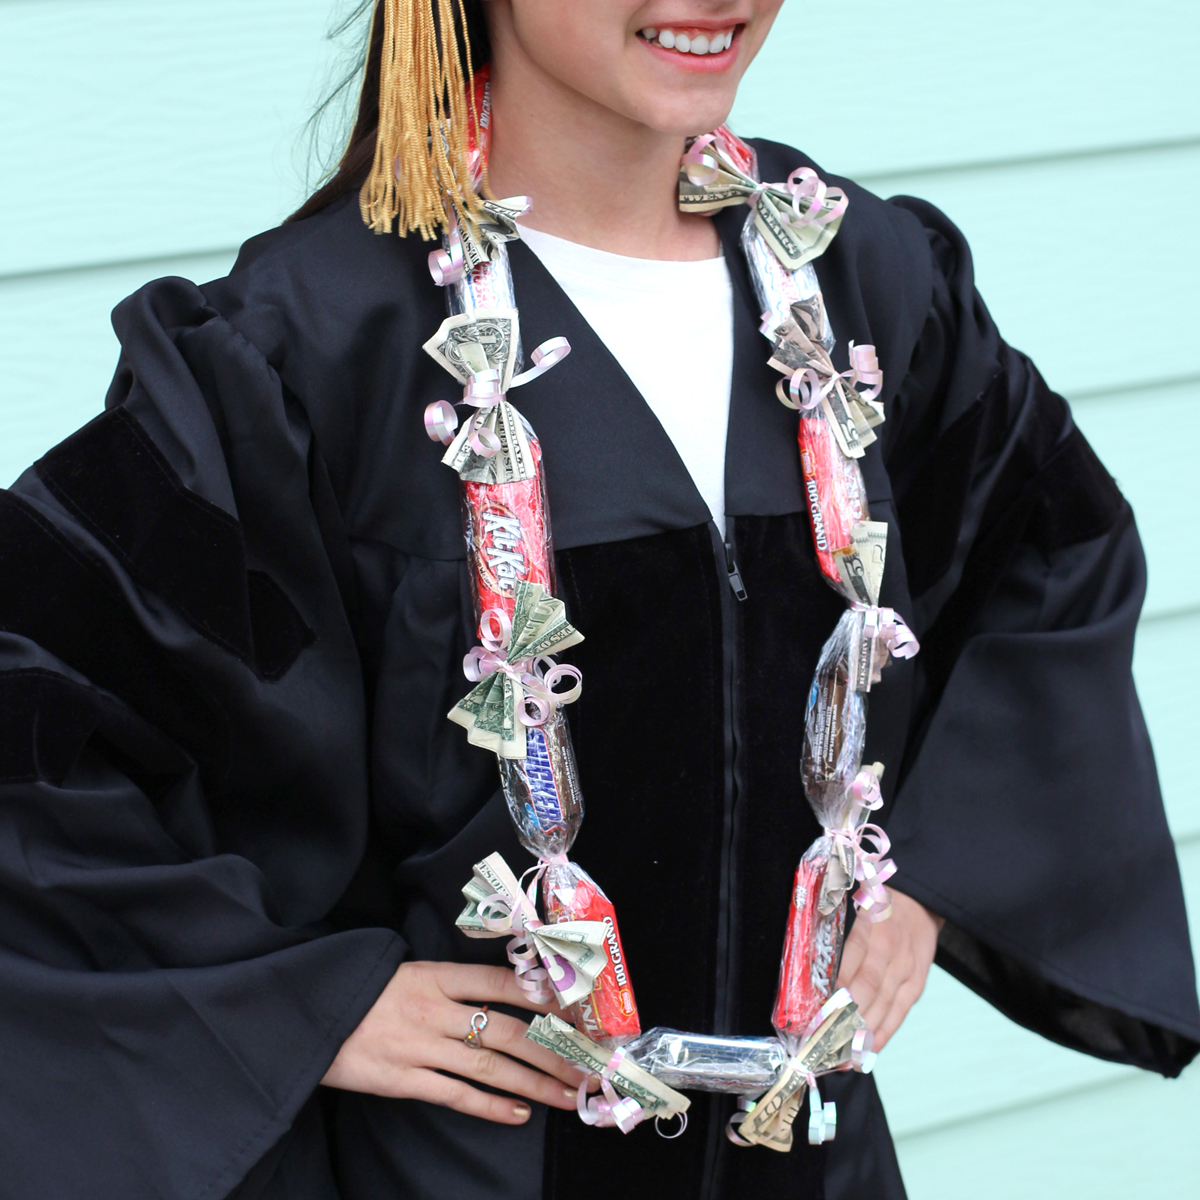
A candy bar lei would be the perfect gift for a birthday, graduation, or as a “congratulations” after a football game, concert or knowledge bowl championship (hey, let’s not forget the nerds we love, haha). They are easy to make and pretty inexpensive. If you want a more substantial gift, you can easily add money fans to the lei too. Because who doesn’t love candy and money?!
Graduation Leis Video Tutorial
I bought the candy bars at WalMart and spent about $4 and already had the other supplies. Here’s what you need:
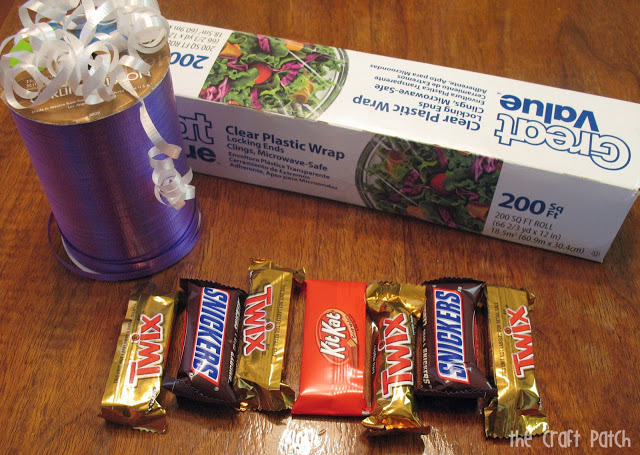
Supplies Needed
- 24 Mini Candy Bars *
- Clear Plastic Wrap
- Curling Ribbon
- Scissors
- Money (Optional)
*Note: I have received comments from people all over the country about this project. Isn’t that so fun? One suggestion is that if you live in a warm climate, chocolate might not be the best choice because it can melt and make a mess. Starbursts or Hi-Chews or other non-melting candy might be a better choice.
Instructions
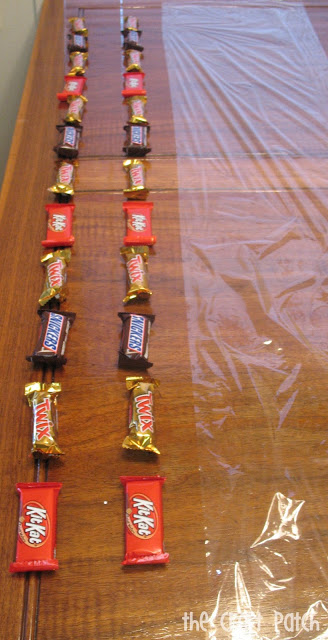
Step 1: Divide the candy bars in half and lay them out end-to-end. Carefully lay out a long strip of plastic wrap about four inches longer than the candy bars on each end. Be careful with that plastic wrap. We all know how it can turn into a hot mess in a hurry.
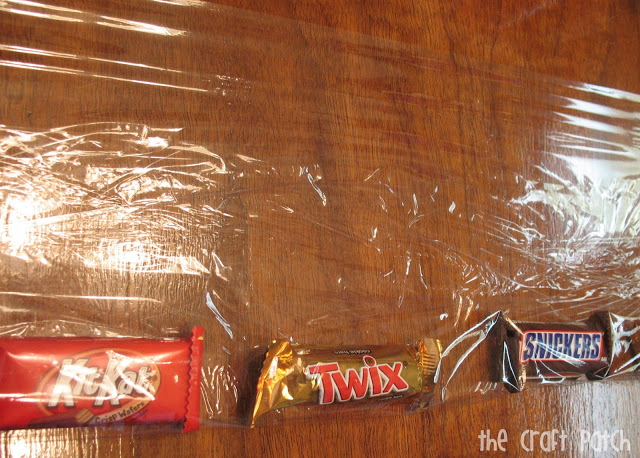
Step 2: Place the candy bars down the center of the plastic wrap and fold one end up so that it is flush with the bottom edge of the candy bars, like this:
Step 3: Roll the plastic wrap around the candy bars until you have a tube like this:
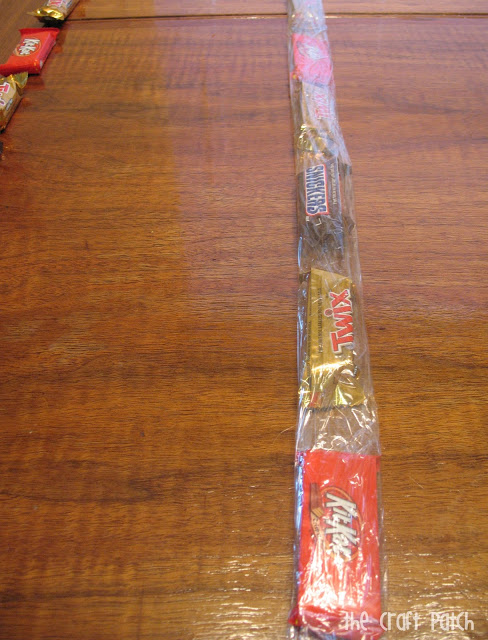
Step 4: Cut 6-8 inch pieces of curling ribbon and tie one in between each candy bar.
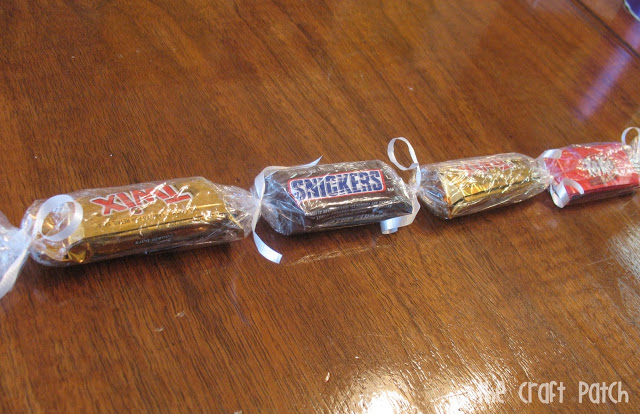
Step 5: Tie the two ends together using more curling ribbon.
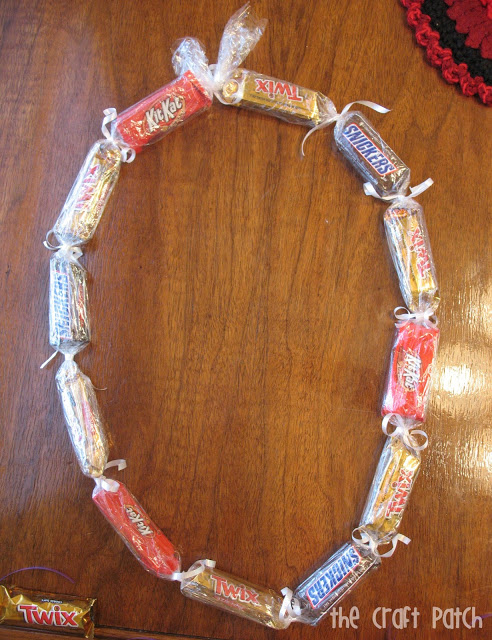
Repeat for the second set of candy bars and your candy bar lei is all done!
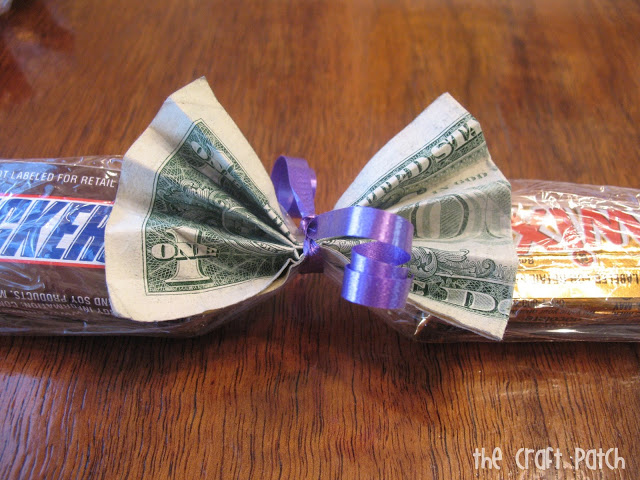
If you want to make this gift even better, you could make little money bows and attach them in between each candy. Just fold a bill in half, accordion fold it lengthwise, then gather it in the middle to make a bow and tie it to the lei with some curling ribbon.
Another variation is to use fabric ribbon instead of curling ribbon. Here are two examples of candy leis made with ribbon:
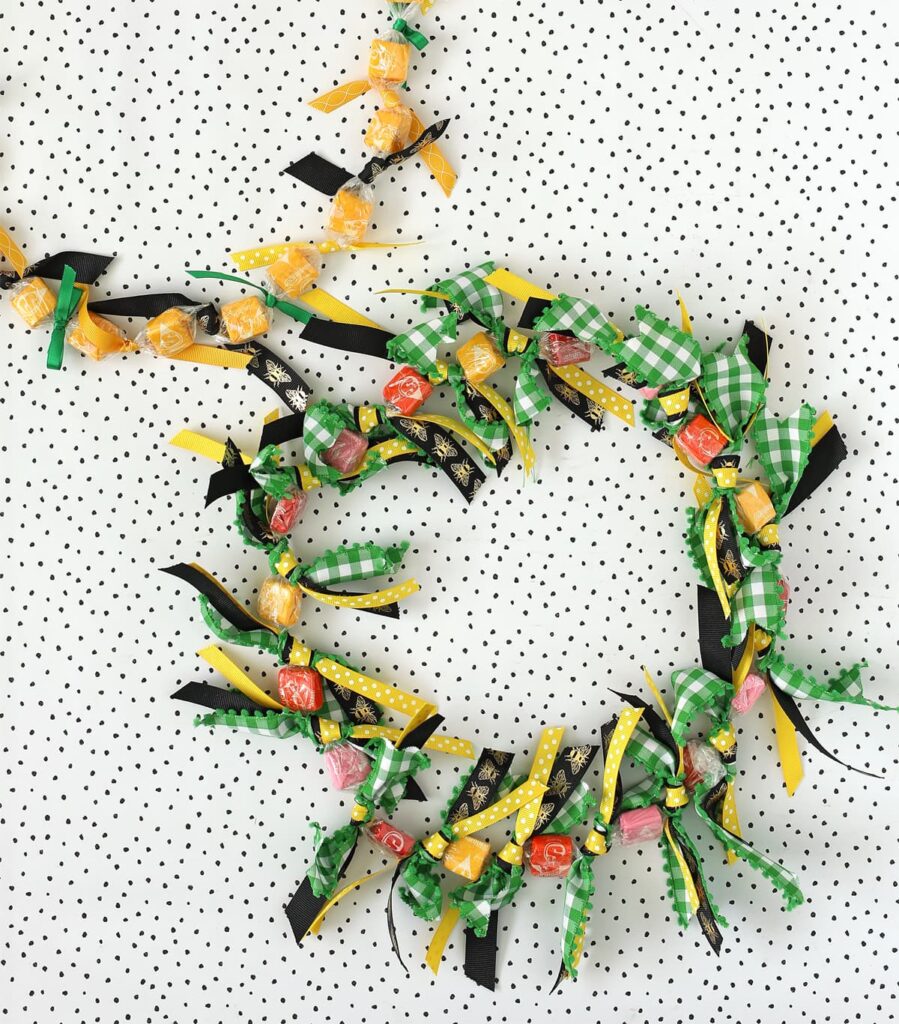
I made these leis the same way as shown above, but I just used layers of ribbon tied in between the plastic wrapped candy. The Starbursts look so cute! You could use ribbon with money as well. It’s a fun way to add more color and texture.
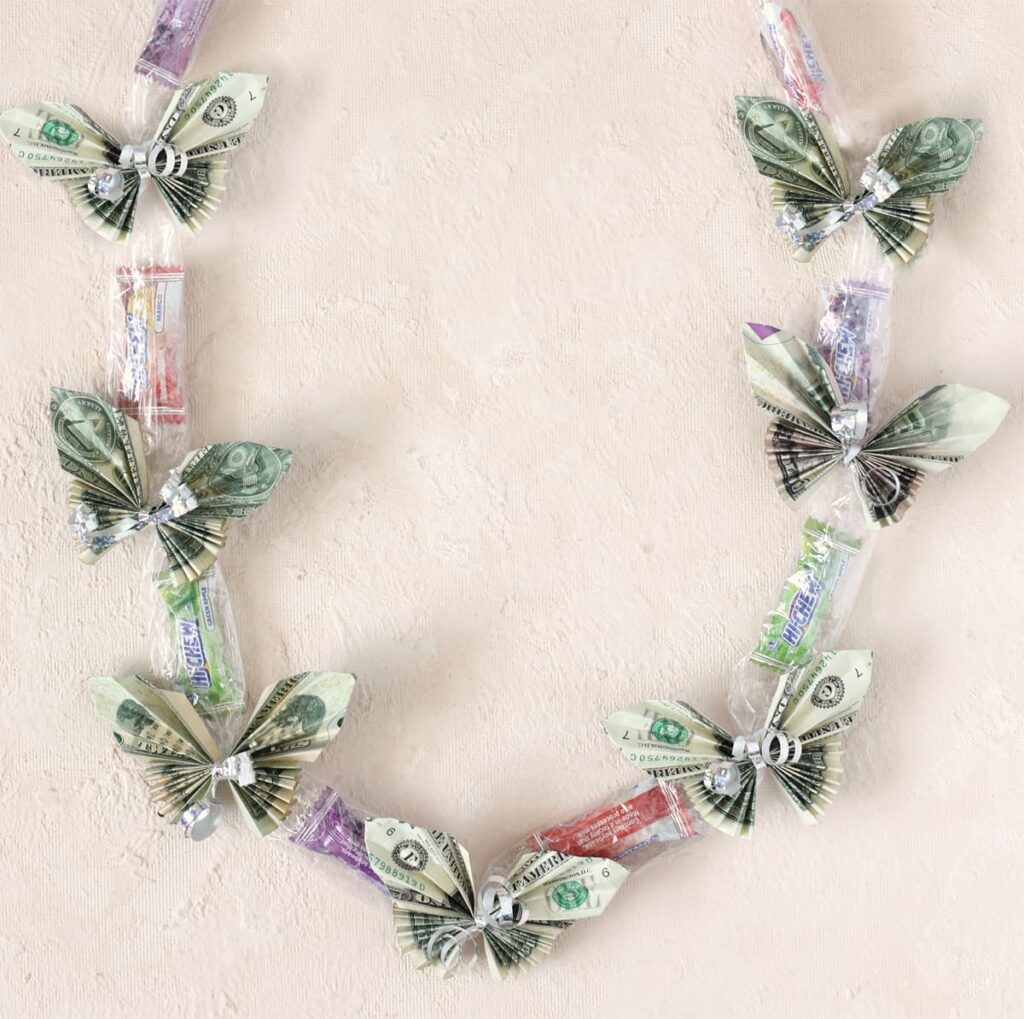
It’s also really fun to make folded money butterflies to add to your graduation lei.
Your graduate is going to be all smiles when you give them this awesome graduation lei!
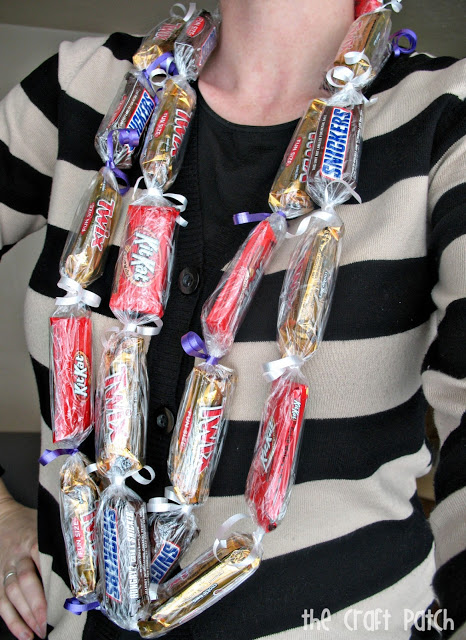
Here’s another version of a candy lei that would be cute too.
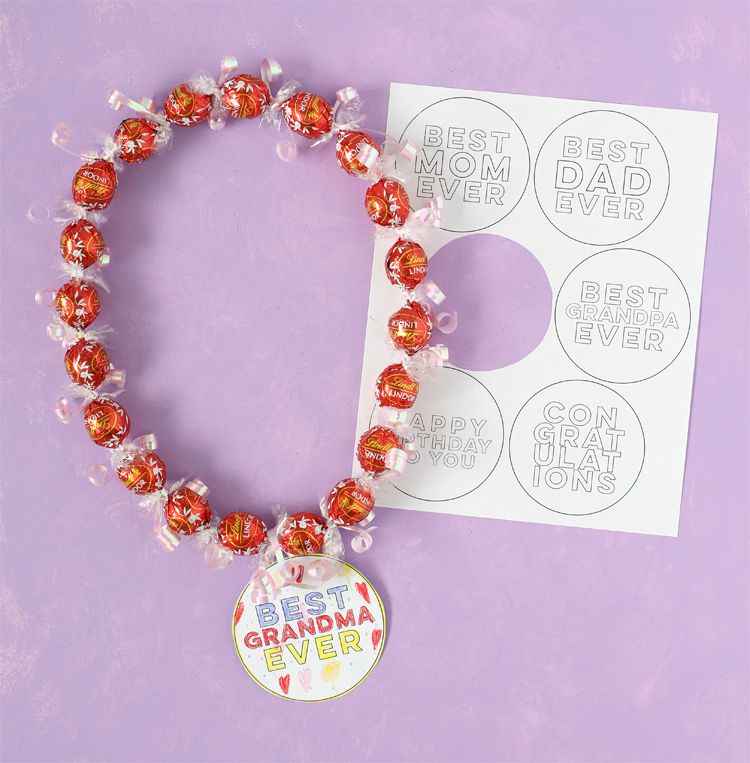
There’s even a free printable tag that says congratulations.
Like this idea? Pin it so you don’t forget it.

Don’t miss this post for even more DIY graduation gift ideas!

Comments & Reviews
Candy lei's are very popular in Hawaii. I want to share this with our group on CafeMom – Holiday and Party Crafts – with a link back to your tutorial. My daughter did a video tutorial and I posted that and want to add more variations. Thanks!
~ Yolanda ~
Love these!
Thank you for the idea and instructions-making these for my sons 8th grade graduation!!
Nice! Mahalo.
Love this idea!!!! My son is graduating from 5th grade tomorrow and I know he’s going to love this gift ☺
Thank you for your excellent tutorial. I made it for my grandsons h.s. graduation. Used small paper clips to fan out money
Thank you! I received a lei just like this one for my college graduation. Now I am making one for my sibling’s college grad.
Thank you so much for your tutorials!! I love them!
If you don’t want to deal with the madness of cling wrap, try cellophane wrap instead! It comes in different colors and you can customize it to their school/team/favorite colors. You’ll see examples hanging in Longs in Hawaii haha
The first time I saw these they were made with cellophane, so that’s what I used. (I already had cellophane on hand anyway as I use it to make my gift baskets and when gifting my crochet items.) I agree; it’s easier to work with cellophane.