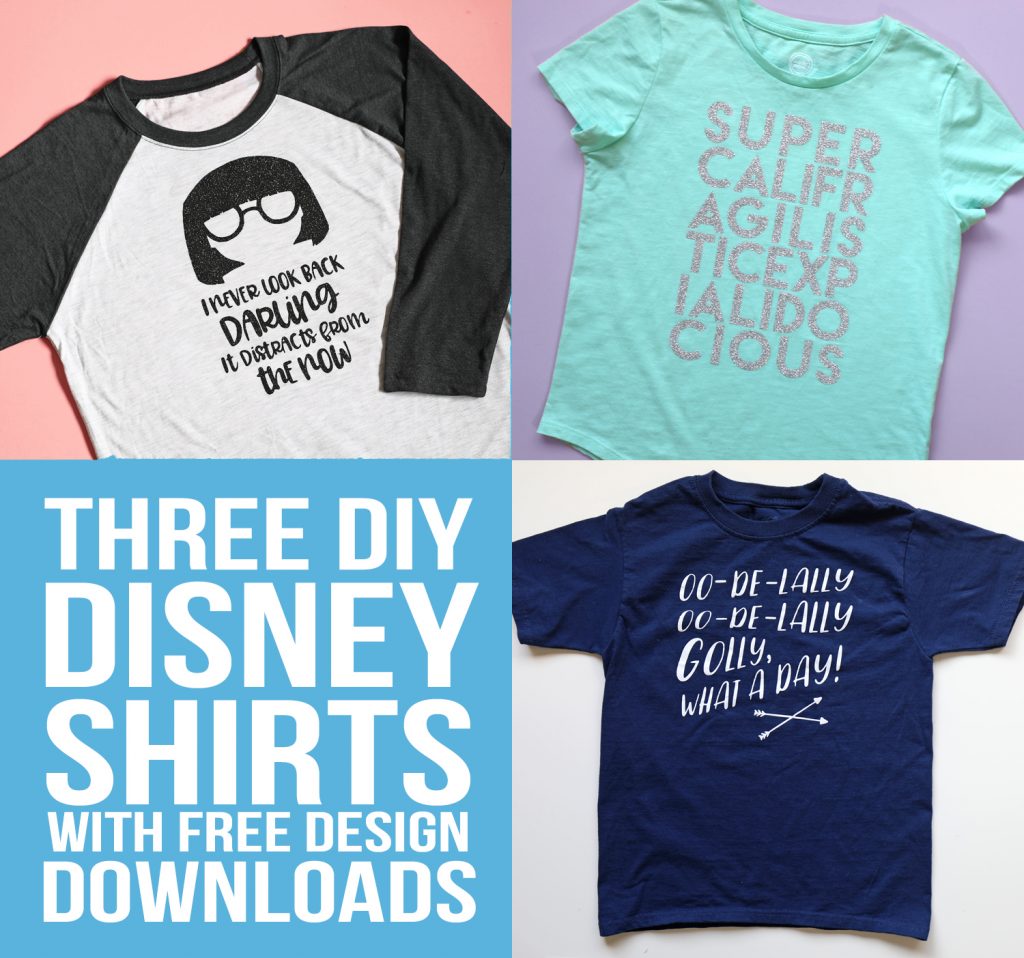
Make your own Disneyland shirts with heat transfer vinyl and a Silhouette machine.

Our family recently took a trip to Disneyland, so of course I had to make shirts. I am a crafter, after all. I let everyone in my family pick what they wanted and it was fun to see what the kids chose. Today I’m sharing three Disney shirt designs and I’m even including the PNG cut file so you can make these shirts too!
Some affiliate links may be used.
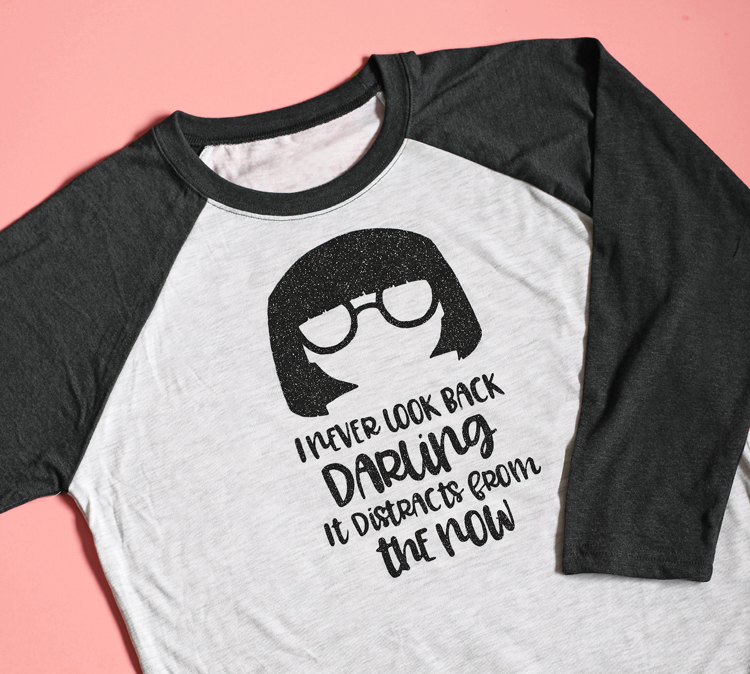
Edna Mode Disneyland Shirt

Edna Mode from The Incredibles is one of my favorite Disney characters of all time, so that’s what I picked for my shirt.
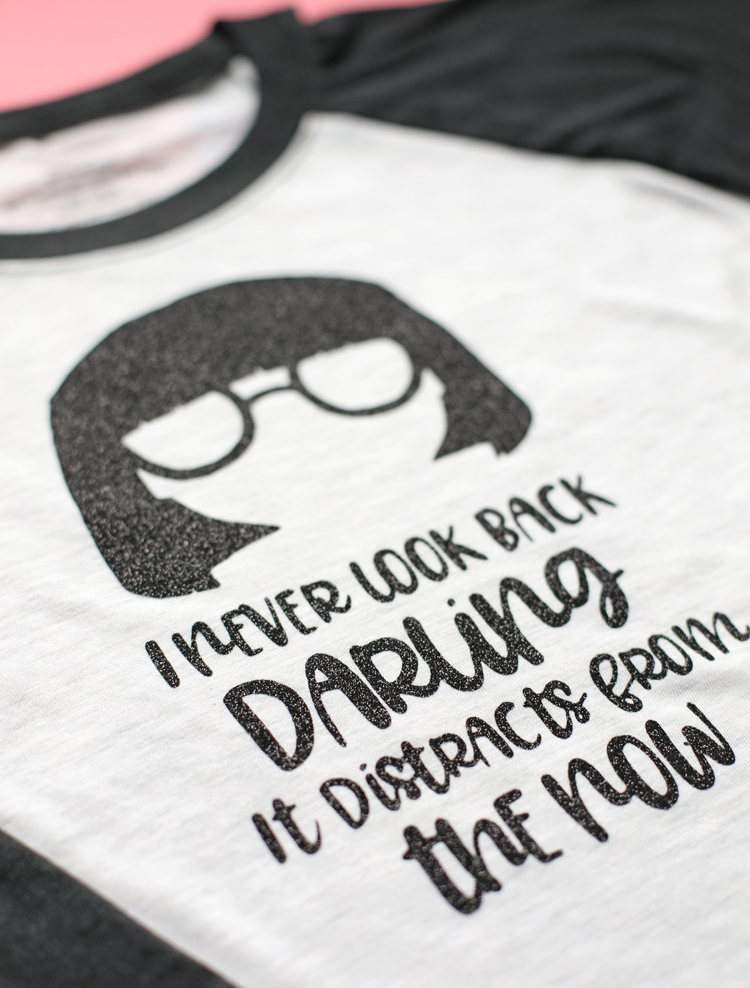
The blank baseball sleeve tee is from Hobby Lobby and I used black glitter HTV from Expressions Vinyl. The photos do NOT accurately show how glittery it is. It’s so sparkly! And there are no capes, so I think Edna would be pleased.

To make the Edna Mode shirt, download the PNG file here.
Glitter HTV Application Instructions:
- Open the PNG file in Silhouette Studio.
- Use the trace tool to outline the shapes.
- Mirror image.
- Adjust cut settings for glitter vinyl. I used a ratchet blade and set it to blade- 4 speed- 4 thickness- 18.
- Insert glitter HTV into Silhouette machine shiny side down.
- Cut design and weed (remove excess vinyl pieces to reveal the design).
- Place design on shirt with shiny side up.
- Cover with a flour sack dish towel or multi-use paper.
- Iron at 325°F for 10-15 seconds using firm pressure.
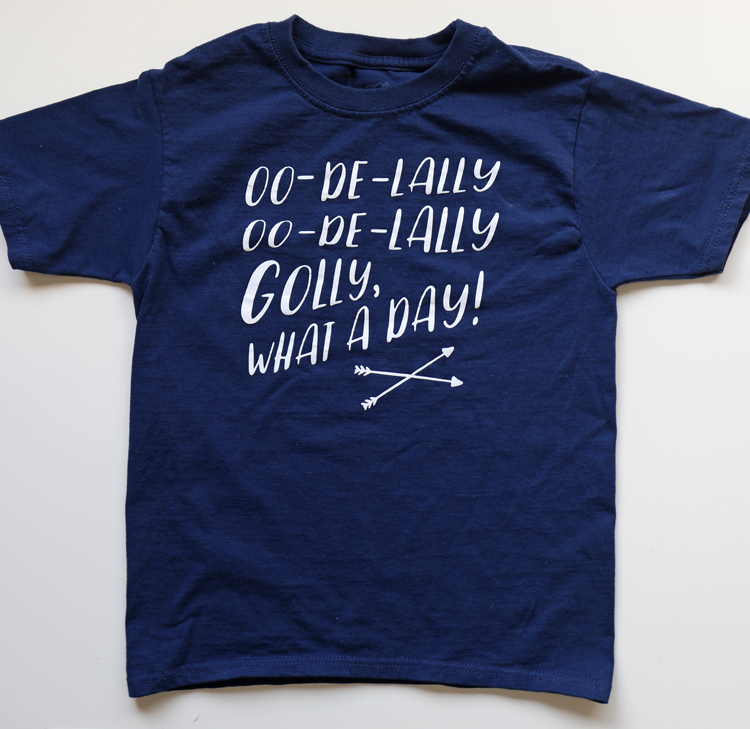
Oo-De-Lally Robin Hood Shirt

My son picked this shirt with a Robin Hood reference. It’s fitting for a day at Disneyland, don’t you think? Golly, what a day! I picked up cheap navy blue tee from Walmart and added the design in white heat transfer vinyl. Super easy!
To make the Robin Hood shirt, download the PNG file here.
Heat Transfer Vinyl Application Instructions:
- Open the PNG file in Silhouette Studio.
- Use the trace tool to outline the design.
- Mirror image.
- Adjust cut settings for heat transfer vinyl.
- Insert vinyl into Silhouette machine shiny side down.
- Cut design and weed (remove excess vinyl pieces to reveal the design).
- Place design on shirt with shiny paper side up.
- Cover with a flour sack dish towel or multi-use paper.
- Iron at 305°F for 10-15 seconds using firm pressure.
Mary Poppins DIY Shirt
My tween daughter wanted a Mary Poppins shirt, so we wrote out the word supercaifragilisticexpialidocious and cut it out of silver glitter heat transfer vinyl. It turned out so darling against the mint colored tee!

To make the Mary Poppins shirt, download the PNG file here.
Follow the instructions for glitter heat transfer vinyl found above.

Let’s Get Social
I’m sharing tons of fun ideas on my social channels and I’d love for you to join me there.