Hi there! Today I’m participating in a Christmas ornament challenge sponsored by Expressions Vinyl. A group of creative bloggers and I were given the task to create a Christmas ornament and the only stipulation was that we had to use vinyl. I thought it sounded like a lot of fun. Here’s what I came up with… a cross stitched ornament made with vinyl!
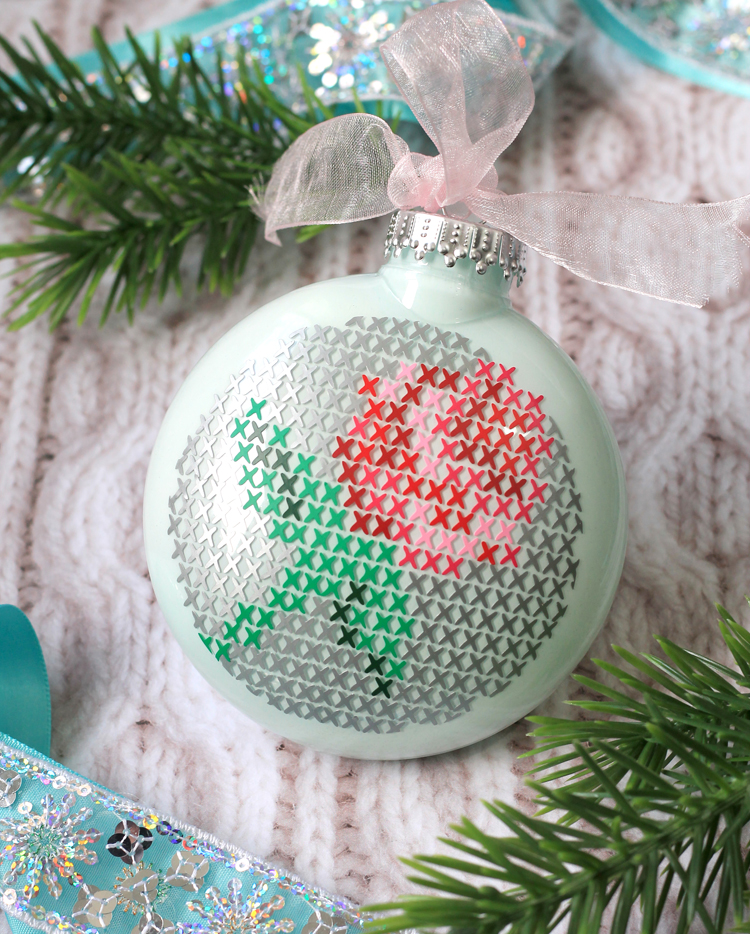
It looks super complicated, but it really wasn’t hard to make. I’ll walk you through every step so you can make one too.
You will need:

- Craft Vinyl. I used silver, red and green from THIS Christmas pack + light pink and dark pink.
- Clear Christmas Ornament
- Craft Paint (optional)
- Silhouette Cutting Machine
- Free Cut File (DOWNLOAD HERE)
First, download the cut file and open it in Silhouette Studio. Then cut the vinyl into small squares as follows:

- Light Green – 2.5×2 inches
- Silver – 4×4 inches
- All Other Colors – 2×2 inches
Arrange the vinyl pieces on the mat just like the picture above, with a one inch spaces between each square. The file is set so that you can cut all of the pieces at the same time.
Adjust your cut settings for vinyl, then send it to cut.

Peel off the paper backing and press a piece of transfer tape to the back. Peel away the negative space so that the little X’s are left on the contact paper. This is a little backwards of what you normally do, but I found that it worked better with the intricate design.
After you’re done, you’ll be left with a cross stitch jigsaw puzzle.
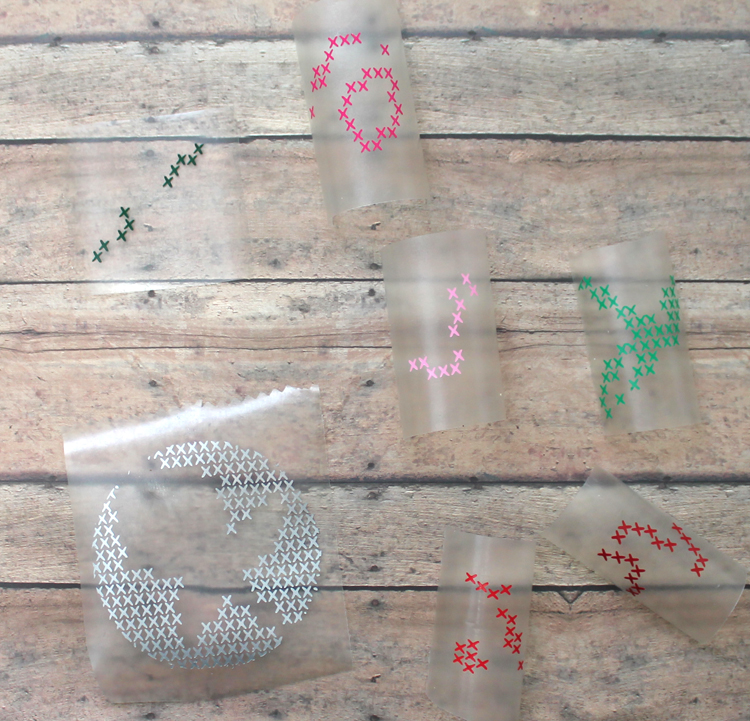
Now it’s time to stick the design to your ornament! I suggest placing the silver background piece first. Then carefully line up each new color. Also, I’d refer to the picture of the finished ornament to help.
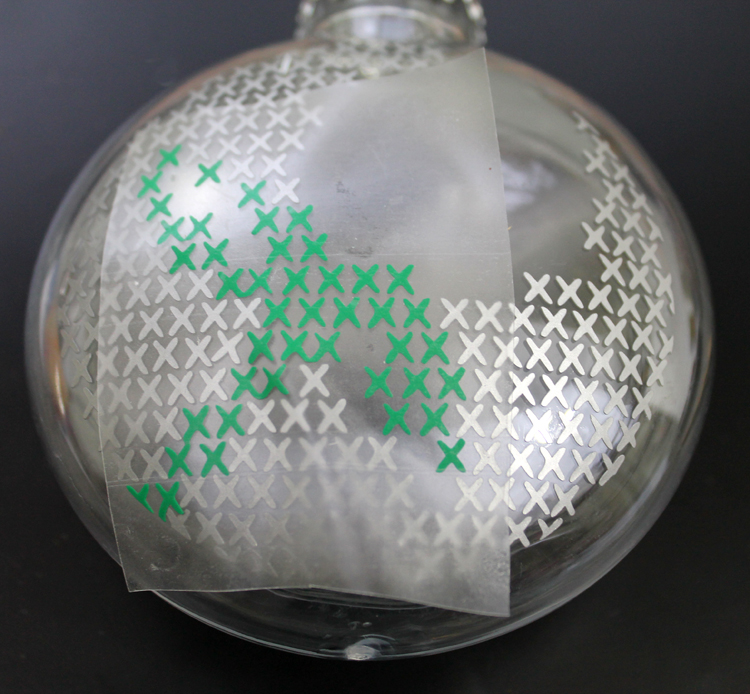
One tip for applying vinyl to a curved surface is don’t worry so much about the transfer tape being smooth. Just focus on where the design lines up overall, even if it means folds and bends in the transfer tape. You can also cut the designs into smaller pieces to apply them to smaller areas.
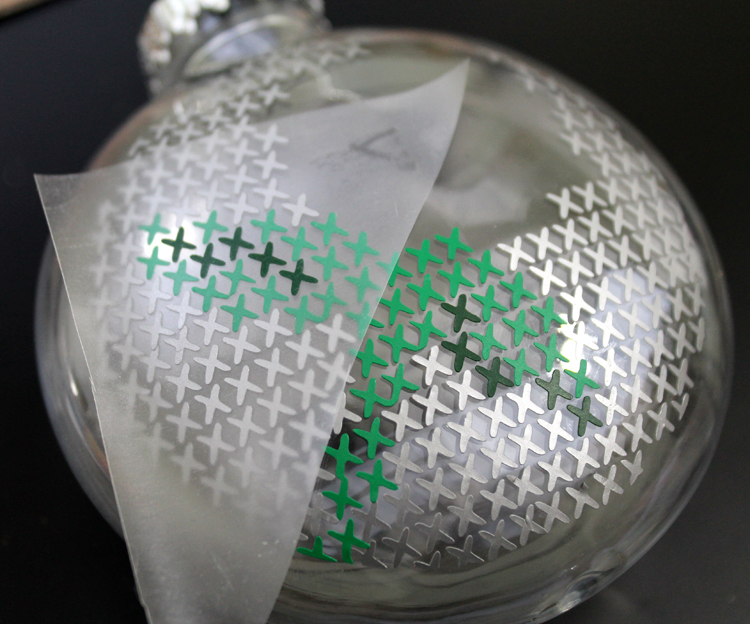
When you’ve added all of the vinyl, you’ll be left with this pretty cross stitch rose. Isn’t it so cool? It looks way harder than it really was.
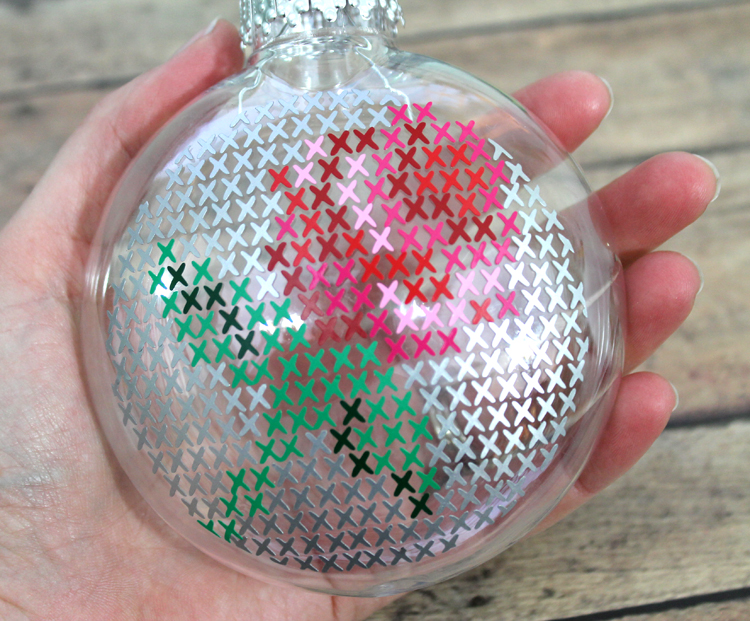
Leave your ornament clear or and paint it (pour paint inside, swirl to coat, then turn it upside down and let all the extra paint drip out).
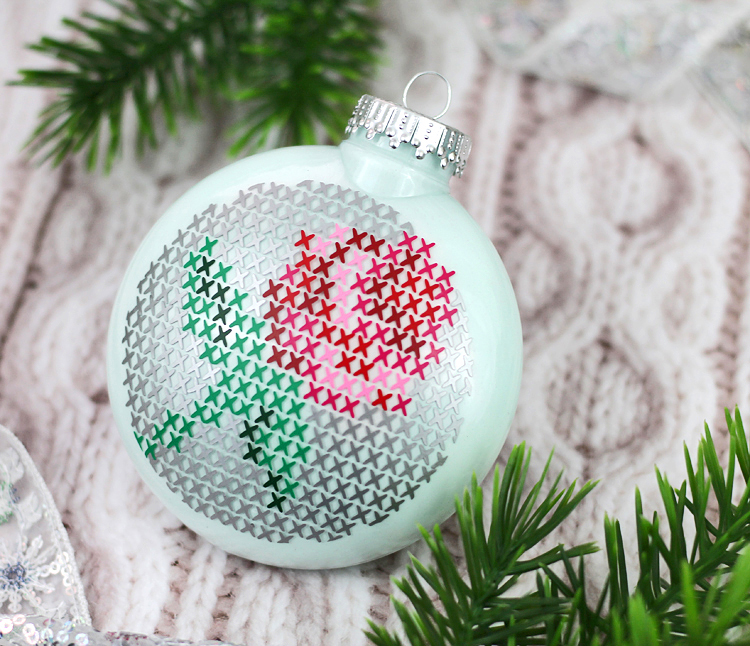
And that’s all it takes! I’m doing a non-traditional color scheme downstairs this year and this happy ornament will fit right in.
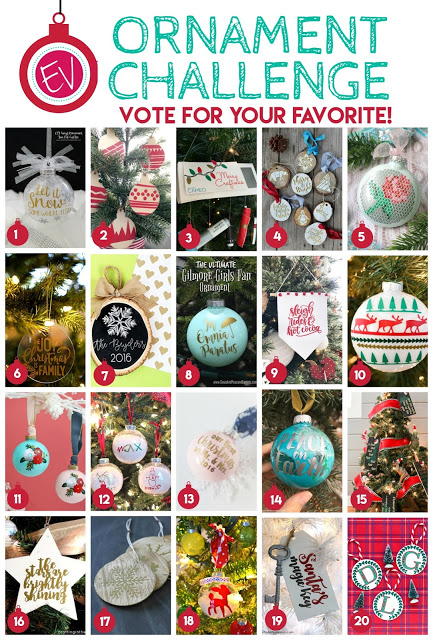
Head HERE to see all of the other great ornament ideas and to vote for my ornament. I am entry number 5. I would just die of excitement if I won. I’m super competitive. Haha. Help a fellow craft lover out, friends! Plus there’s also a $100 Expressions Vinyl gift card giveaway for you, so don’t miss your chance to enter and stock up on vinyl.

Comments & Reviews
wow!! this one is amazing! I love the details!
The cross stitch is adorable!
This is wonderful! And thanks for the cut file!
I was unable to download the file
Oh no! Email me and I will send the file to you that way.
jennifer @ thecraftpatchblog . com
Do you think it's possible to make it larger for a shirt?
Yes! You would just have to scale the cut file larger and adjust the way that you put the vinyl pieces on the cutting mat. As long as you keep the scale the same for all the different pieces, it should work just fine.