I love the look of pallet wood projects, but sometimes finding the wood, cutting it and building something seems like too much of a hassle. So I was really excited when I found a source for pre-made pallet wood Christmas trees that just needed to be decorated. I painted mine fun retro Christmas colors and added lights and it’s one of my favorite Christmas decorations this year!
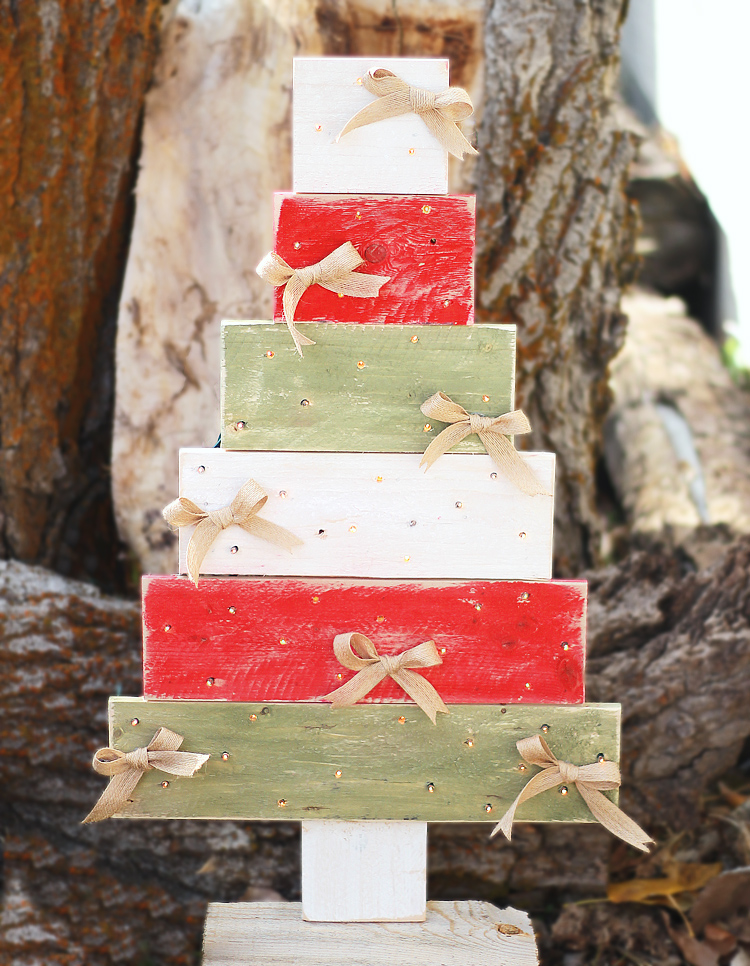
To make your own, you will need:
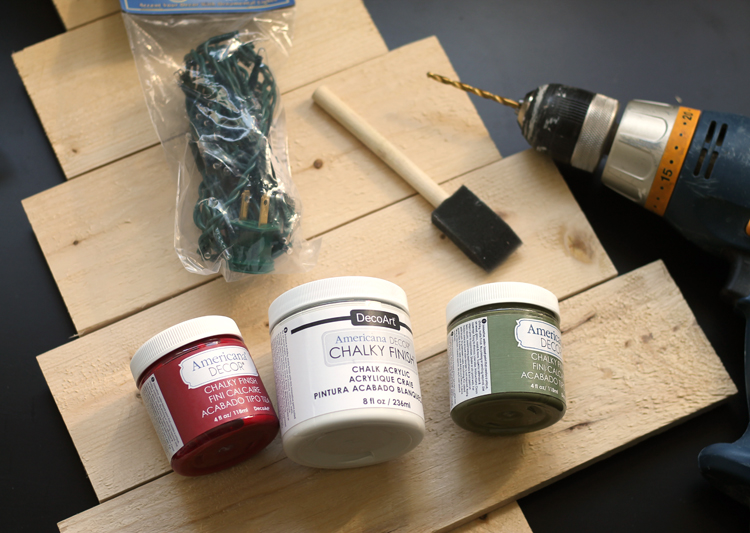
Materials Needed
- Rice Lights 50 ct.
- Craft Paint
- Paint Brush
- Drill
The original wood pallet tree that I used in these photos was sold by Darice and they have gone out of business. Here are a few unfinished wood trees you could use instead:
Instructions
1. Drill holes for lights. Begin by testing your drill bits on a piece of scrap wood to find the right size so that the lights will fit through without being too loose. Then mark 50 spots on the pallet wood tree and drill the holes. The cord between each light will only stretch so far, so keep that in mind when you are planning the spacing.

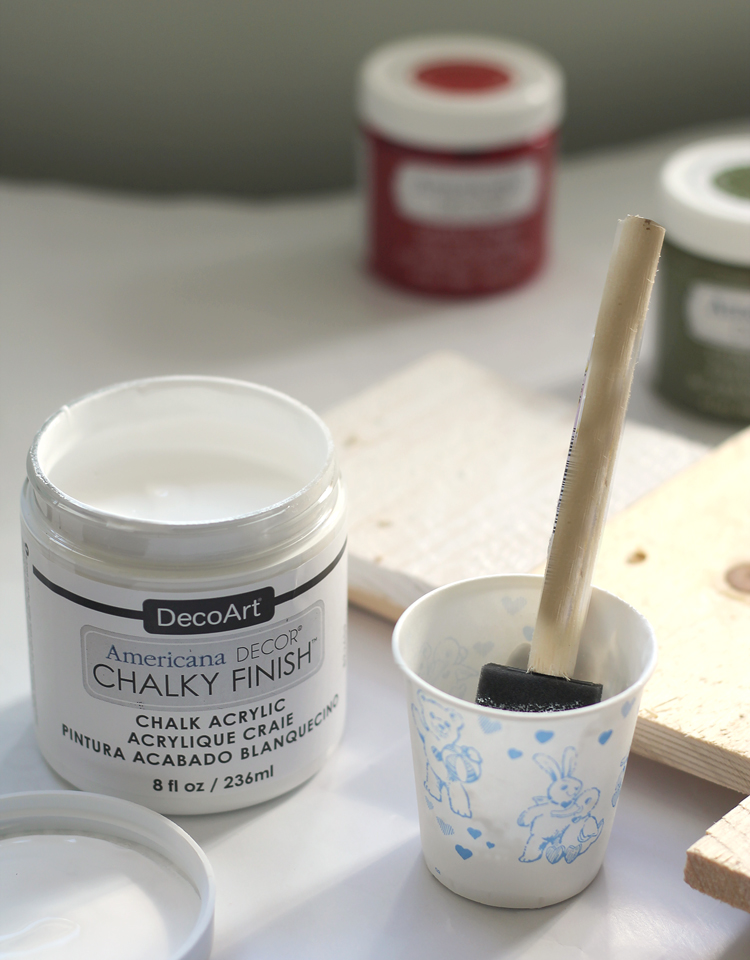
2. Paint the wood. I wanted a chippy, weathered finish on my project, so I watered down my craft paint before painting each section a different color. After the paint was dry, I gave the whole thing a light sanding to add more dimension.
3. String lights. Start at one corner and put all of the lights into the holes. This part is a little tricky. Just be sure to plan a route so that your cord reaches all of the holes without getting “stuck” anywhere.
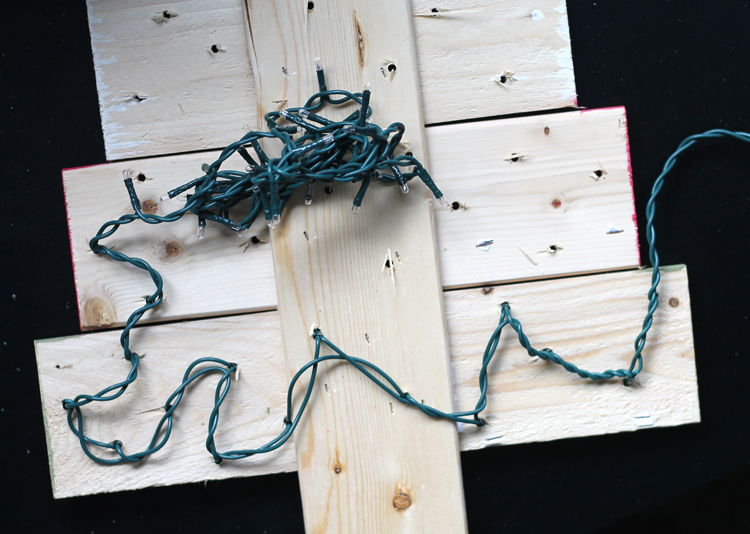
And that’s all it takes to make this cute decoration. Isn’t it so fun?!
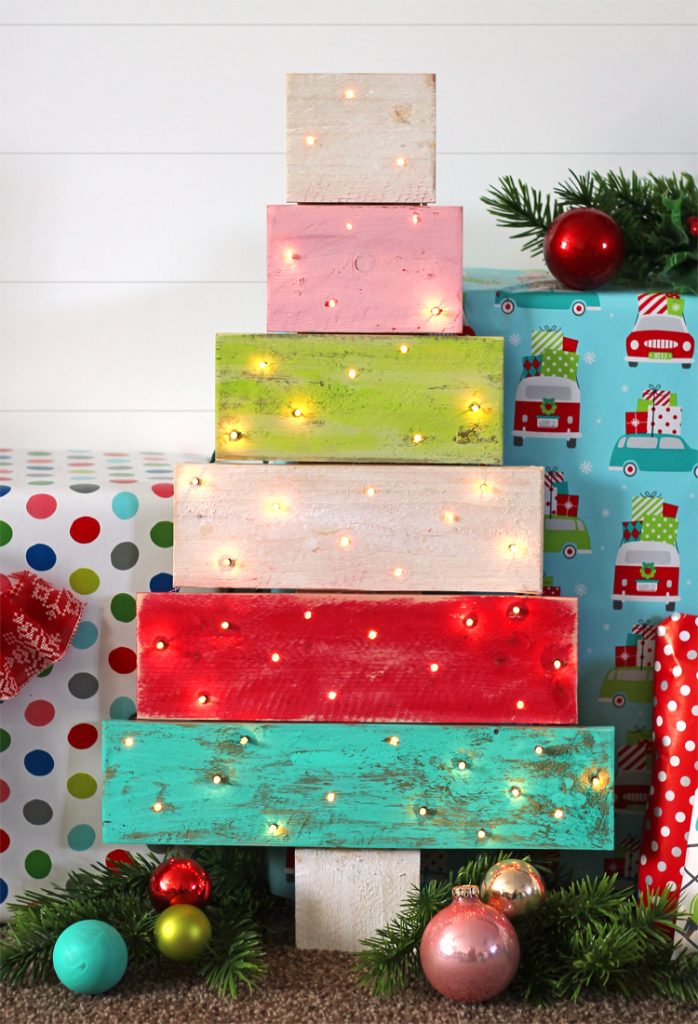
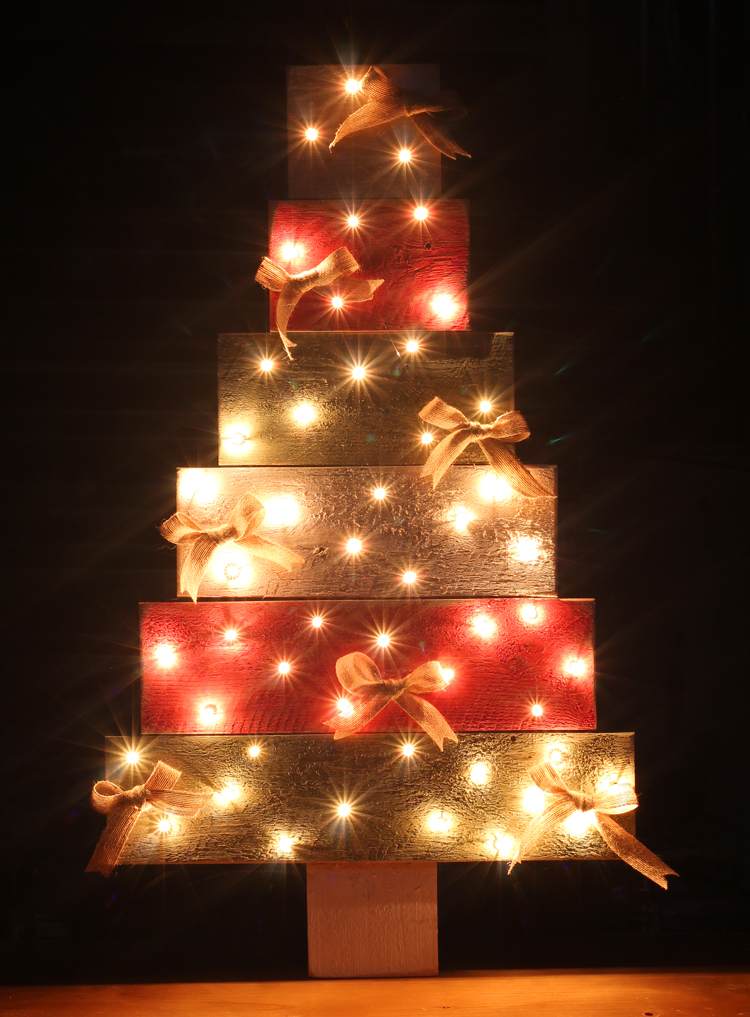
It looks cute during the day, but at night? AH! I just love the lights all aglow.

Let’s Get Social
I’m sharing tons of fun ideas on my social channels and I’d love for you to join me there.