These Halloween luminaries are an easy and fun craft and are a great way to decorate your porch for Halloween!
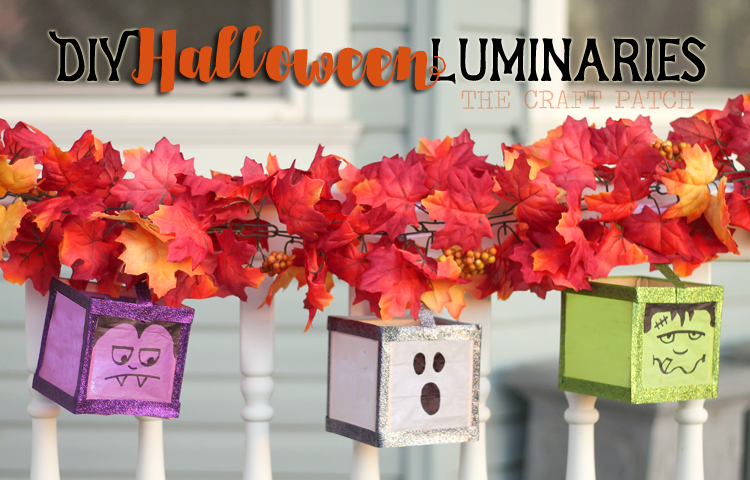
I’m so excited about the cute Halloween craft I’ve got for you today. I’m going to show you how to make these fun DIY luminaries to decorate and light up your porch for Halloween. They are simple to make and only require a few supplies, but they look awesome during the day and at night.

Ready to make one? It’s so simple! I’ll walk you through it.
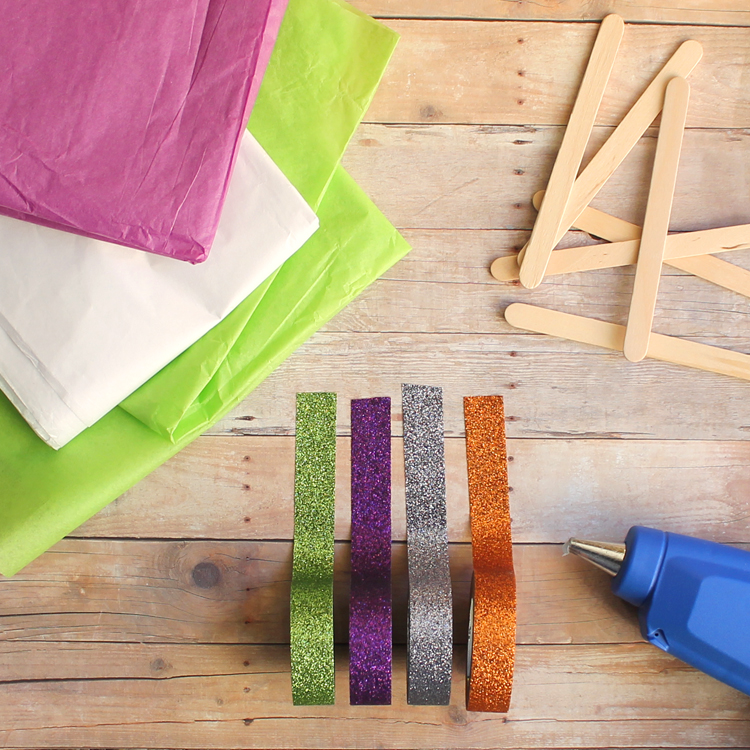
Supplies Needed
- Glitter Washi Tape
- Wooden Craft Sticks
- Tissue Paper
- Sharpie Marker
- Hot Glue
- LED Tea Lights
Instructions
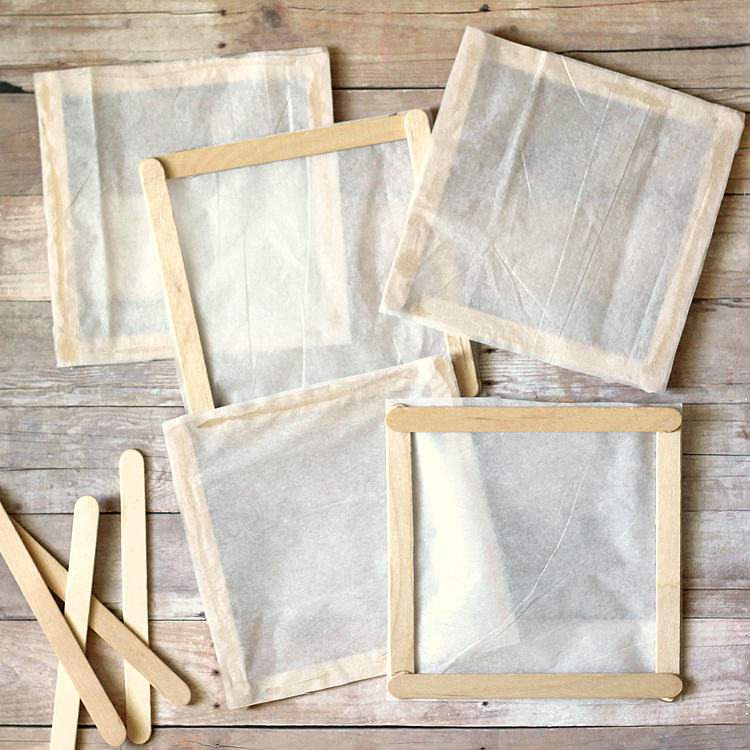
Begin by cutting five 4 1/2 inch squares of tissue paper. Glue craft sticks to the four sides of each tissue paper square. I used hot glue because I’m impatient, but if you want to do this craft with kids, I recommend using school glue to avoid burning little fingers.
You’ll end up with this:
Now glue the squares together to form a cube with one open side.
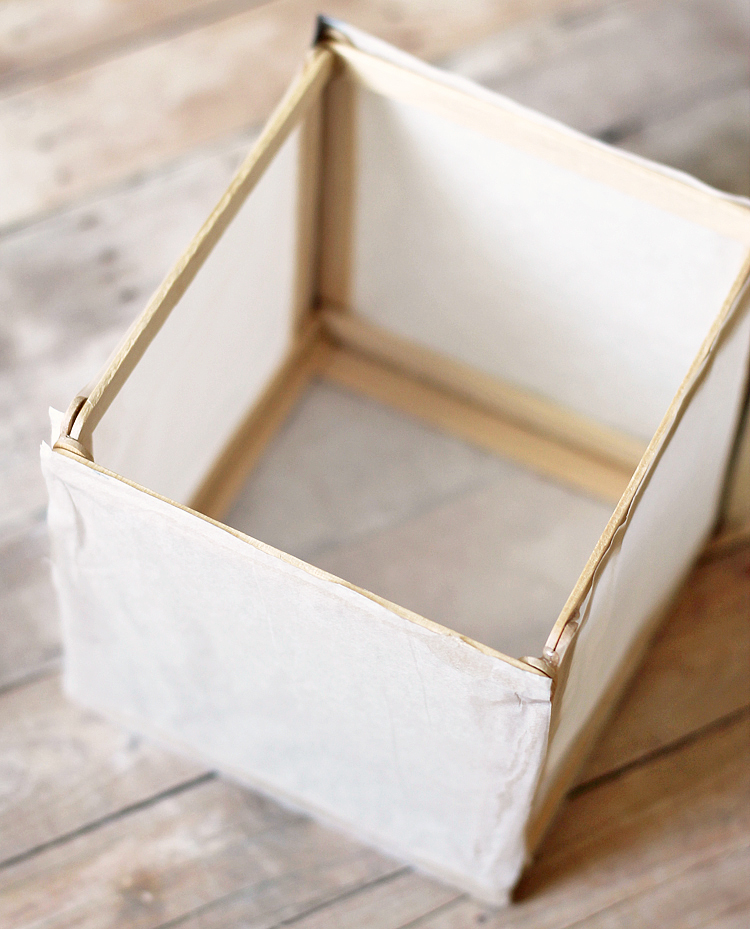
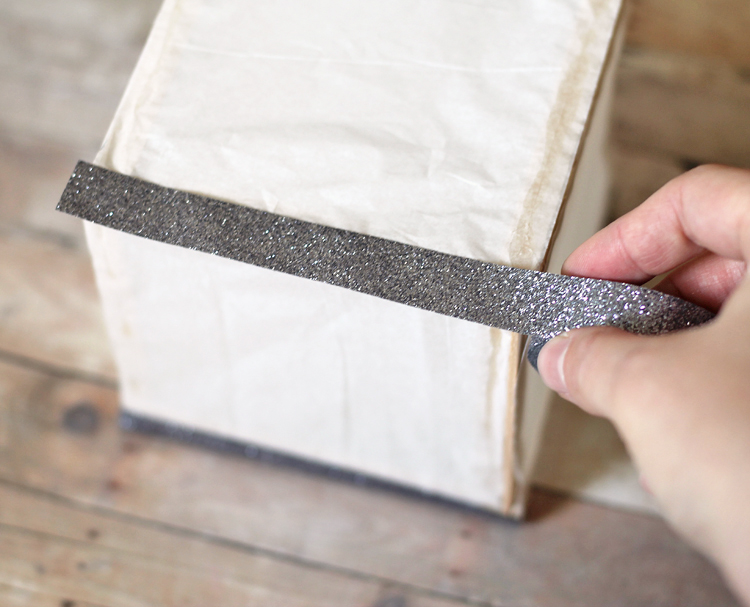
Line the vertical edges around the cube with glitter tape, then repeat along the top and bottom edges of the cube. This helps hide the seams and adds a bit of bling. Because you can never have enough glitter, right?
Washi tape is not super sticky, so I added hot glue to the beginning and end of each piece to keep it secure. Wouldn’t want pieces falling off halfway through the Halloween festivities.
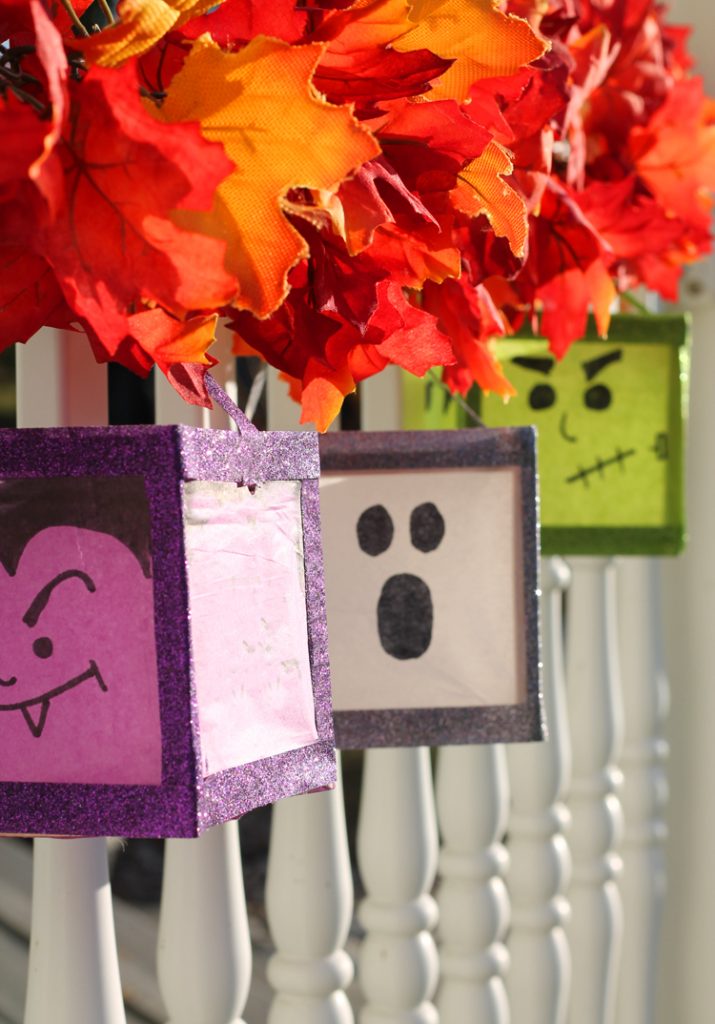
Use a black marker to draw a face onto each luminary.
If your luminaries will be sitting on the porch, you are done. If you want to hang them, make a handle by cutting one 11 inch piece of washi tape and one 9 inch piece, then sticking them together, like this:
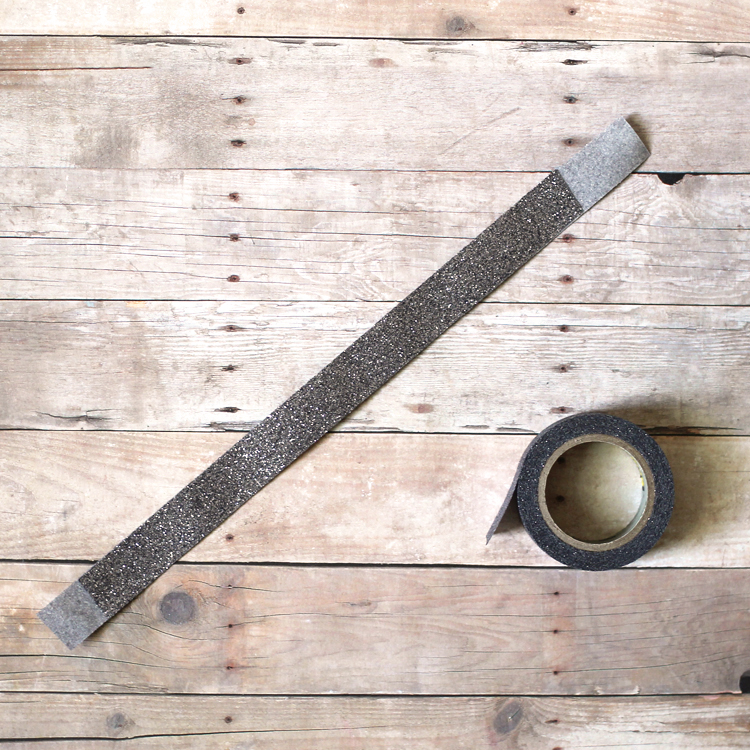
Add the handle across the open side of the cube, securing each end with glue.
Place the LED tea light inside, turn out the lights, and watch your cute luminary come to life!
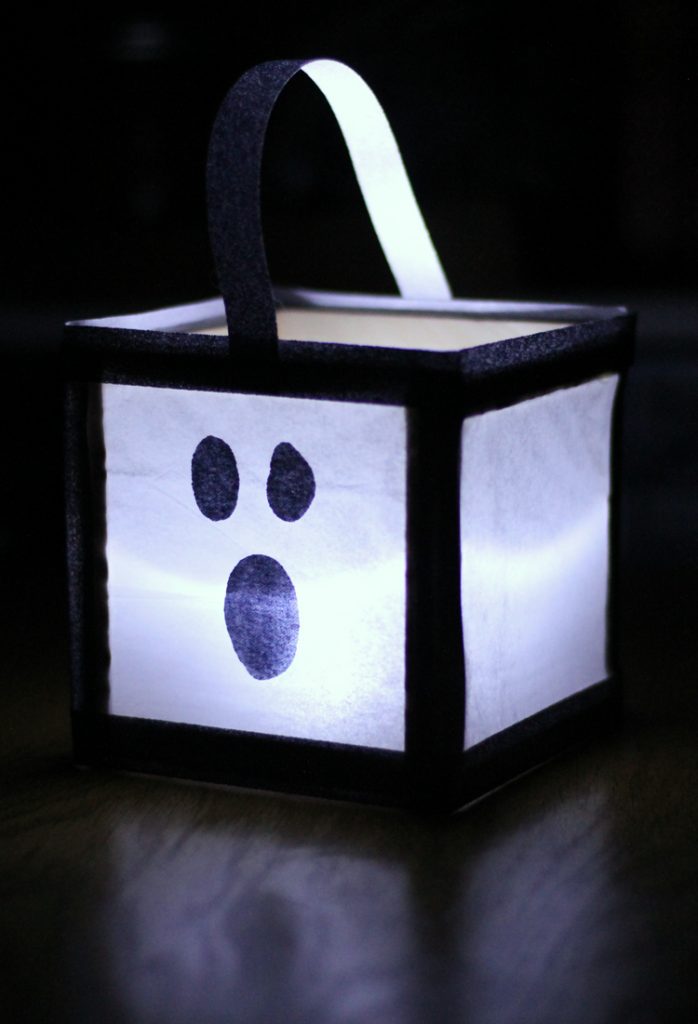
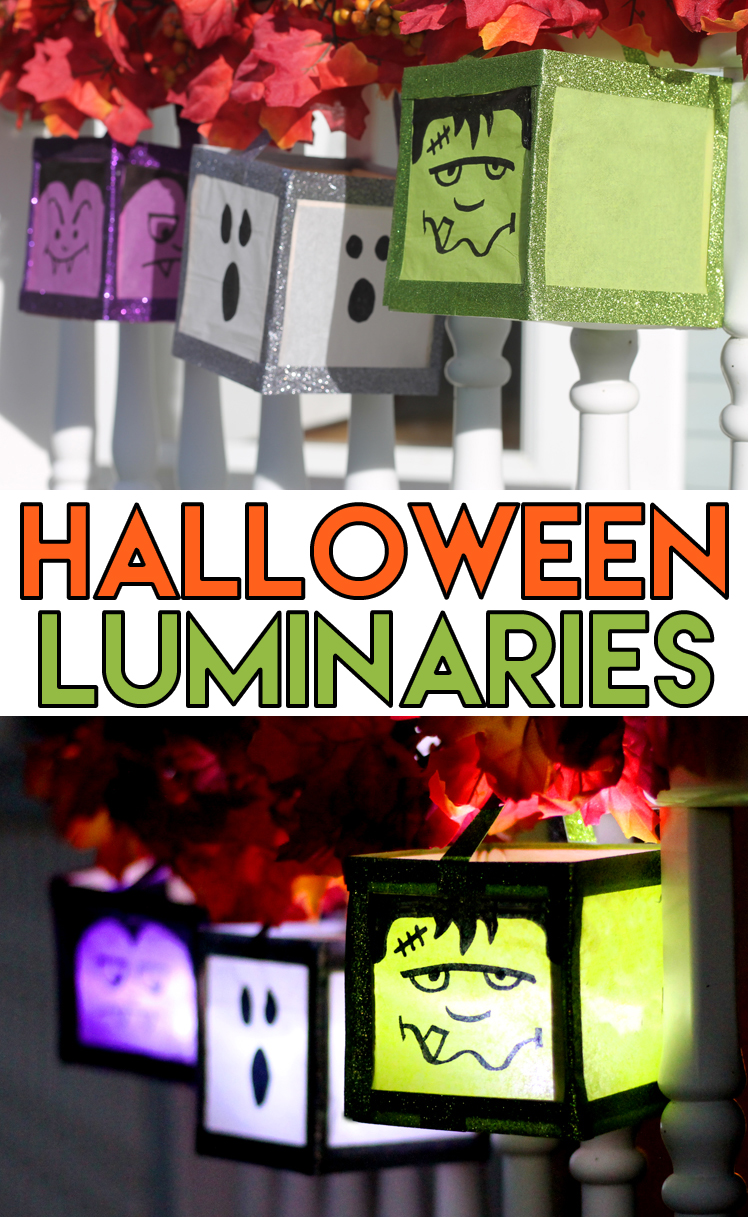
Isn’t that so fun?! The Frankenstein face is my favorite. Look how cute he is:
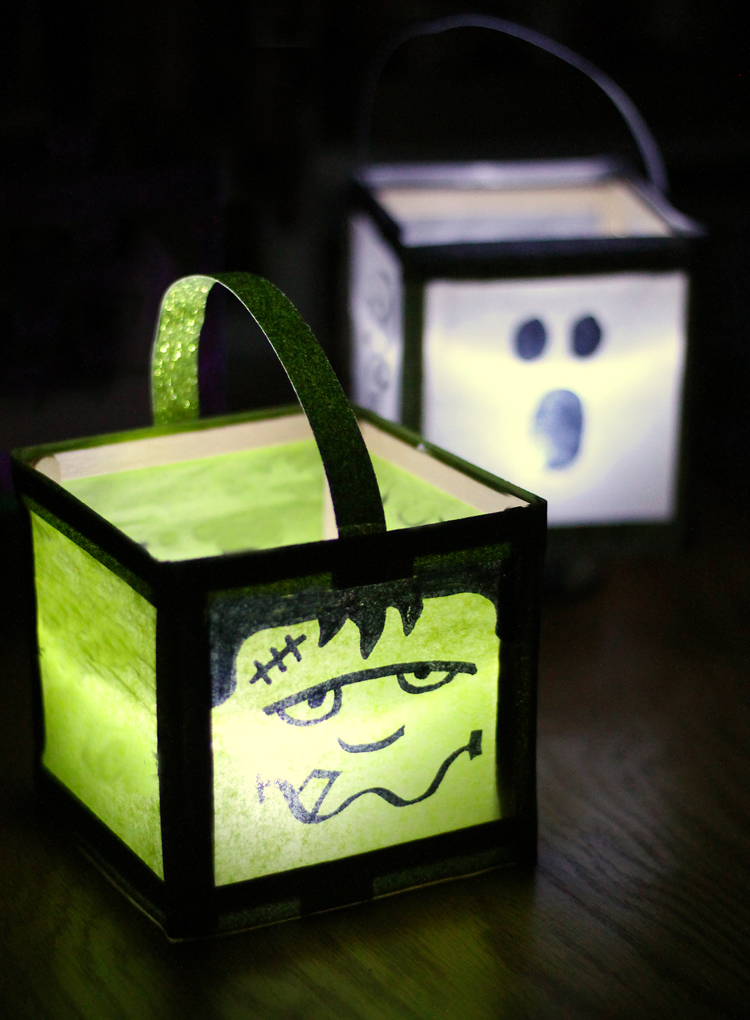
I used a piece of string to hang my luminaries from the porch railing with a garland of Fall leaves. I love that the decorations look cute and glittery in the day and just as fun and festive and colorful at night.
HALLOWEEN LUMINARIES VIDEO TUTORIAL
Pin it so you don’t forget it!

Comments & Reviews
"If you have a hoarding problem…"!!!!!
LOL. If you are a crafter, then you are probably a hoarder too!
Yep my girls call me a hoarder. It’s all craft supplies, and some recyclables that become craft supplies. Well I also hoard kitchen gadgets, but that’s all
These are Super adorable..Thank you.. Just wish there was away they could hang out all the time
I thought about that and the only solution I could think of would be to use some kind of colored plastic or laminated tissue paper to make it more weatherproof. You'd also have to really reinforce the glitter tape so it wouldnt come off.
Clear packing tape over the tissue paper would work too
Great suggestion! Thanks!
You could use clear contact paper to cover the whole lantern.
Maybe if use the cellophane paper for wrapping baskets it comes clear, colored and etc and can make them just a thought and can make them for other occasions using that type of stuff
What about using vellum.
Gonna try this with my daughter tomorrow 🙂
How fun!
I found it easier to make the face before putting it together. Flat surface is better just use a light touch!
That's a great tip. Thanks for sharing!
Cute. You could use wrapping cellophane. They have a variety of colors and holiday designs. Some dollar stores carry it. Otherwise party shops or the gift wrap/party section at any Walmart. Weatherproofing entirely will still be tough though.
Super great Ideas everyone! Thanks for posting!!
These are ADORABLE!im so excited to make these with my residents. My only question is how did you assemble the cube once the tissue was attached to the sticks?
Just use hot glue along all of the edges. I made an "L" shape, then a "U", then added the fourth side, and saved the bottom for last.
I think these would be cute with vellum paper also and a little more durable. Vellum comes in some cute designs also.
That's a great idea, Karen! You could even run vellum through the printer to add the faces. And much more durable!
I am going to try some Christmas themed ones!!
Could you use waxed paper?
Would waxed paper work?
Yes! You could definitely use wax paper.
Japanese paper 🙂
That would be really pretty!
I love the Halloween luminaries!! I’d like to make them with my grandkids when I visit them in a couple of weeks. I do have a question though: on the vampire and Frankenstein ones, did you just use purple and green tissue paper or did you paint the tissue paper to get those colors? I’ll need to do some of them prep work ahead of time as the kids are just 5 and 3. Any help you can provide would be appreciated! Thank you so much!
I only used one color of tissue paper and just used a black Sharpie to add the features. I colored them on after, but then it’s easy to accidentally rip teh paper, so I suggest drawing the eyes and other details on before attaching to the popsicle sticks.
I want to try these as a program at my public library this fall. Only thing – if I were to use Elmer’s Glue instead of a hot glue gun, would it still dry quickly enough? Especially the wood on wood glueing.
You could make it work, but it would be annoying. You’d have to sit and hold the wood pieces together until the glue dries.