Now that my kids are heading back to school (can I get a big hallelujah?!), I am going room by room through the house cleaning, organizing and decorating. Can you relate? Summer has been a whirlwind, so I’m excited to get things whipped back into shape around here.
Be sure to scroll all the way to the bottom of the post… you don’t want to miss the chance to enter the Target gift card giveaway!
Anyway, I’m really excited to share the building plans for a cute farmhouse shelf that I hung in my bathroom as part of a whole bathroom refresh.
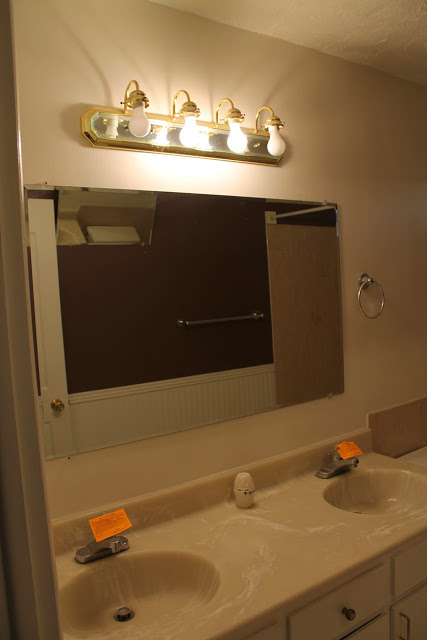
Womp womp. It was just… so… sad.
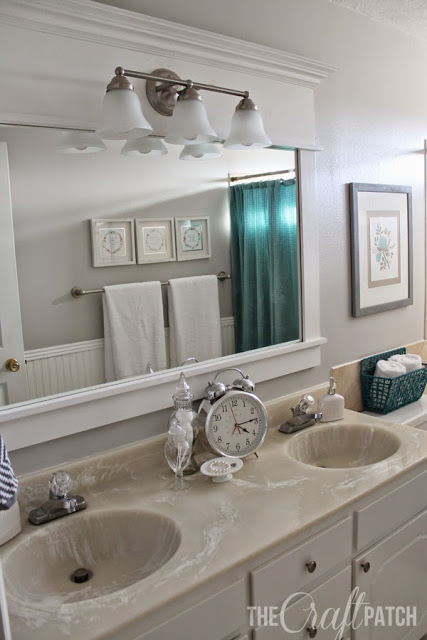
After building a new mirror surround, refreshing the tile grout, changing out the hardware and painting, the bathroom looked like this:
So much better, right?
Well, since that photo was taken, my toddler spilled nail polish on the bath mat and my older kids broke one leg off the giant clock. I also realized that the blue shower curtain was too opaque to let any light from the window through, so I had to leave it open all the time, which bugged me. Life.
Time for a room refresh, wouldn’t you say?
I’d been wanting a shelf in here, so I enlisted my in-house carpenter to build one for me. Once again, I came up with a crazy idea and he figured out how to build it. I sure did luck out in the husband department.
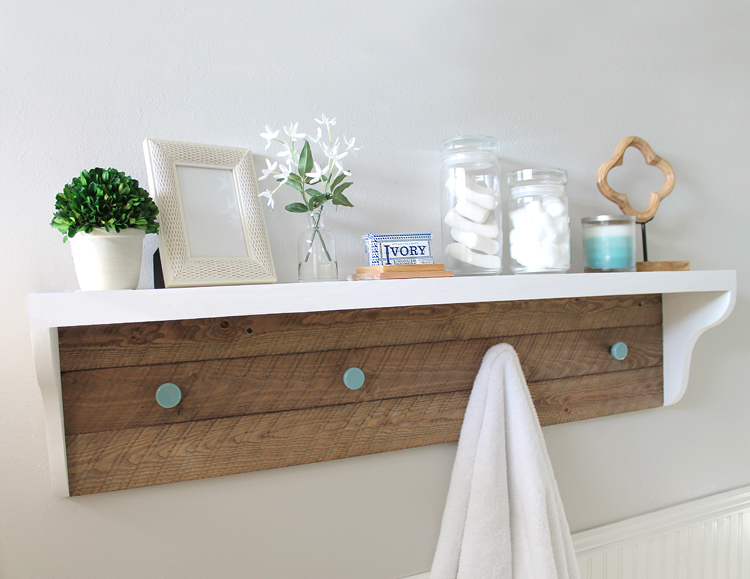
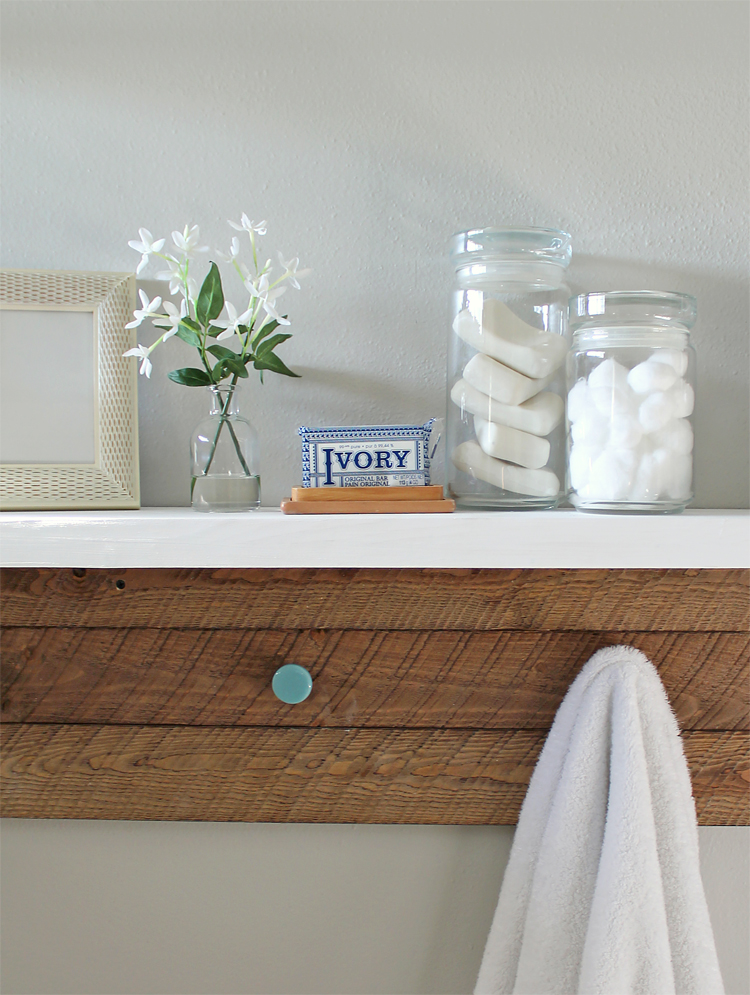
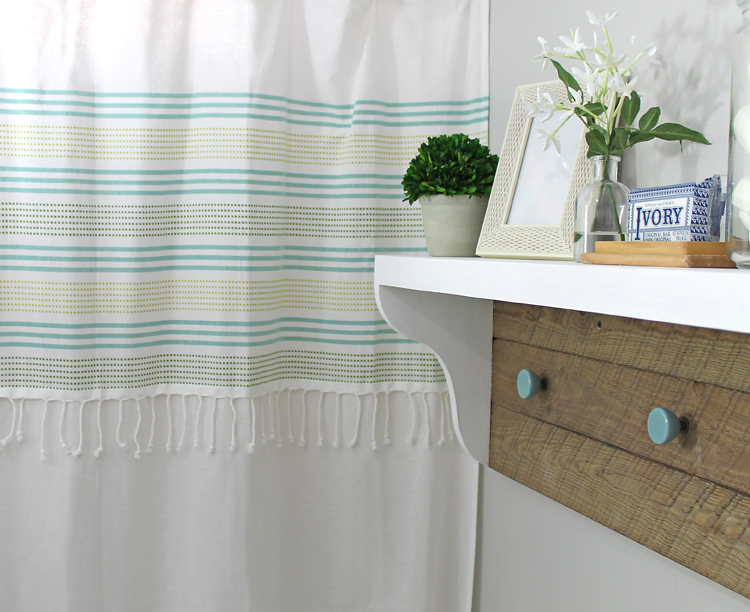
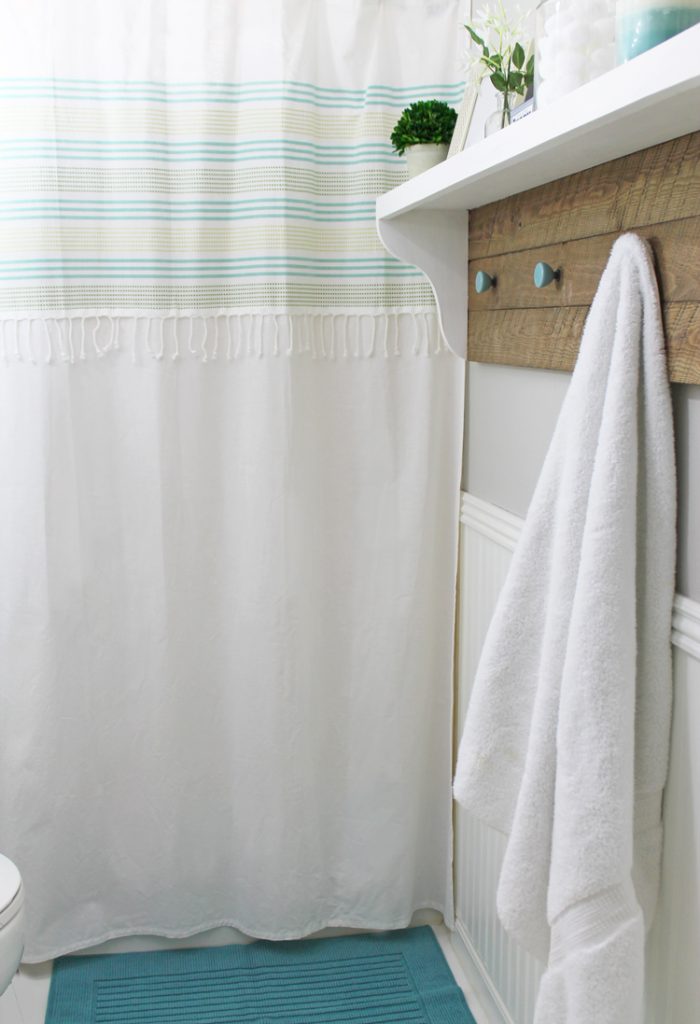
I love how it turned out. It’s farmhouse perfection! Here’s a little close up of that amazing barn wood:
Our shelf is 46″ long, but you can easily customize yours to any length.
Farmhouse Shelf Tutorial
To build your own farmhouse shelf, you will need:
1″ x 8″ x 6′ pine board
Two pieces of 1″ x 4″ x 8′ barn wood
saw
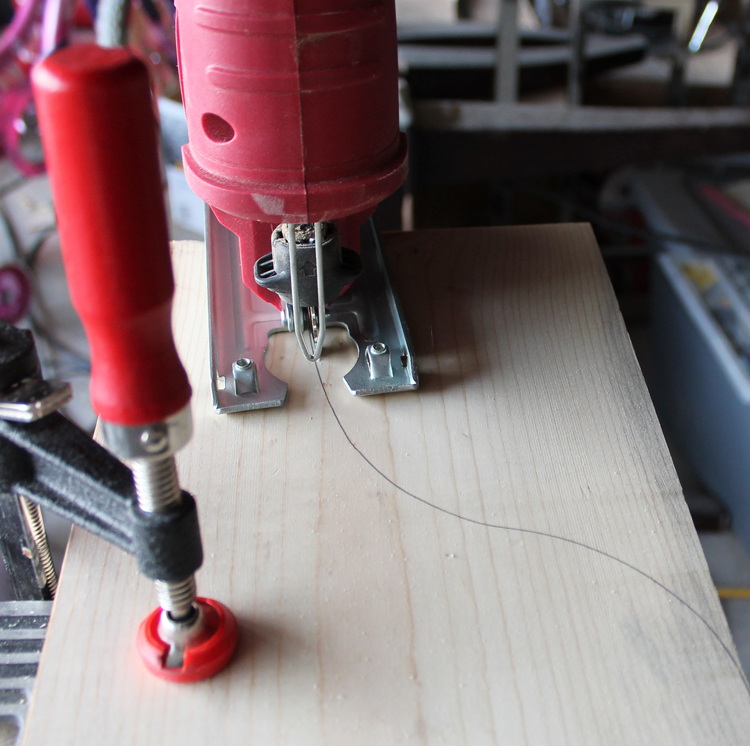
jigsaw
belt sander
table saw
wood glue
clamps
screws and screwdriver/drill
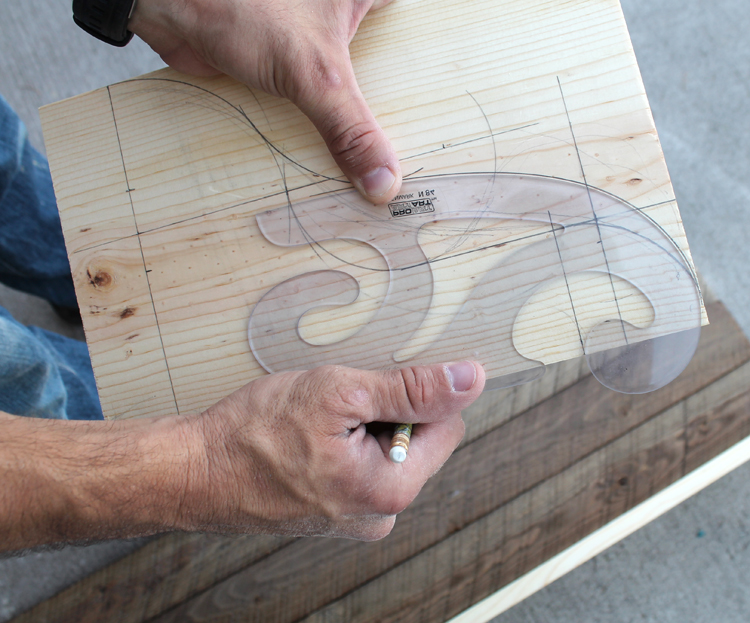
corbel template HERE
blue ceramic knobs (from Target)
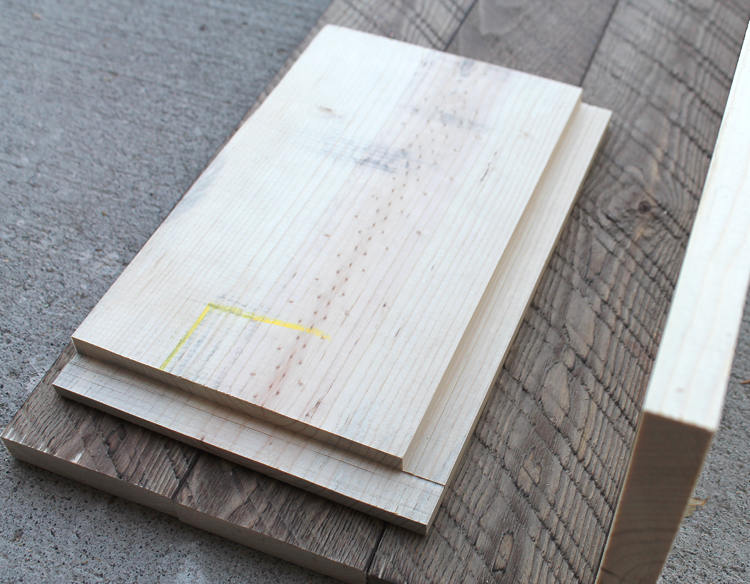
Begin by cutting the 1″ x 8″ and the 1″ x 4″ in equal lengths. We made our shelf 46″ long. Anything much longer and you may need to buy more wood
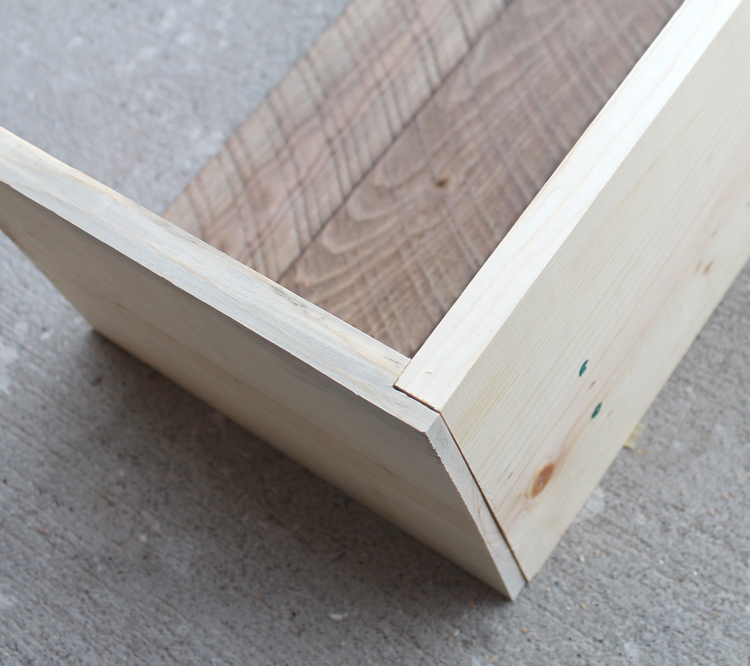
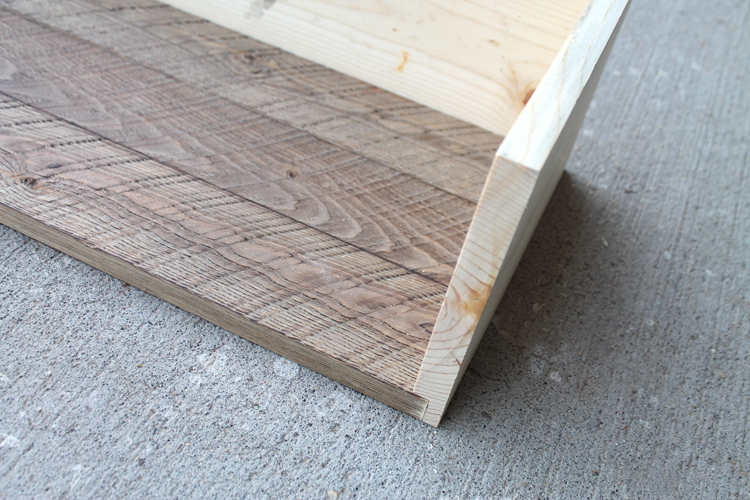
Next use the remainder of the 1″ x 8″ to cut two side pieces. The length of the side pieces is determined by the height of the remaining pieces. For us that meant 3/4″ (the nominal thickness of the 1″x”8″) plus the width of the 3 1″x4″ pieces 10-1/2″(3 pieces each 3-1/2″ in width equals 10-1/2″). Added together the length of the sides pieces is 11-1/4″.
After cutting the side pieces to length we then used a dado blade set to rabbet two edges of each side piece. The rabbet was 3/8″ in depth and 3/4″ wide. Be careful during this step. It is a common mistake to make each side the same. Instead, the sides need to be mirror images. You do not want to end up with two left hand side pieces or two right hand side pieces. You need one of each.
Next we used a scrap piece of wood to cut a 3/4″ x 3/4″ piece which we glued and clamped to the front of the shelf to create a little lip. It isn’t necessary, but we felt the thicker look added a little something extra.
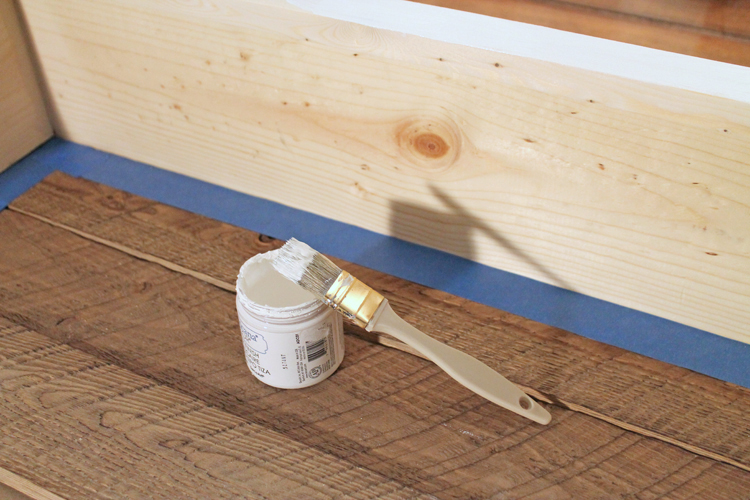
Last we used wood filler on some holes and gaps and did some finish sanding. Then the shelf was ready for a coat of white chalk paint.
Want to know something funny? We actually built this shelf thinking that we would hang it the opposite direction, like this:
I think it’s super cute that way, but when it was all built, we realized we could add knobs to the barn wood part and hang the towels right on it instead of just mounting it above the towel bar that was in there. So we turned it upside down and wha-la! I love happy accidents! I think it’s cute either way, so I guess you can choose which one works best for you!
To hang the shelf, we screwed straight through the barn wood into the studs. Then it was time to get the rest of the room looking good. So I went to Target, naturally, because really… Target = Cuteness and you all know I’m right.
I picked out a shower curtain first and let it guide the rest of my choices.
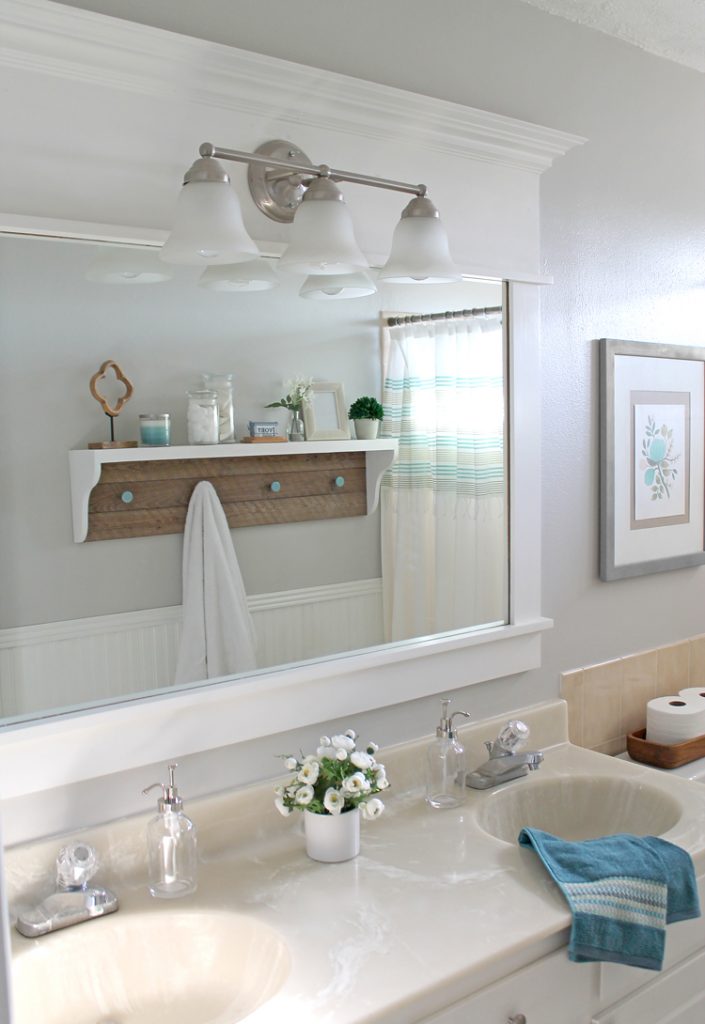
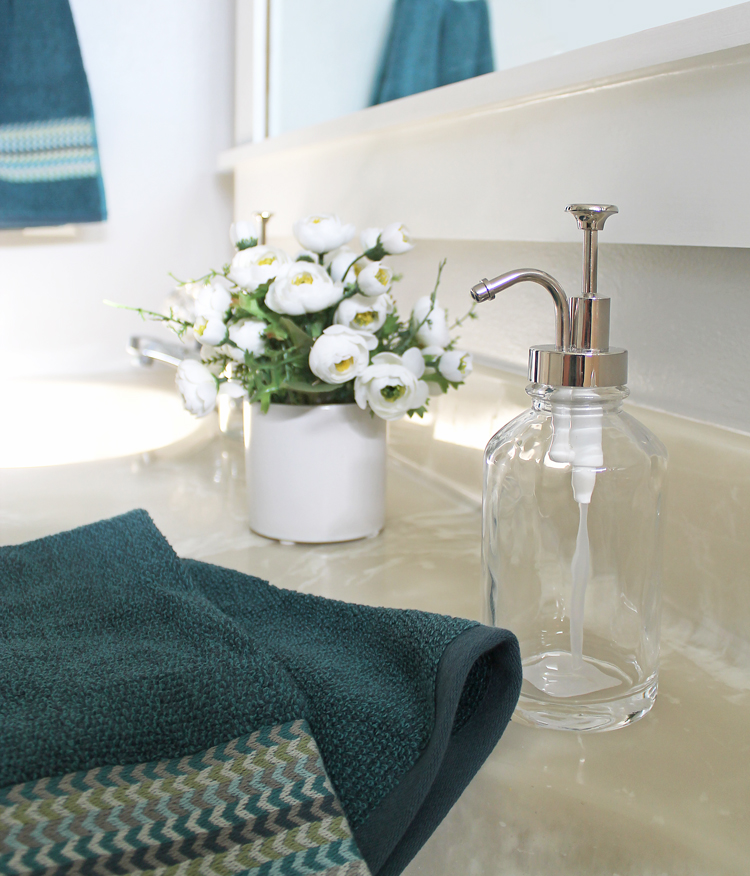
A new rug, new soap dispensers and some cute accessories, and this bathroom is looking great again! I can’t wait to send those kids off to school and enjoy some peace and quiet in here.
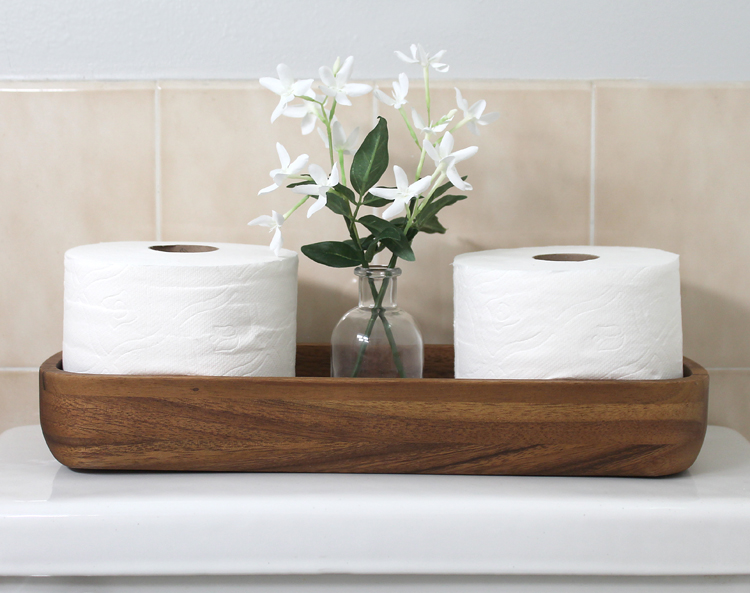
I found this wooden trough bowl in the dish aisle at Target. Isn’t it the perfect way to keep spare rolls handy? I love the look of it, even if it wasn’t meant to be in the bathroom.
So there we go. A new-feeling bathroom without any major remodeling. Thank goodness for that! What are you working on now that the kids are back in school?





Comments & Reviews
The bathroom space looks great! What a huge difference from when you first moved in. I love the farmhouse shelf and might have to give it a try myself. Thanks for sharing! #client
This is definitely a shelf I feel I can make! I love the farmhouse feel!
Oh, I'm so glad. Sometimes I wonder if people are looking at my instructions going, "What are you talking about you crazy woman!"
I am in love with the frame around the mirror! I have 2 mirrors but not a lot of room around them. I may have to reduce your idea down or just frame the mirrors. I have 2 drawer fronts that would work well for the shelf too! They still have the knobs on too! Thanks for the ideas!
Thanks so much!
Cool shelf. It's crazy how something so small can give the room a whole new look!
Thanks Chesney! I agree… it has been a fun change.
Love the shelf and new curtain. Target always = cute.
Thanks Janet! Always glad to find a fellow Target lover. 😉
I love this tutorial! Can't wait to try it.
Thank you!
Thanks Rose-Marie! You are too kind.
I love your shelf, it is so cute!!!