I snagged a set of cone tree forms at a thrift store several months ago and I’ve just been waiting for Christmas to turn them into trees. There are so many fun ways to decorate these cones, but I decided to go for the natural, rustic appeal of wood. I love how they turned out!
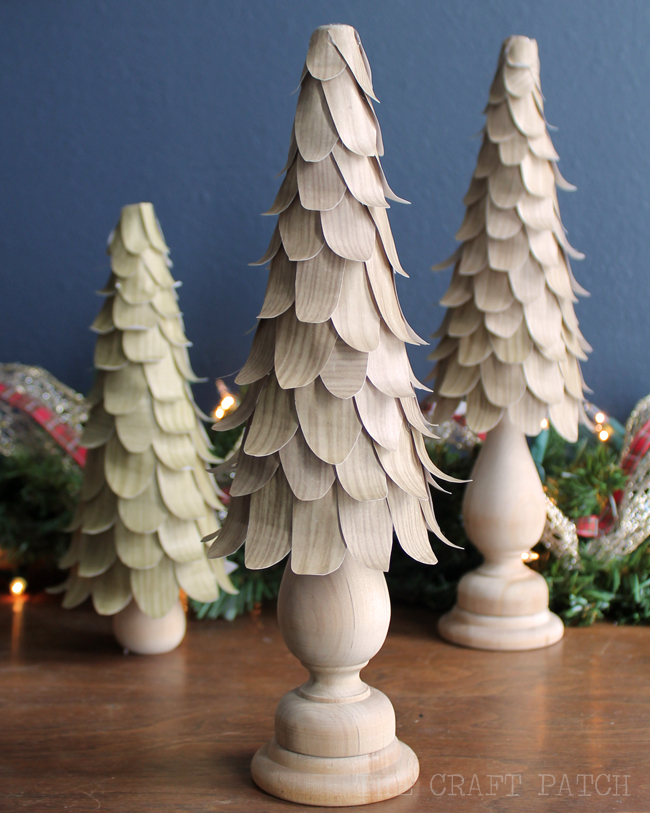
Want to make your own wood cone trees? Here are the supplies you’ll need.
Materials Needed
- a cone form
- wooden candlestick
- scrapbook paper with a wooden pattern (I bought mine at Michaels)
- scissors
- hot glue and lots of glue sticks
Instructions
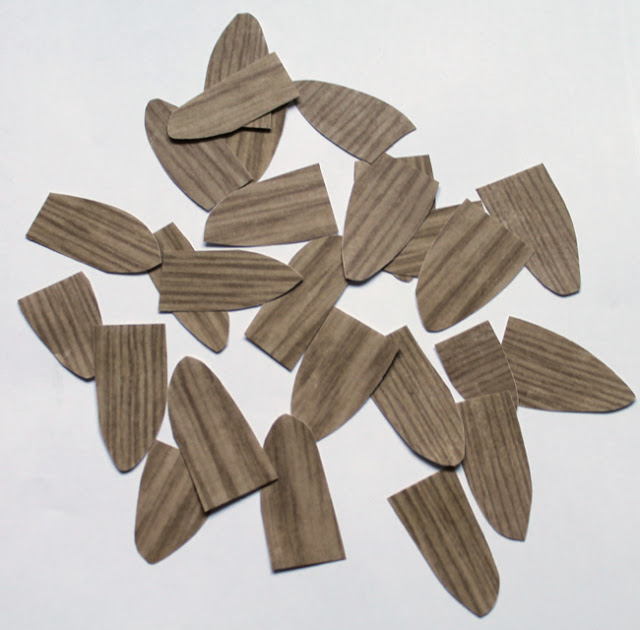
Step 1: Cut out lots and lots of little leaf shapes. I used an entire 12×12 sheet of paper for one cone tree. I made bigger leaves for the bottom and got gradually smaller as I moved up. If you are making a really big tree or a large quantity of trees, you could use a cutting machine to save time. For the three small trees I made, cutting by hand was no big deal.
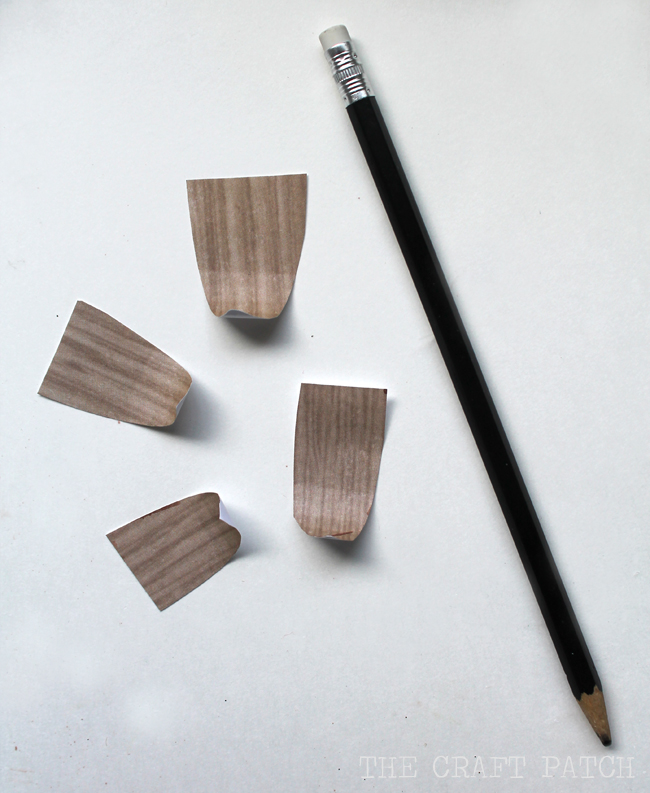
Step 2: Curl the edges of the leaves by rolling them around a pencil.
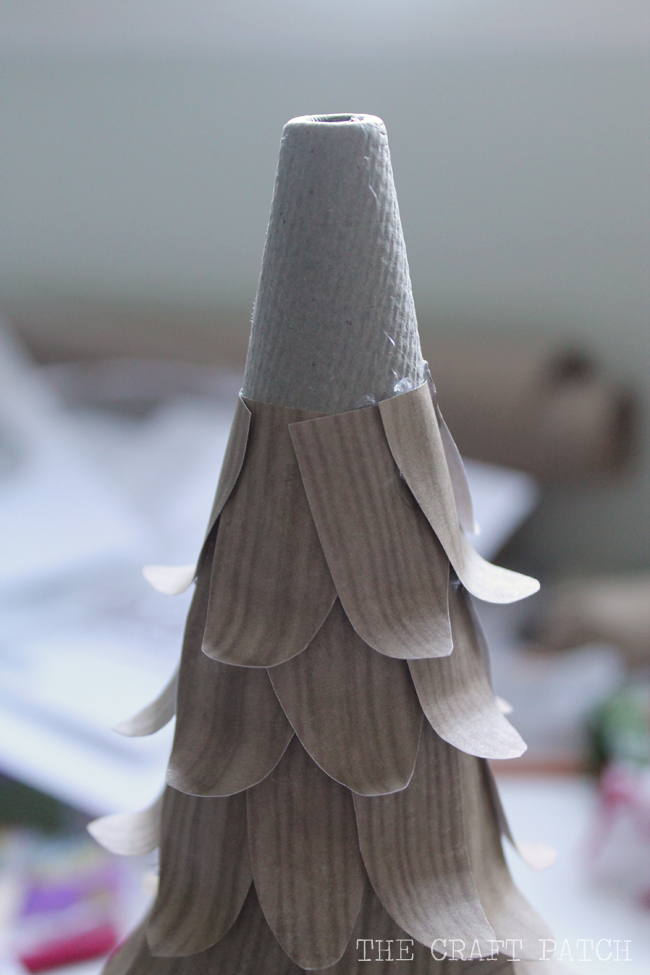
Step 3: Starting at the bottom of the cone, attach the leaves with hot glue, overlapping them slightly to cover the cone completely.
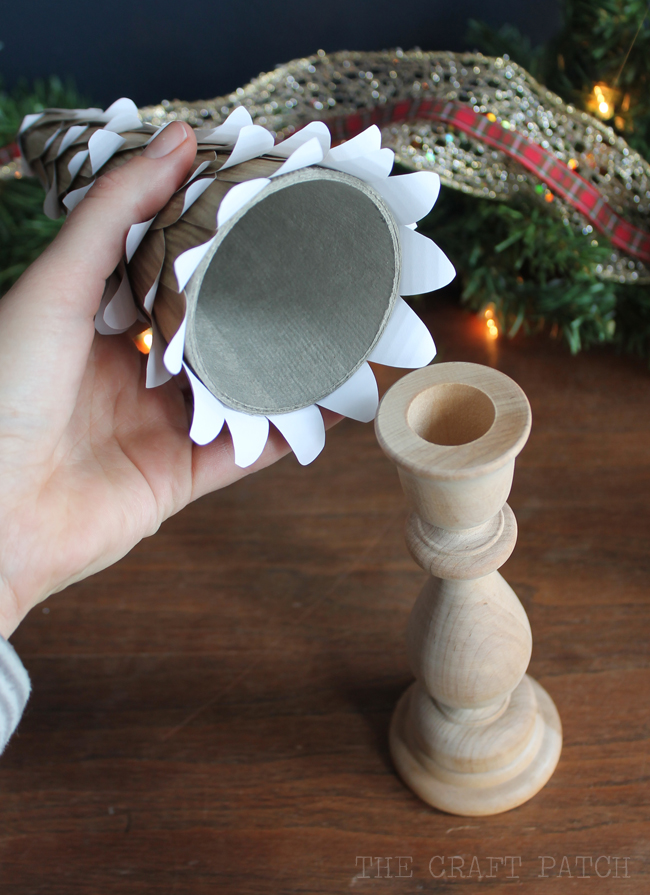
Step 4: Place a bead of hot glue around the top edge of the wooden candlestick. Place it inside the cone and hold until the glue cools.
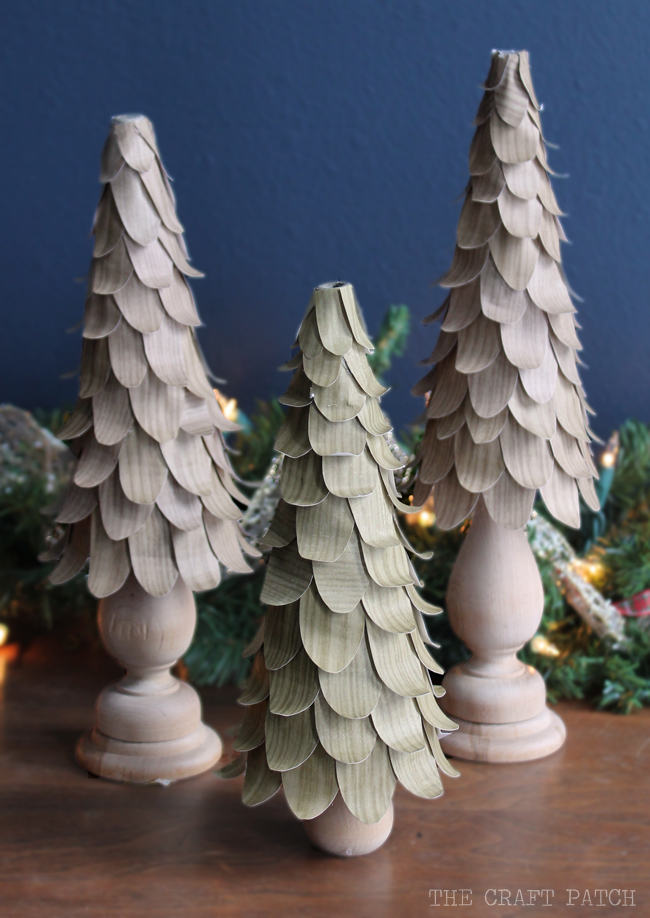
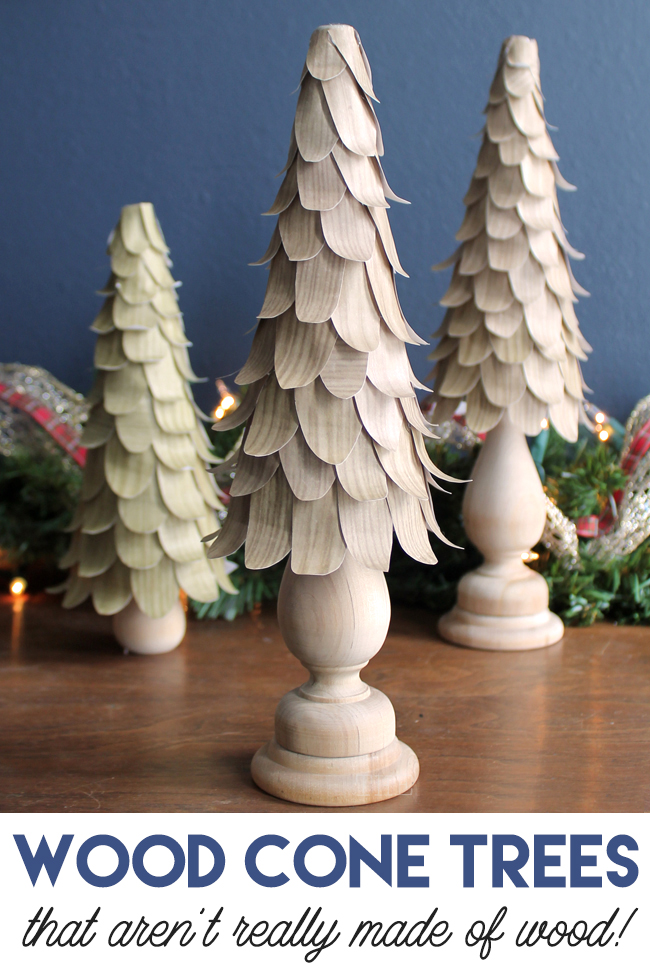
That’s all it takes to create these beautiful trees. I love the effect… they look like they are intricately carved from wood. You totally can’t tell they’re paper until you get really close.
Pin it so you don’t forget it!

Comments & Reviews
Oh those are beautiful!! I'm totally doing that for our mantle! Thank you so much for sharing!