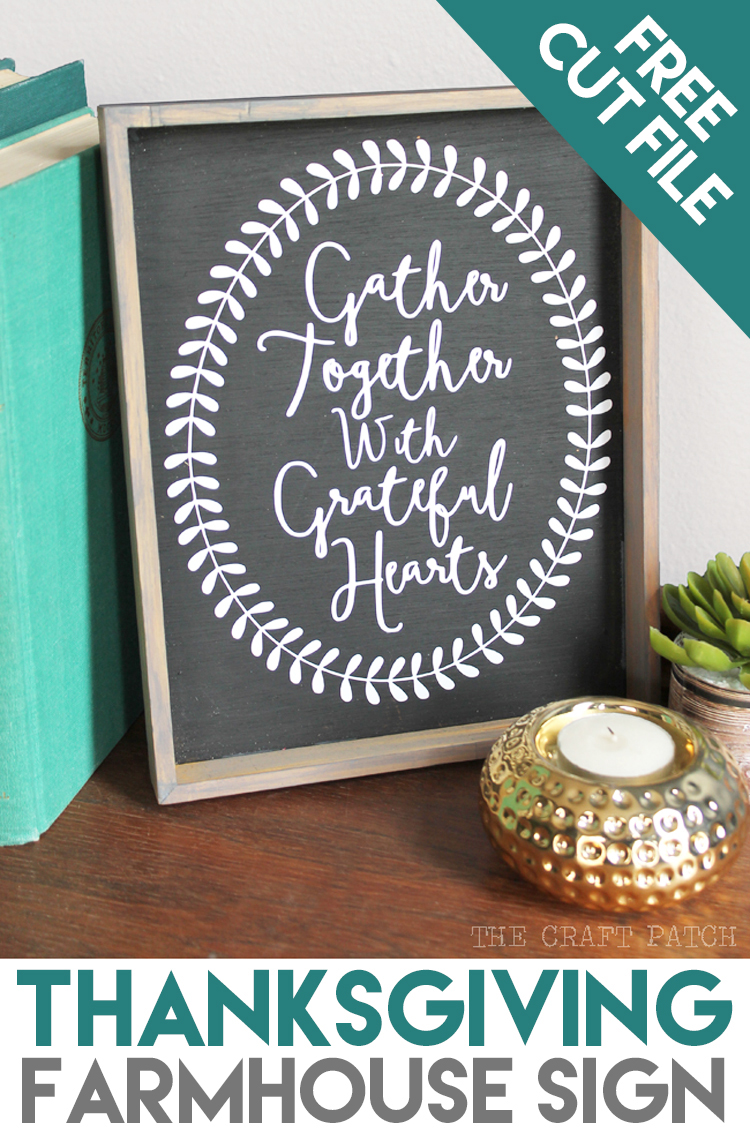
Make a farmhouse style Thanksgiving sign with the help of this detailed tutorial and free cut file.
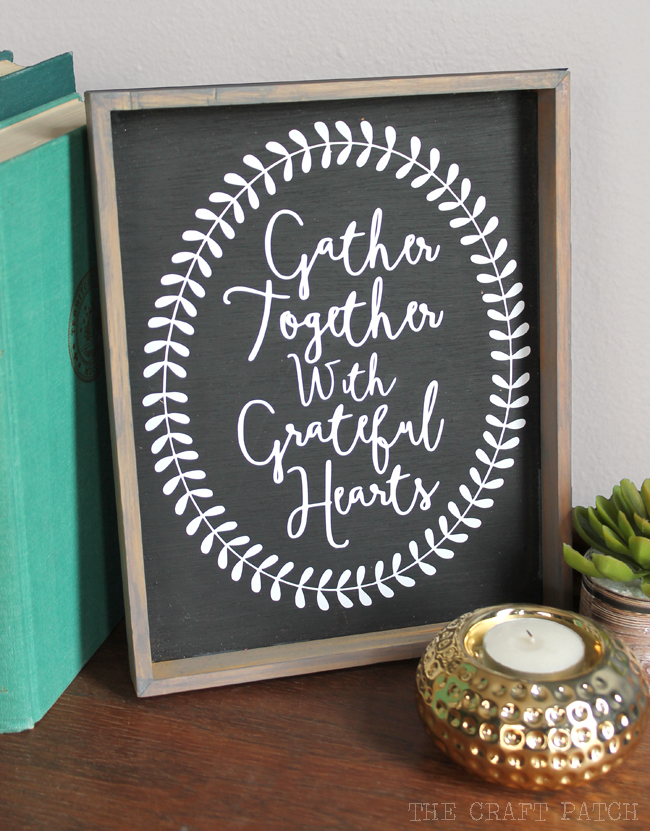
Today I’m sharing a simple sign-making tutorial and free Silhouette cut file for this cute gratitude-themed sign. This particular sign is for Thanksgiving, but the method can be used to make any sign you want. I’m giving the printable design and the cut file away for free at the bottom of the post!
Here’s what you’ll need to complete this project:
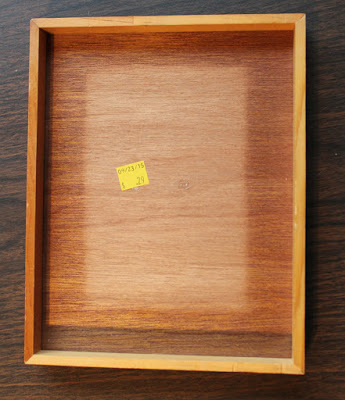
Materials Needed
- Wood Sign. You can make one yourself…. read tutorials HERE or HERE to help. OR you can buy one of these unfinished wood signs. I’ve used them for several projects and they’re great. They come in different sizes too!
- Painters Tape
- Craft Paint
- Wood Stain
- Silhouette Cameo or other craft cutting machine
- Adhesive Vinyl
- Transfer Tape
Instructions
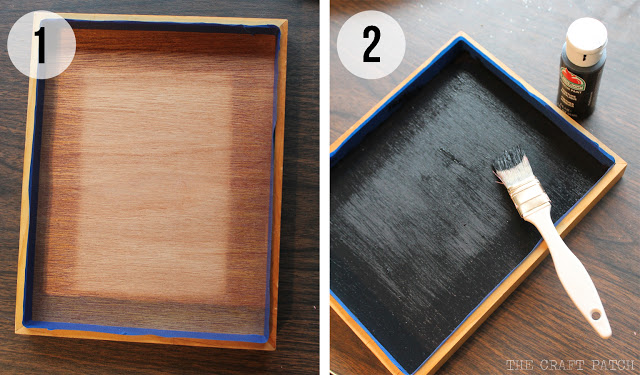
Step 1: Tape off the border to protect the wood.
Step 2: Paint the background any color you like. I chose black.
Step 3: Cut out the design you want using your Silhouette machine. I cut mine from white vinyl that I got from Expressions Vinyl.
The free cut file I’ve created is for personal use only. Scroll to the bottom of this post to download. If you’d rather just print it on your home printer and frame it, here’s the design:

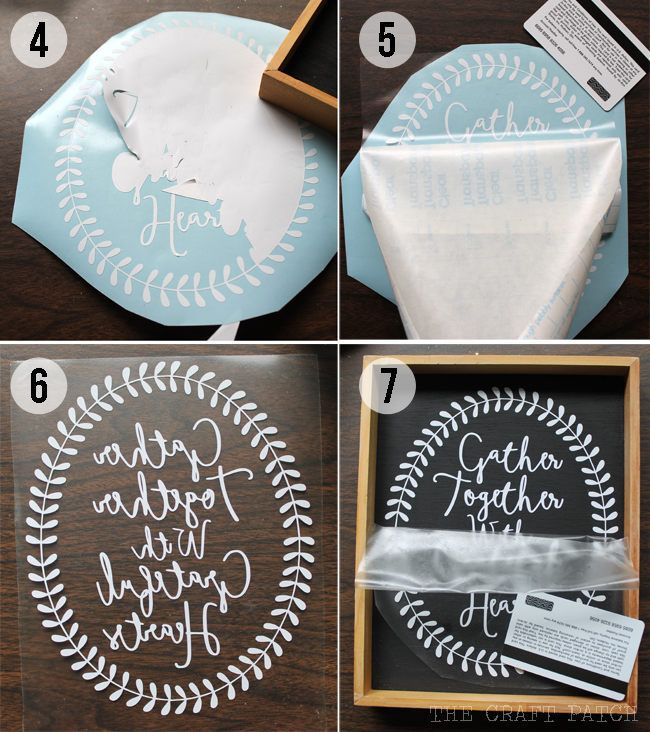
Step 4: Weed your design. That means get rid of the extra vinyl, leaving only the letters and border on the blue backing paper. This particular design is delicate, so go slowly and cut off the waste as you go, so you don’t end up sticking it back onto itself.
Step 5: Switch your design to transfer paper. If you are cheap like me, you can use contact paper. I rub my design with an old plastic gift card to help it stick.
Step 6: If you lay your transfer paper sticky side up, your image should look backwards.
Step 7: Carefully center your image onto the wood and rub, rub, rub with an old gift card. Slowly remove the transfer paper, using the gift card to push down any parts that start to pop up as you peel the paper away.
And that’s it! Enjoy your new custom sign!
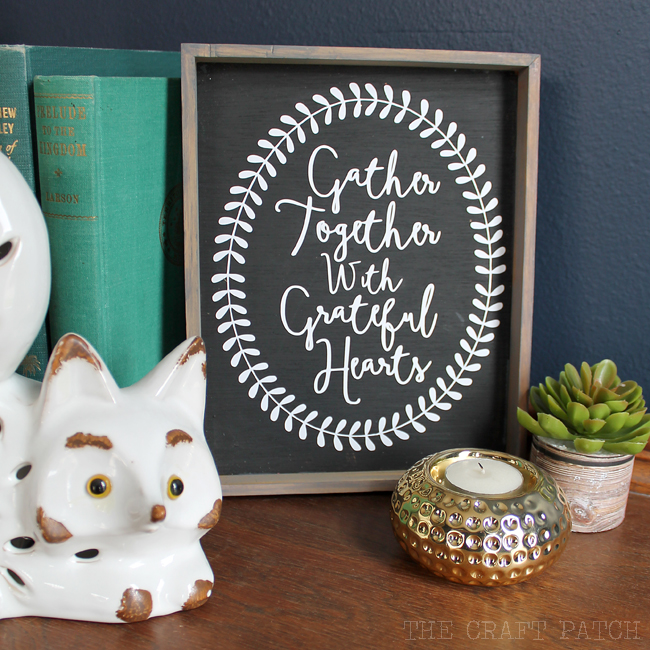
Like this project? Pin it so you don’t forget it!

Comments & Reviews
What a great post! I have never tried this type of project before but we are remodeling our home and I'm hoping to get a tool for this type of project! Your photos of each step of the process were very helpful! Does this also work for adhering to glass?
Thanks Clare! Yes, the same method would work with glass. Have fun!