There are some DIY techniques that intimidate me. Staining wood used to be one of those. Then I stained a few projects and realized that there is absolutely nothing to be scared of. This is a really easy finishing technique! In fact, I think it’s easier than painting in many ways.
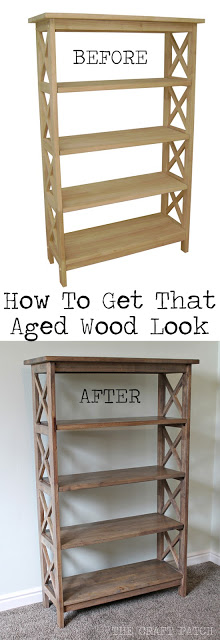
I’ll prove how easy it is! I purchased an unfinished wood bookcase from Wayfair:
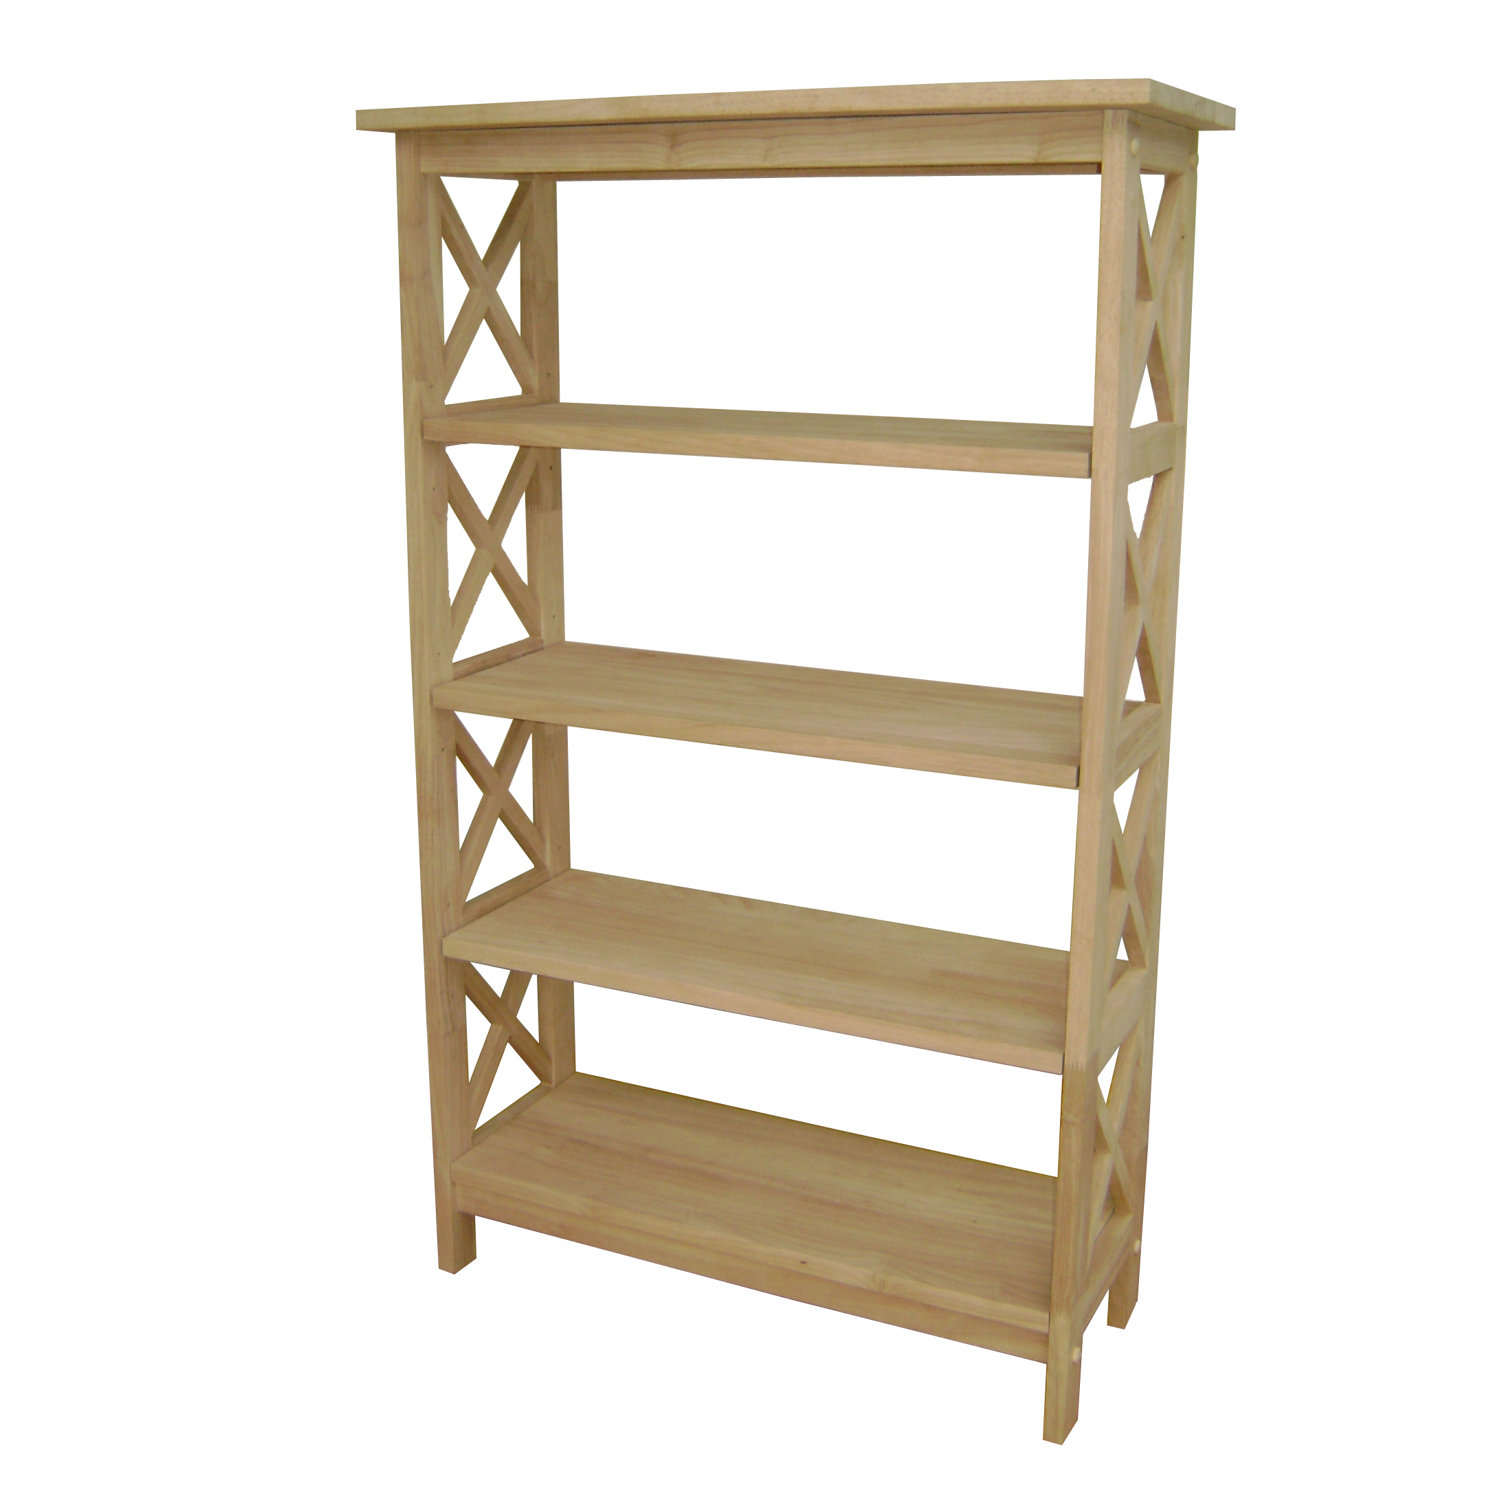
$103 for a real wood bookcase seemed like a steal to me. You can stain anything made of wood. It just needs to be clean, raw wood that’s free from old stain or paint.
I wanted to give my bookcase an antique, aged wood finish. To do that, you will need all of the supplies in the photo below:
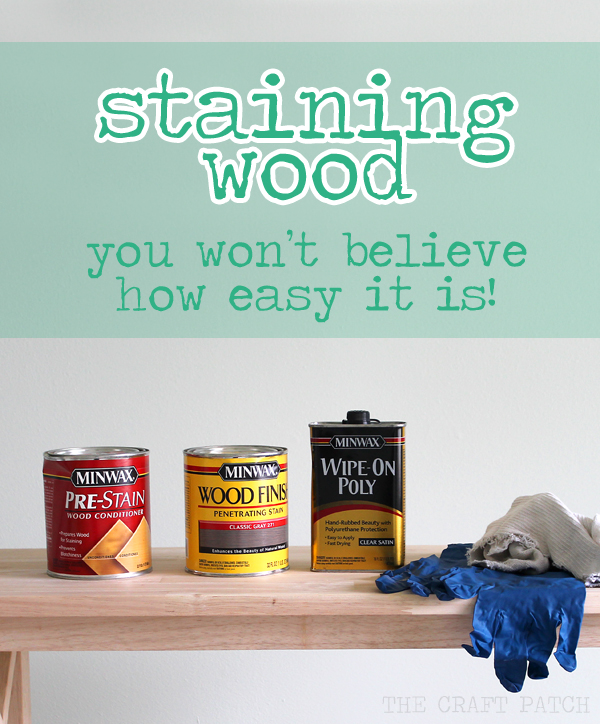
1. Minwax Pre-Stain Wood Conditioner
2. Minwax Wood Finish in Classic Gray 211
3. Minwax Wipe-On Poly in Clear Satin
4. Lint-free rags that can be thrown away (I cut up old socks… they work great!)
5. Rubber gloves
6. Steel wool, very fine
Wood conditioner helps the stain go on smoothly and evenly. I think of it as insurance. It’s easy to apply… just wipe it on with a rag.
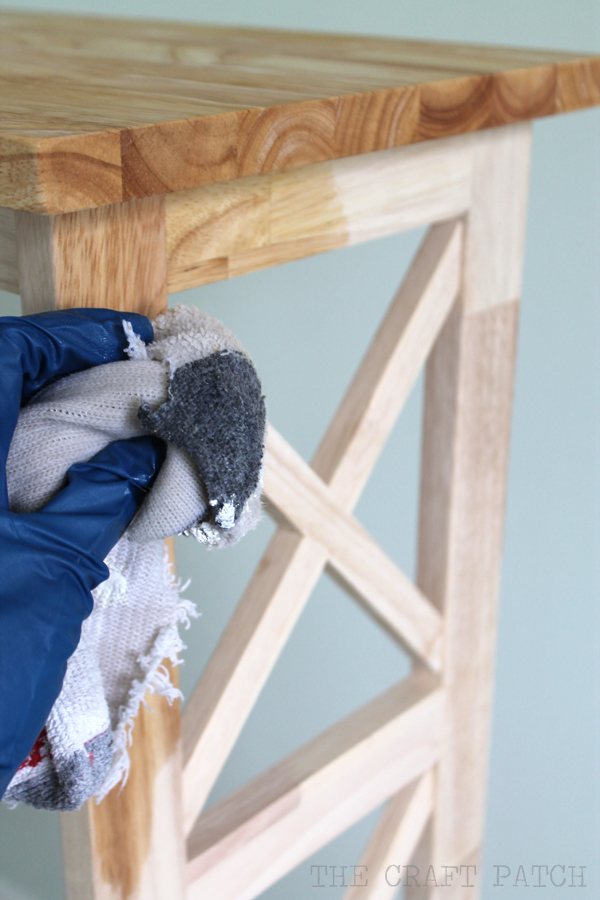
A little goes a long way, so one jar will last you forever. This is how much was left after I did the entire bookcase:
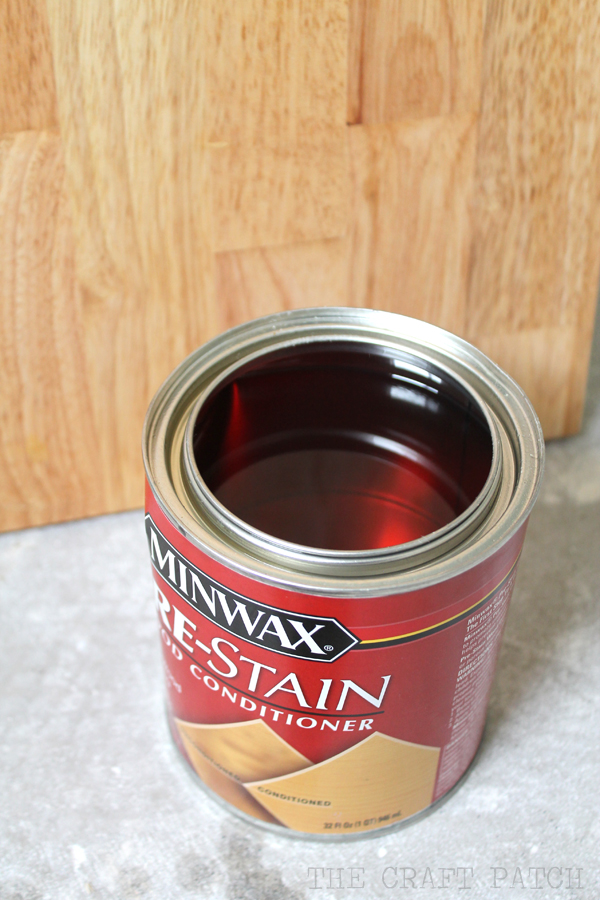
Next, apply the stain within 2 hours of applying the wood conditioner. I wanted a light gray color, so I just wiped the Classic Gray Wood Finish on and kind of buffed it in. If you want a dark color, you put more stain on and let it sit longer. Or you can do several coats. You don’t want to leave any wet puddles of stain and you don’t want any streaks or drips. This part is way easier than it sounds, trust me. Just wipe it on, yo.
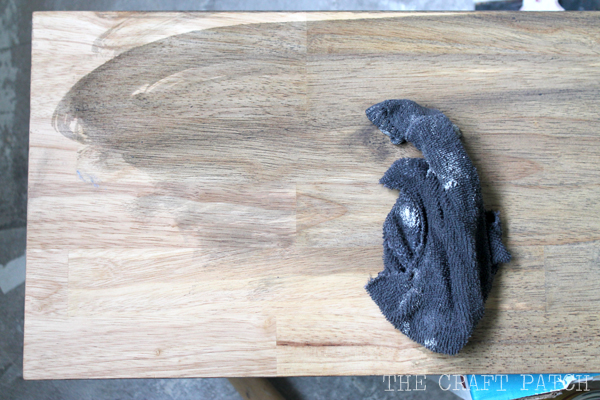
If you are having a hard time getting the stain into cracks and corners, try using a cotton swab. Worked like a charm for me!
Once everything is stained, let the project dry for at least 8 hours. Then you are ready to apply a clear finishing coat to protect the wood. I chose Wipe-On Poly because I did not want a shiny finish, but I needed some protection since it’s a bookcase. Wipe-On Poly is easy to apply. Like the name suggests, you wipe it on. Ha!
I did three coats of poly, sanding gently with fine steel wool in between each coat.
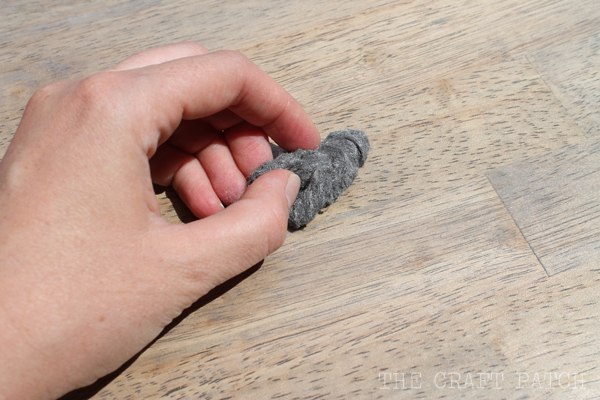
Here’s what the sheen looks like after three coats. It’s not shiny, but it makes the whole project look expensive.
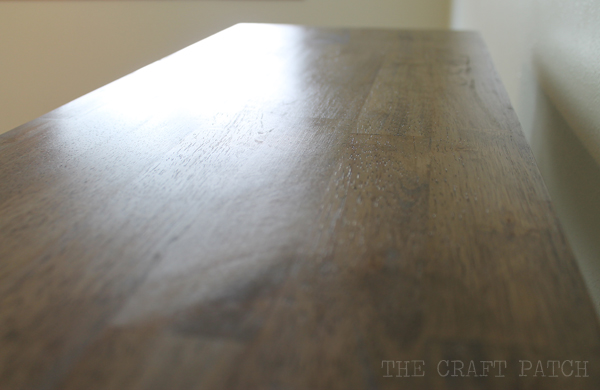
Because I used my uber-fancy sock rags, clean up was a breeze. I just threw the rags away! (Although you do need to be cautious–this stuff is flammable, so don’t go throwing old fireworks into the garbage at the same time).
Are you ready to see the finished bookcase?!?

I am LOVING how the bookcase turned out. The gray stain gives it so much character! Look at this close up… gorgeous!
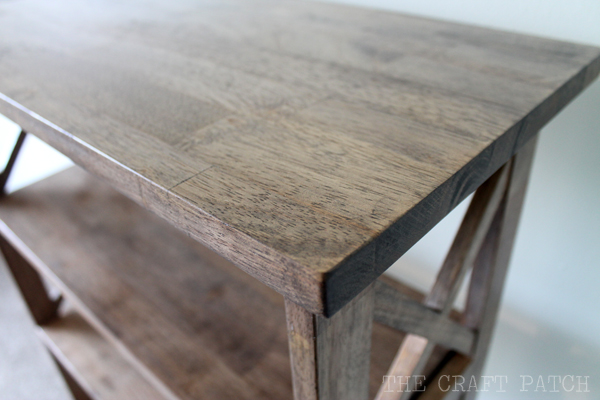
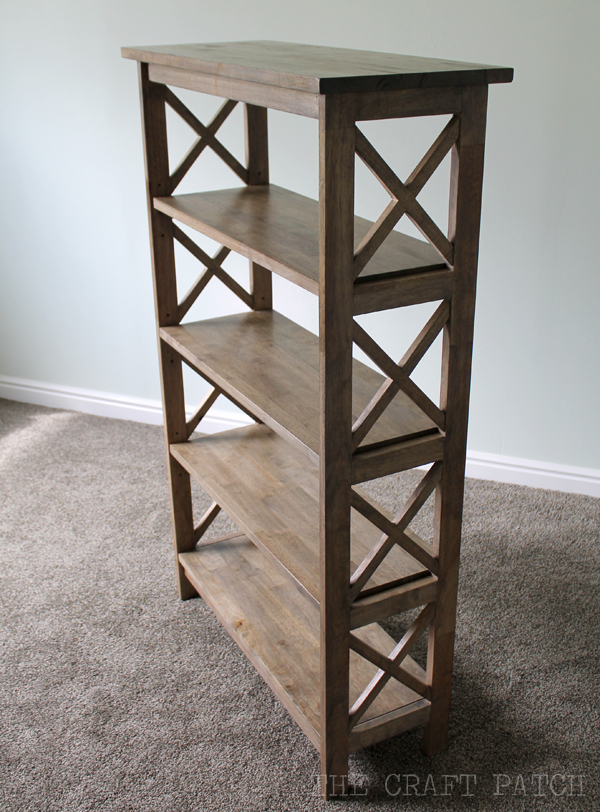
If you’ve been scared of staining, I hope you’ll give it a try. It really is easy.

Comments & Reviews
That is beautiful! I keep waffling between painting our dresser and attempting to strip and stain it. This has me hopeful that staining it may be feasible.. But I'd still have to get the monster outside to do it… Oi vey. Thanks for sharing this, that bookcase looks fab. 😀
I'm working on stripping a pair of painted twin beds right now and it is the biggest pain in the butt. If your dresser is currently painted, DON'T try stripping it! You'll regret it as you cry a thousand tears!
try having it soda blasted next time 🙂 its gentle on wood and quick, just nuetralize the baking soda afterwards though– im lazy i just hose stuff off well and wipe it down with a towel, leaving it outside to finish drying.
I've never heard of soda blasting before. Off to Google it. Thanks for the heads up!
Hi! I tried this last night with the classic gray stain! Left it on too long and now it looks like I painted it 🙁 I'm starting over, but wondering…. did your bookshelf get its dark-ness from the 3 coats of Poly? The one-coat of stain leaves the wood fairly light, but your finished product has a nice rich tone to it…and I LOVE it! Hoping the correct combo to achieve that is 1-thin coat of the gray stain and 3-coats of the poly? Thanks!!
The poly definitely brings out the color and makes it look more rich. Go light on the stain, then do the poly and I'll think you'll have more success. Good luck!
Super cool and a lot easier to do than I thought it would be!
I'm so glad you liked it!
Great article, Jennifer. I have a pine console that is already stained kind of a reddish tone -like redwood color. Planning on a light sand, clean and then start with the grey stain/ten poly. Any suggestions or comments for me? Thanks! V
My only suggestion would be with the sanding. If your console has any areas that are still shiny from a top coat, the stain won't take there, so sand sand sand! Start with a small amount of stain to see how it takes. It's easier to add more, but once it gets dark, you can't really take stain off. Good luck!
Do you think this work well on pine wood?
Yes, but make sure you use wood conditioner first. Pine tends to look really blotchy and the conditioner makes a huge difference in how the stain soaks in.
is sanding always required for staining?
Yes, always!