This adorable Shamrock Wreath is a great DIY St. Patrick’s Day decoration and it is made entirely out of scrapbook paper! Learn how easy it is to make with this step-by-step tutorial.
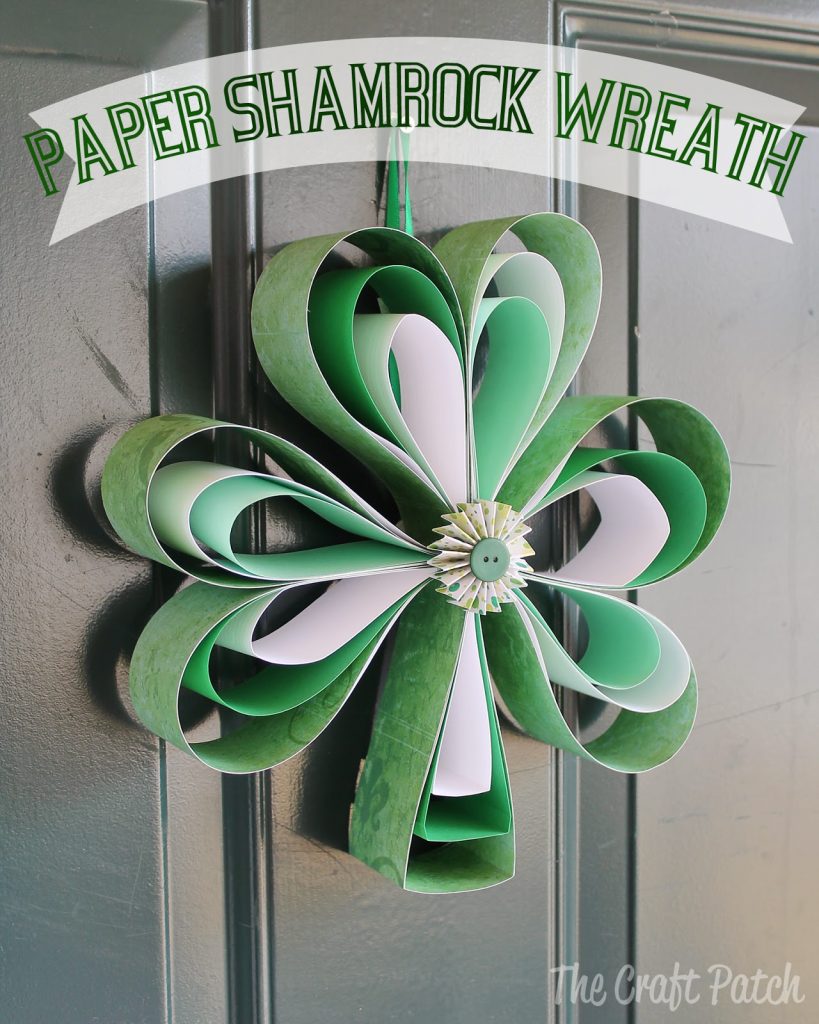
I took down the Valentine’s decorations yesterday and now the house seems bare. I am seriously lacking in St. Patrick’s Day decor, so I decided to make some using stuff I already had. Gotta justify my craft supply hoarding tendencies somehow, right?! Anyway, this 3D paper shamrock wreath is what I came up with.
The whole wreath is made entirely out of scraps of green paper. The only thing I love more than a cute project is one that uses up scraps. Hurray! Want to make one of your own?
Materials Needed
- Scrap Paper. Double-sided looks best. Or you can glue two pieces together to make double sided paper. You will need:
- 7- 12×2″ strips of paper
- 7- 10×2″ strips of paper
- 7- 8×2″ strips of paper
- Ribbon for Hanging
- Extra scraps of paper for center decoration and back pieces
- Hot Glue
Instructions
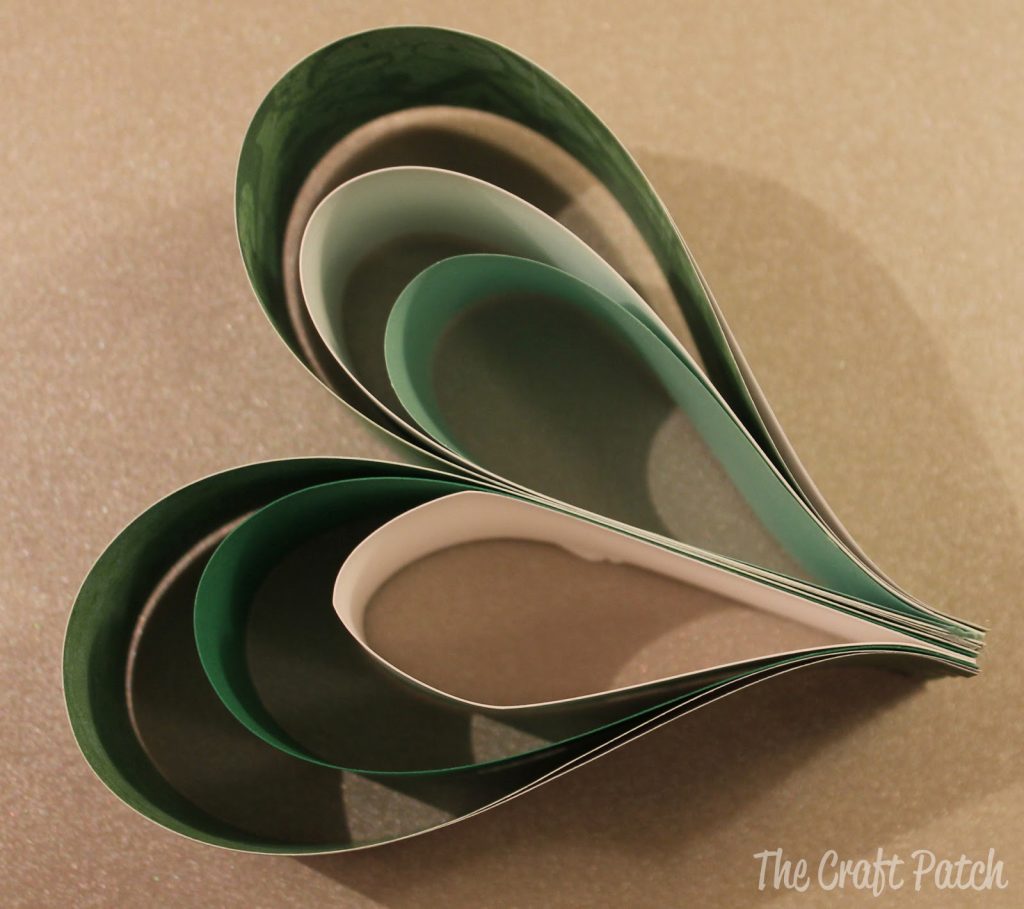
STEP 1: Stack one of each size of paper together and glue them together on one end.
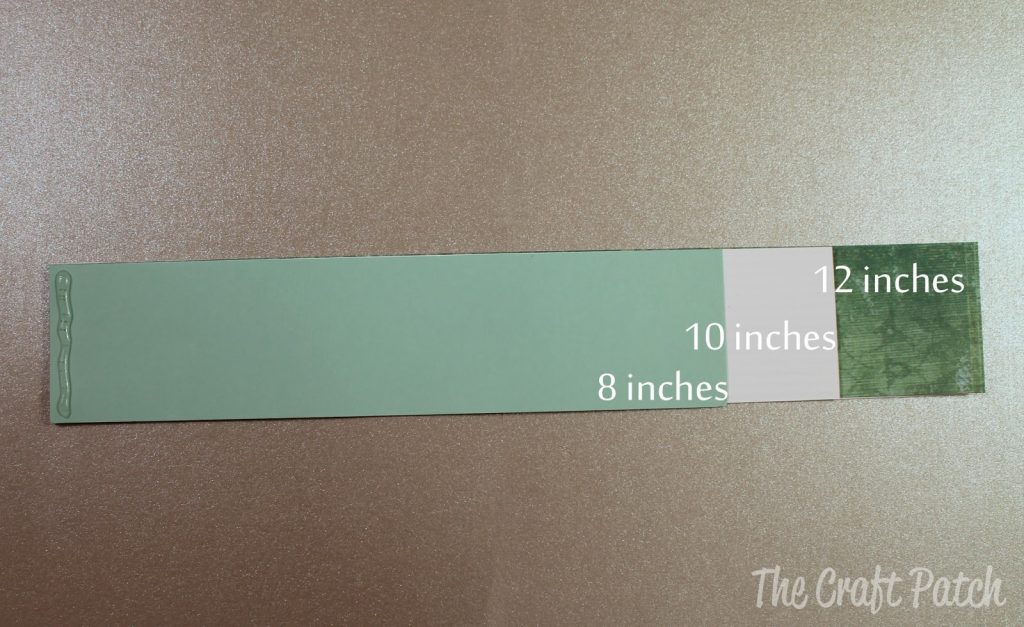
STEP 2: Loop the shortest piece over and glue the edge down.
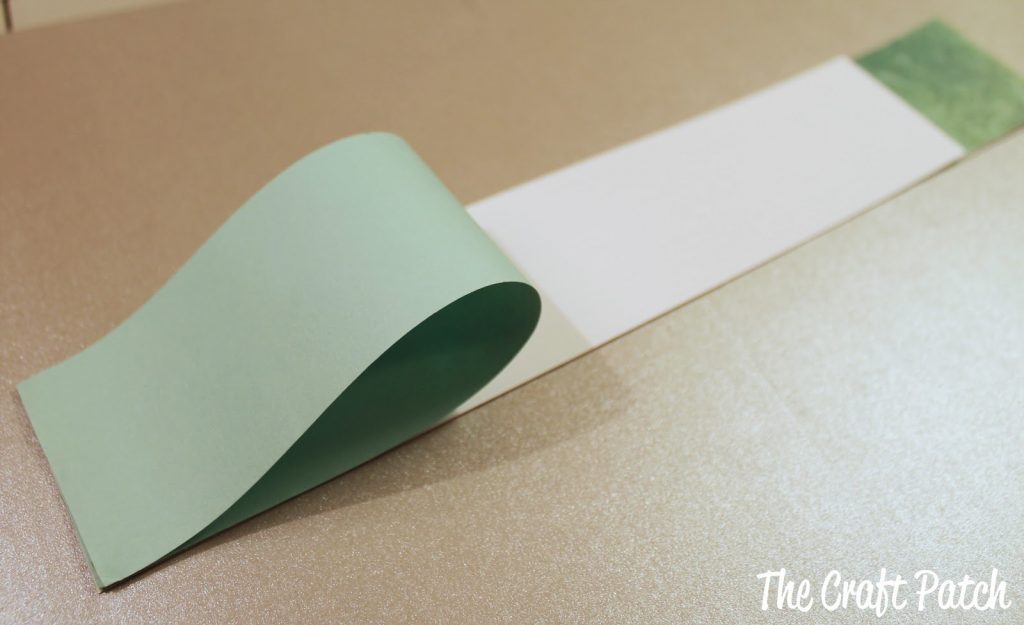
STEP 3: Repeat with the other two pieces until you have a teardrop shape.
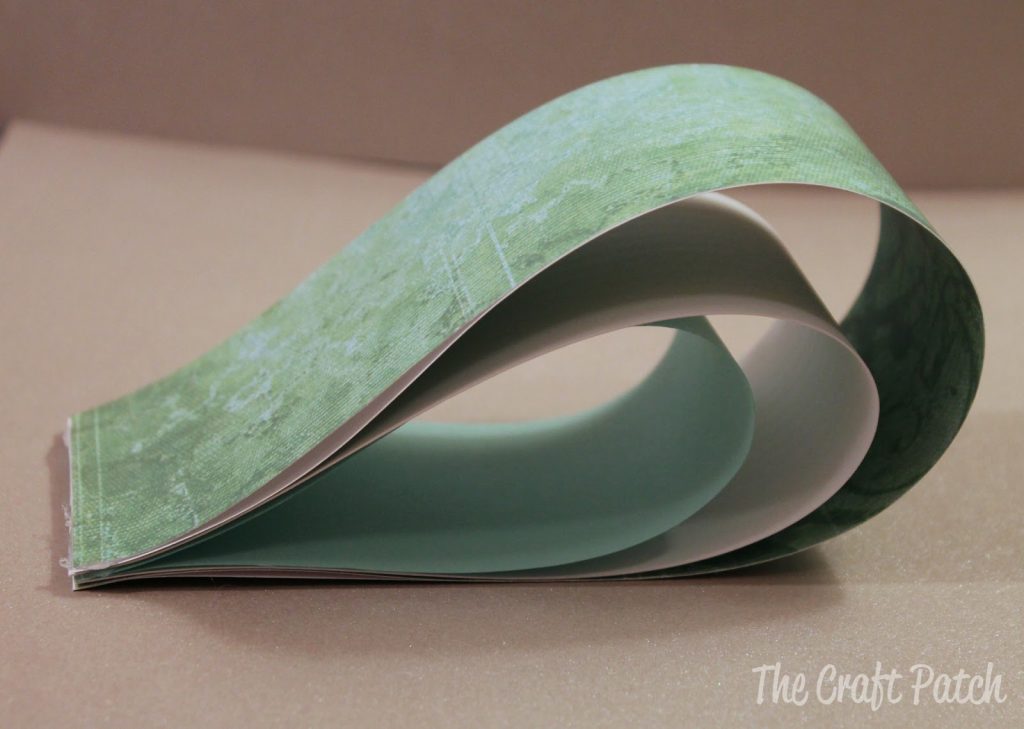
STEP 4: Repeat steps 2 and 3 until you have made six tear drops. Group in twos and glue the ends together to form a heart shape.
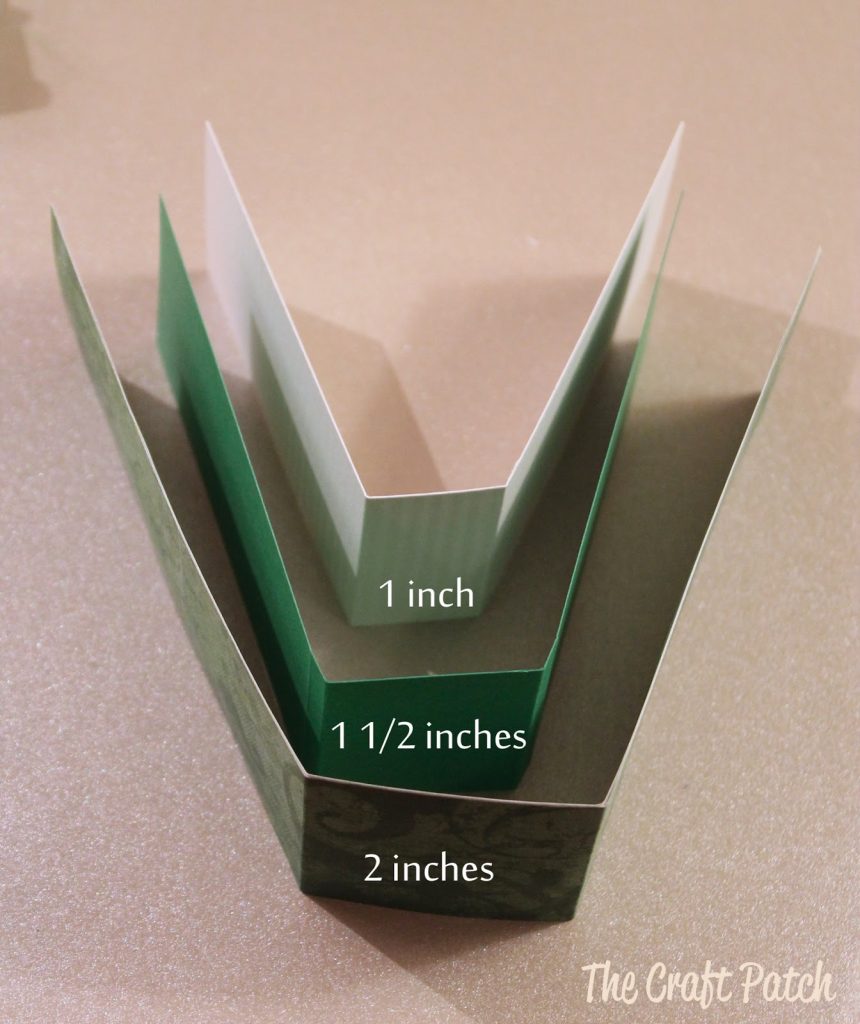
STEP 5: To make the stem, you will be making two fold marks on each of the three strips you have left.
For the 12″ strip, make a fold mark 5 inches from the left edge and 5 inches from the right edge, so that there are 2 inches between the two fold lines and the section between the folds is centered.
For the 10″ strip, make one fold mark 4.25″ from the left edge and 4.25″ from the right edge, so that there are 1 1/2 inches between the two fold lines and the section between the folds is centered.
For the 8″ strip, make one fold mark 3.5″ from the left edge and 3.5″ from the right edge, so that there is 1 inch between the fold lines and the section between them is centered.
Whew! Did that make any sense? I have my doubts… but maybe this picture will help you know what I mean:
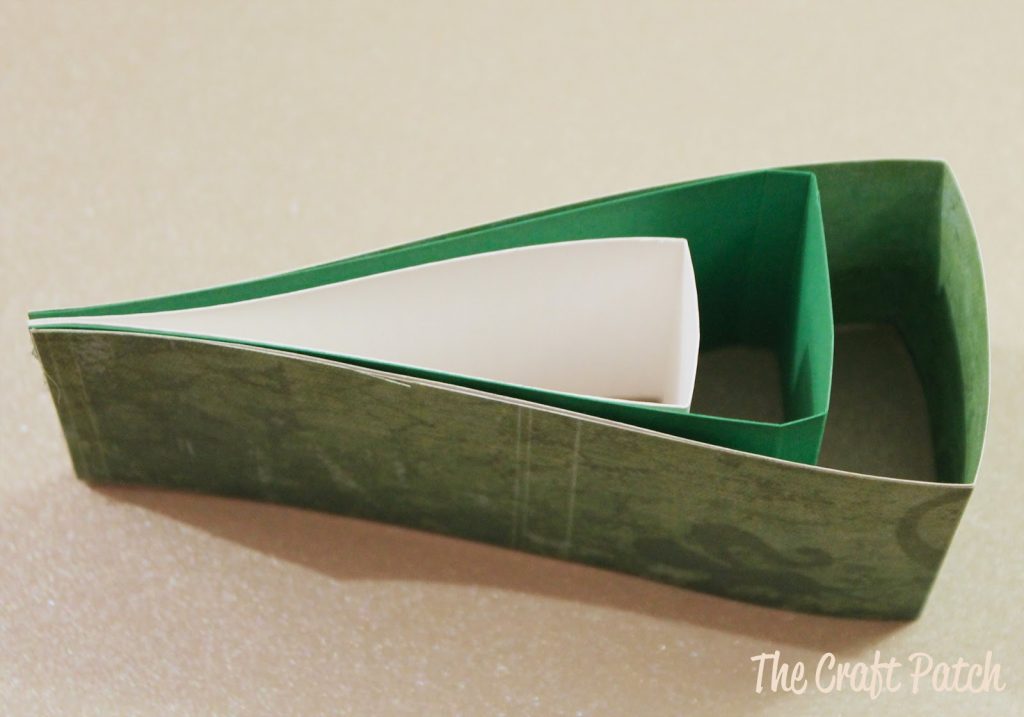
STEP 6: Line up the ends and glue them all together, like this:
STEP 7: Now assemble your shamrock. I cut out a small cardstock circle so I would have something to glue all those points to. Then I added a little accordion fold medallion in the front center. It’s cute and it hides the part where it’s glued together.
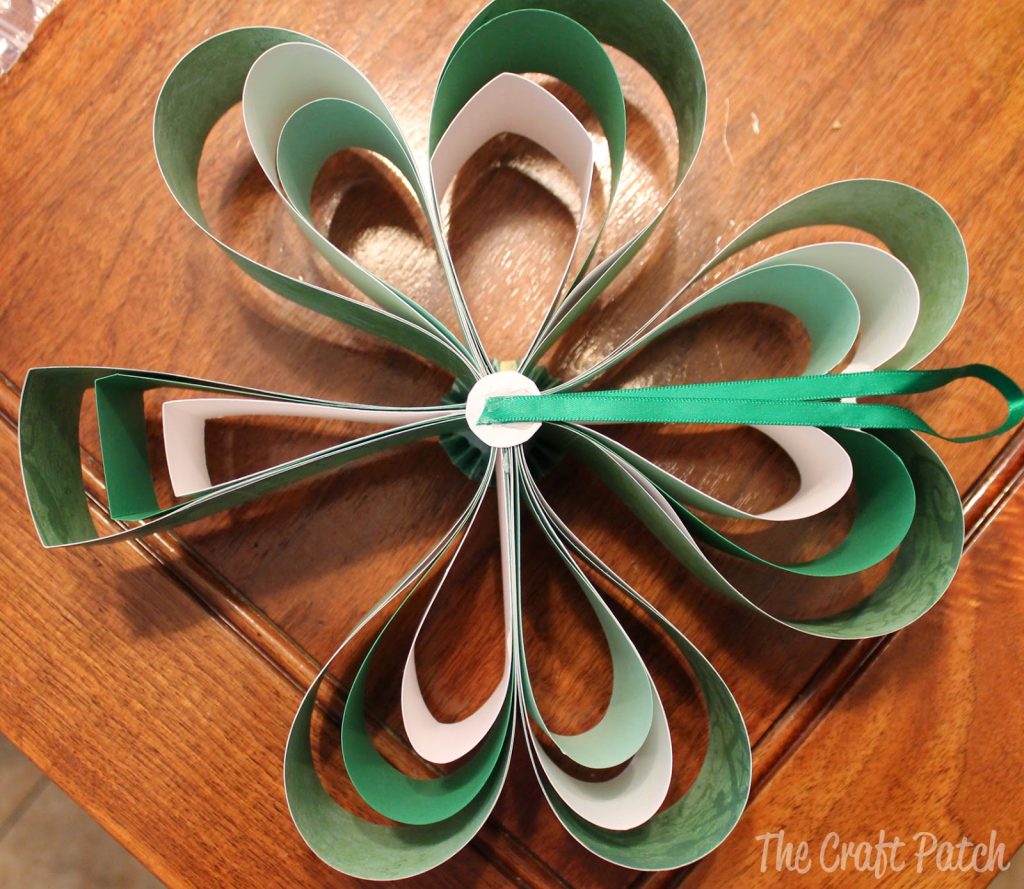
STEP 8: Glue on a ribbon loop to the back center circle so you can hang the wreath. The loop needs to be long enough to stick out above the top of the shamrock.
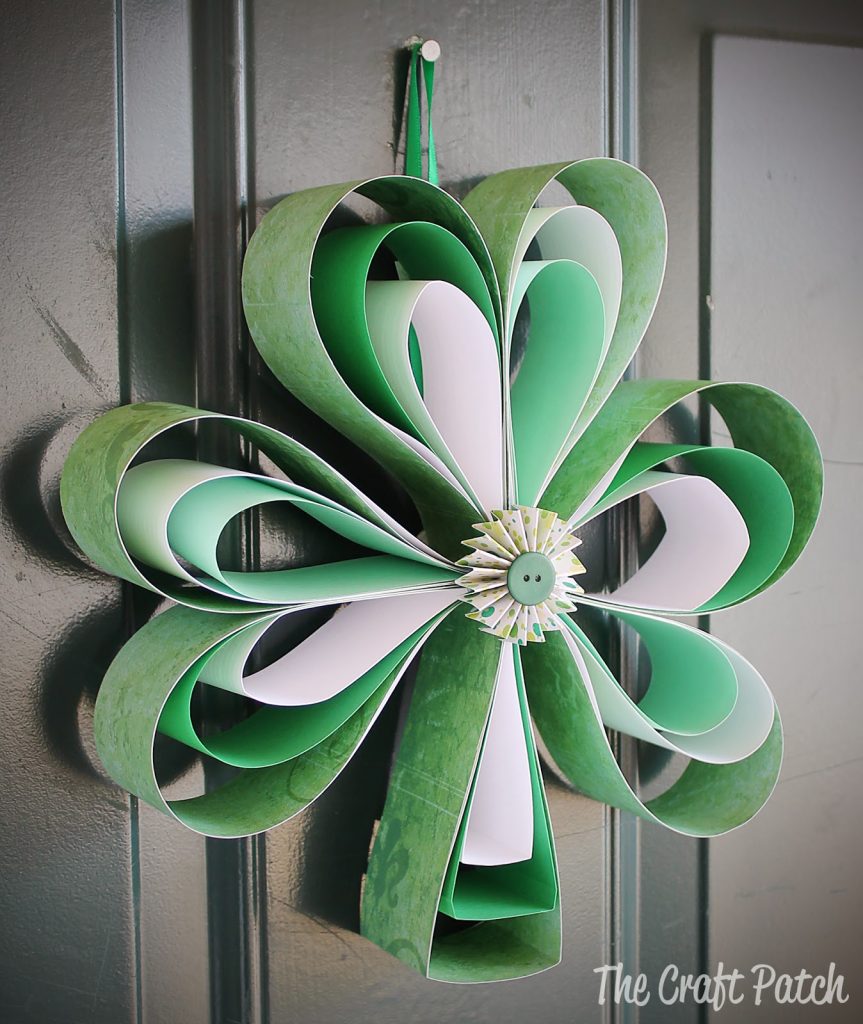
And there you have it, folks. The finished size is about 12 inches across. I’m pretty happy with how it turned out and it’s fun to feel festive without spending money… plus I was able to use up some of my paper stash!
Like this project? Pin it!

Comments & Reviews
Hey – found your post on Pinterest (of course). Did you just use Scrapbooking paper? Also – How did you do the accordion folded medallion? (How wide is the paper & then do you just fold it "accordion style" & hot glued in a circle? ) Love the addition of the button to finish it off. Great idea for a door decoration & looks very easy – can't wait to make one for my front door!
Hi Gwyn! I did use scrapbooking paper. I made the medallion following these instructions: http://thecraftpatch.blogspot.com/2013/08/accordion-fold-paper-flowers.html#.UwlrF_ldUvw. They are super easy and fun and you can make them any size you want. THanks for stopping by!
Hi Gwyn,
I love the elegance of this four leaf clover! I appreciate the tutorial on your site. I am posting this picture to our Facebook page with a link to your site. I hope that is OK with you.
How cutE! Making it tomorrow.
Perfect, Denise! And with plenty of time to spare.
Just what I was looking for!
Very nice shamrock wreath! I’ve been making these types of wreaths for years and every time I make another one I am still in awe of how beautiful they are. Who would have thought paper could look so beautiful!!! I usually hang them on my office door and before you knlow it I have everyone putting their order in for one!!!!
Very very nice. You did a great job. I love it!!!