Learn how to sew these easy Ugly Dolls– the stuffed animals that are supposed to be ugly. This is a great sewing project for beginners.
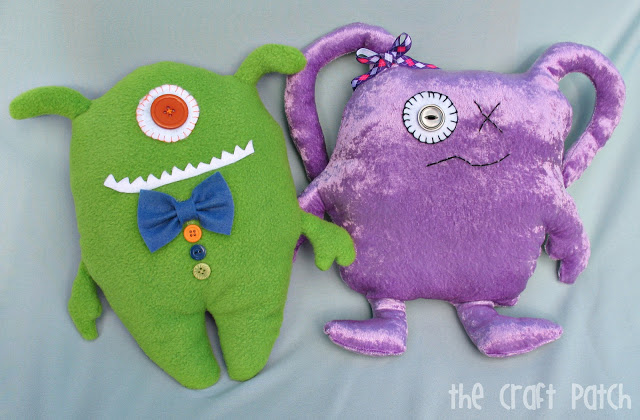
Have you seen these Ugly Dolls around? They sell them HERE. But who wants to buy one when you can make your own custom ugly doll for 1/4 the price? I was able to use fabric and stuffing that I had already, so this cost me next to nothing. Even if you purchased everything, each ugly doll would be less than $5 to make. And they came together very quickly. It took me maybe two hours to make both monsters. These would make a great last-minute gift for Christmas if you have any little ones left on your list.
Ugly Doll Tutorial
Step 1: Decide on the shape of your ugly doll and cut it out of newspaper. I suggest drawing it out, cutting one side, then folding it in half to ensure the other side is symmetrical.
Step 2: Use your pattern to cut two of the doll’s shape…one for the front and one for the back. I cut the green one out of fleece and the purple one out of a crushed velvet knit.
Step 3: With right sides together, sew around the edges, leaving a hole for turning.
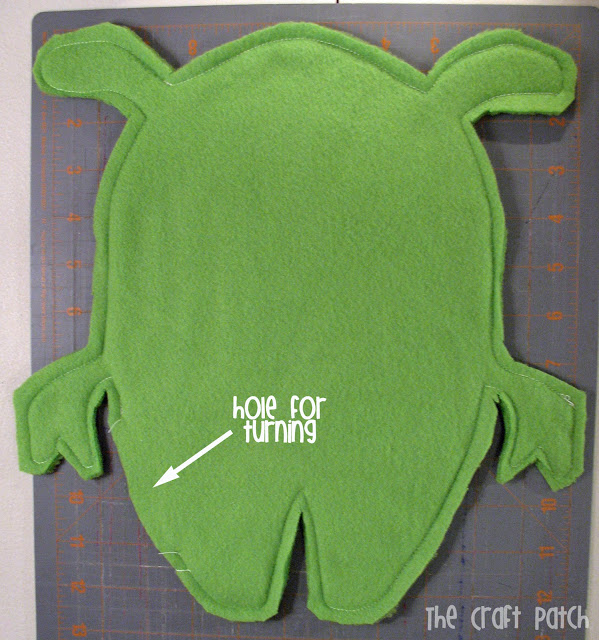
Step 4: Flip the doll right side out and make sure the ears and arms are turned smoothly. I made the connection between the arm and the body too small and couldn’t get it to turn, so I had to unpick the seam right there, turn it right side out, then sew it back up by hand. I would recommend making wider arms to avoid having to hand-sew.
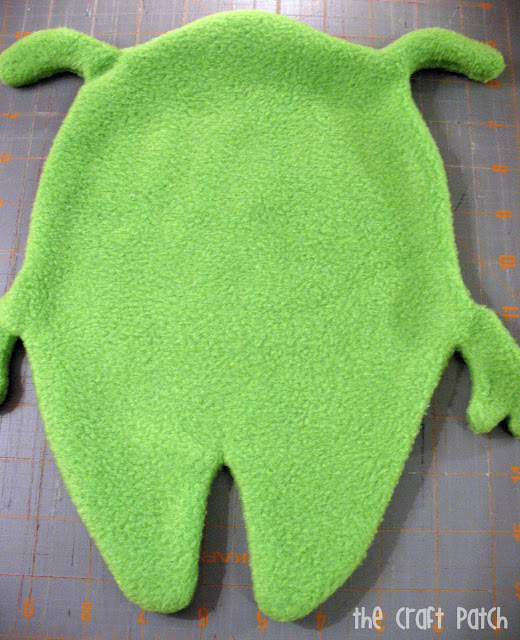
Step 5: Stuff the doll with polyester fiberfill. Make it nice and full because they will probably be squeezed and loved and dragged around and that tends to compact stuffing. You want a nice, smooth, fat Ugly.
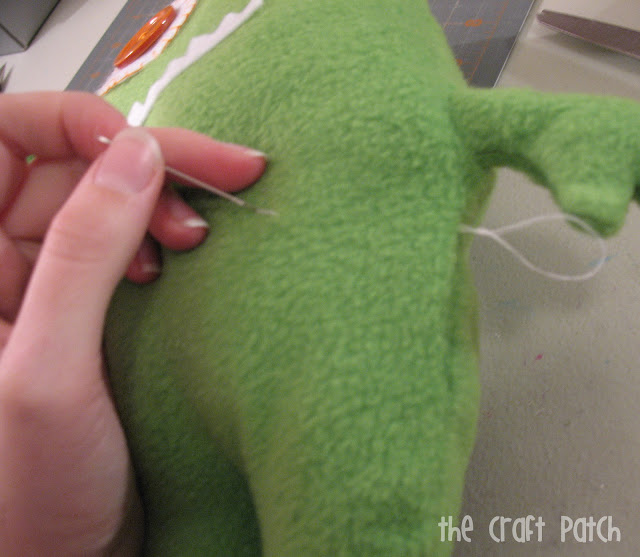
Step 6: Hand-sew the hole you used for turning. I did it like this:
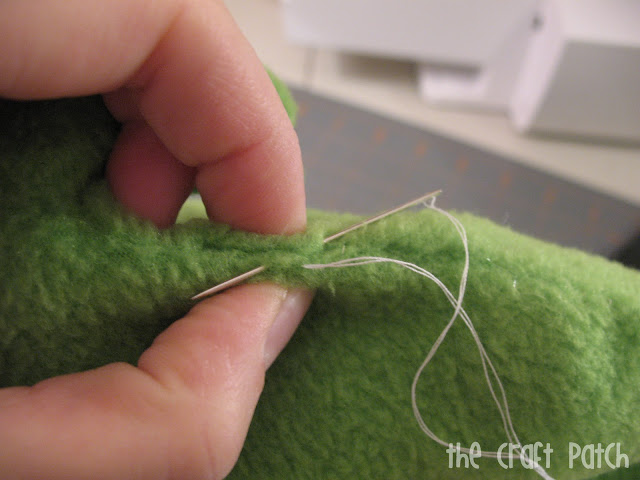
And here’s a handy trick my high school home-ec teacher showed me. When you get to the end of the area you need to sew closed, tie several knots to secure the stitches, then put your needle down into the fabric next to your knot, and poke it back out of the fabric several inches away. Pull the thread tight and snip it off next to where it comes out of the fabric, and like magic, the thread tail is inside your project! Thank you, Mrs. Grow! 🙂
Step 7: Decorate your doll! I hot glued all my pieces on, so I could wait until the end without a problem. If you want to sew your pieces to the body of your doll, I would do it at the beginning before you sew the front piece to the back piece.
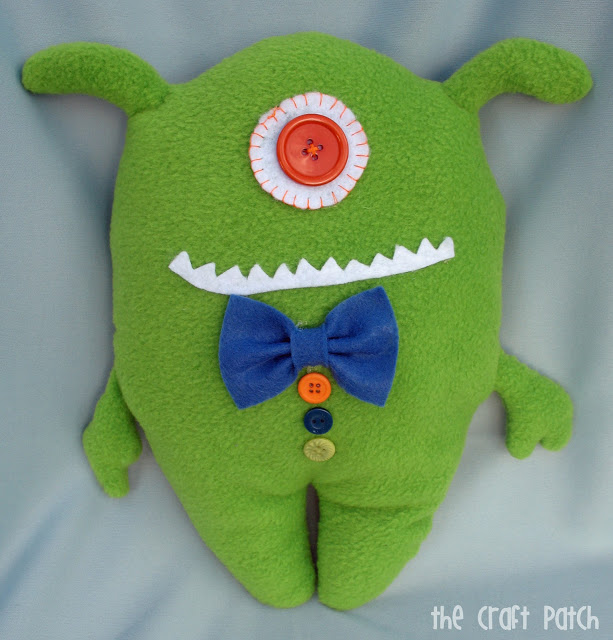
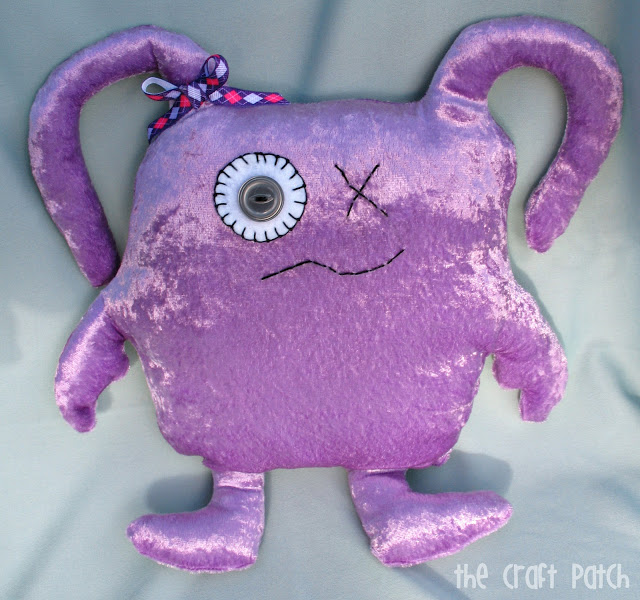
The best part of this project is that they are supposed to be ugly. Crooked smile? Uneven circle? It’s all good! It just adds to the charm.
Now all that’s left is to send them off to the little monsters in your life so they can be snuggled and loved!

Comments & Reviews
These are so cute! I'm having my little man's first bday in February and he's having a monster themed party. These would make great favors! Thanks for sharing!
I LOVE ugly dolls, but you are right about the price. I have never even THOUGHT of making them myself. I have a monster theme in my kid's bathroom, and I had planned on using some Uglies to decorate, but this will be so much more fun than the store bought ones!
i asked my mom to make them while i was reading this article…..hope we can and she says yes………..
i think she will Goodluck👍❤️
what the name of the green doll fabric? thanks 🙂
The green doll is made from fleece.
Fleece
You do not by chance have a video demo of making these do you? Planning on using this in my classroom, and I would love to have some videos done for my current virtual students that I have
I’m sorry, I don’t have a video.
thank u 👍 my ugly toy is going to look grate
Where do I get the pattern for ugly dolls
There’s no pattern, sorry!