I made this advent calendar for our family clear back in 2008. When I posted about it, I only had really terrible pictures to share. Today I decided to do this calendar justice with better pictures and more detail.
So here she is:
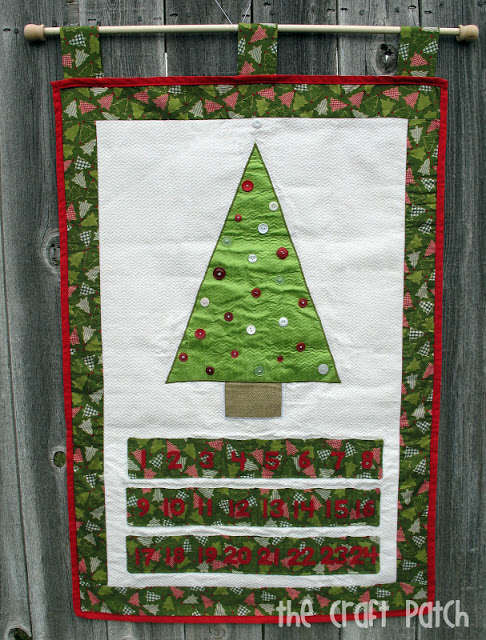
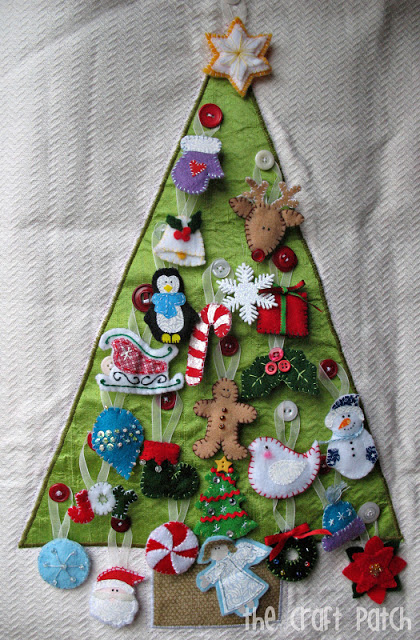
Each day in December, you reach into a numbered pocket and remove a felt ornament to hang on the tree. The ornaments each have ribbon loops that hang over the buttons on the tree.
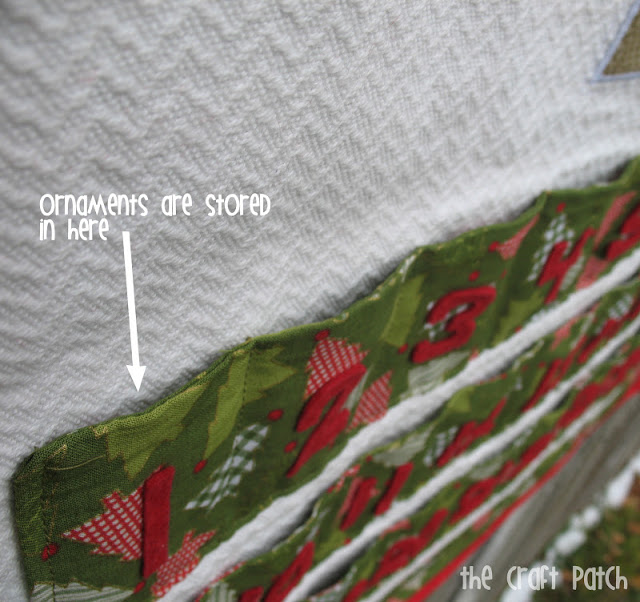
Here’s a close-up of the pockets:
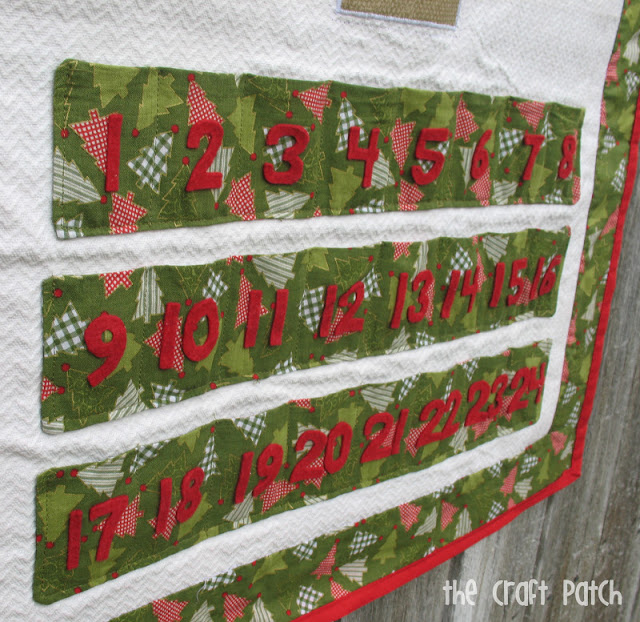
I cut all the numbers from felt by hand. The easiest way to do this is to start by cutting a bunch of rectangles the size you want, then making the rectangles into the right number shape. This helps you judge the size as you cut and they turn out a lot more uniform.
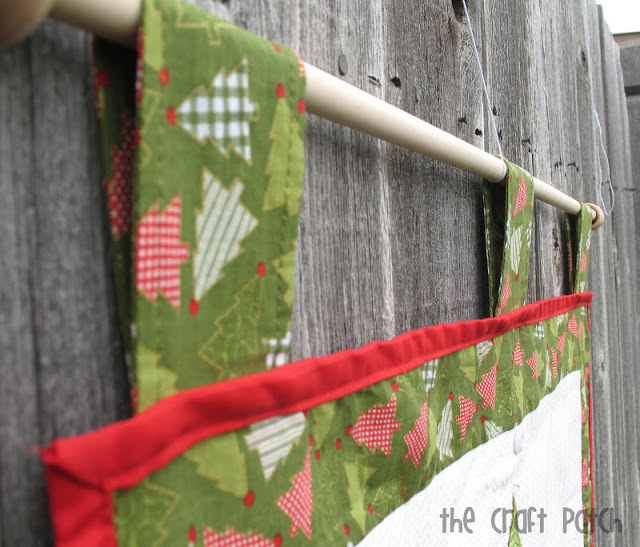
The calendar has three tabs on top that loop over a dowel with decorative knobs on each end. When I want to hang it on the wall, I rest the dowels on nails or use push pins and hide them inside the tabs.
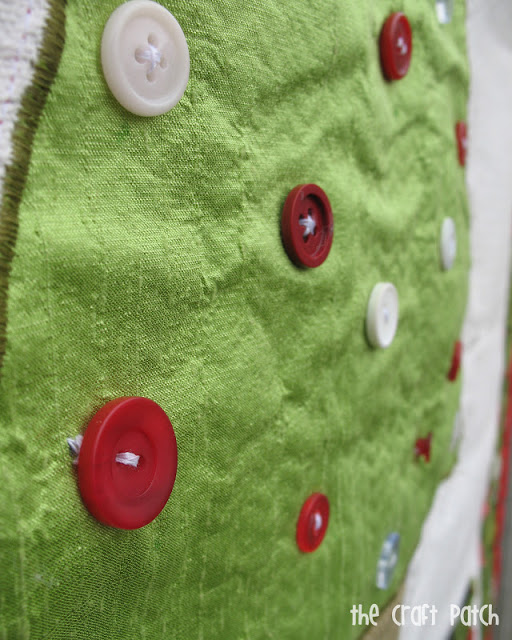
Sew the buttons on before you do the backing, so the stitches don’t show through. Make sure to use strong buttons that are large enough to keep hold of the ribbon ornaments.
The pockets are strips of fabric that I sewed right sides together, flipped right side out, then sewed to the white backing fabric. Then I just sewed lines over the top to make the individual pockets.
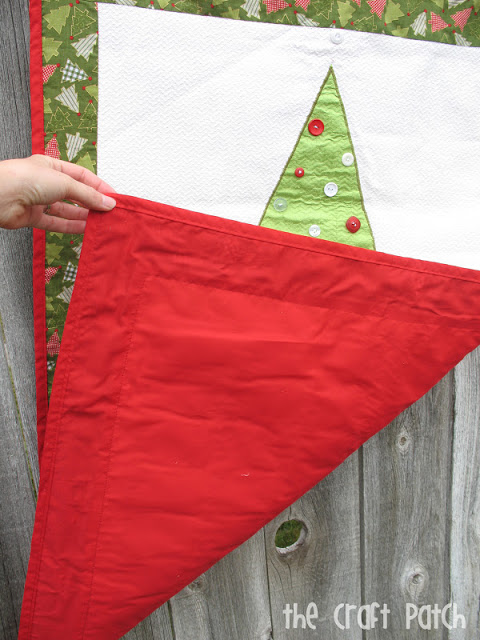
I machine quilted the front to the back and bound the ends the same as you would do on a quilt. I regret using the white fabric–it was a little bit stretchy and was a nightmare to work with. But I had it in my stash and it’s hard to resist using what you already have. I used fusible interfacing to stick the tree to the white background, then satin stitched around the edges. You can see how over time it’s gotten a little puckery…I blame it all on that dang white fabric. Of course, the whole thing needs to be ironed. Hmm… should have done that before I took the pictures. Ha!
And now for my favorite part…the ornaments!
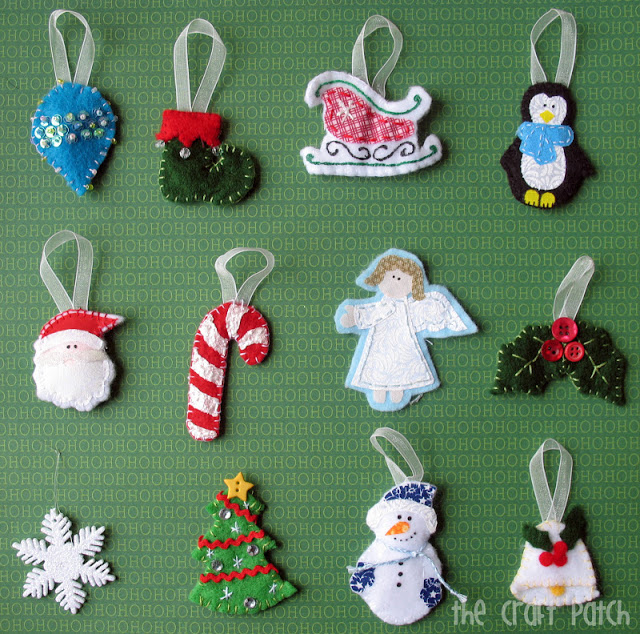
They are all made of felt and hand-stitched, except for the snowflake. It’s plastic. I bought a bag of them for a project and couldn’t resist using it for this too. I was pretty tired of hand-stitching and cutting out tiny felt pieces by the time I was done, so I went with it.
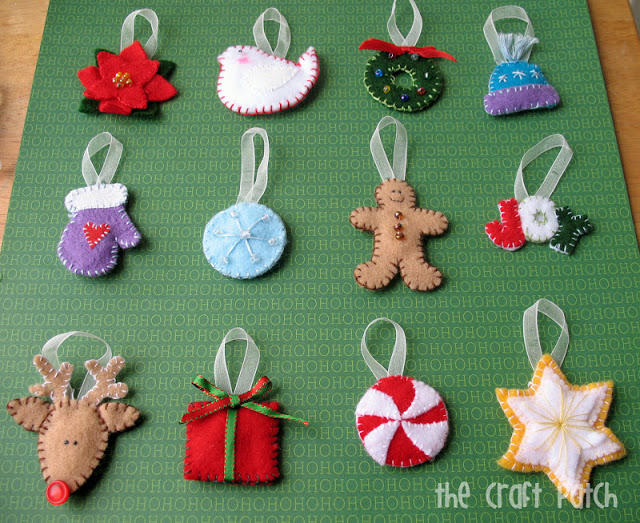
The last ornament to be hung on the tree is the star. If you look at the background, you can see one button higher above the top of the tree. That’s so the star will hang right on the top.
Some close-ups:
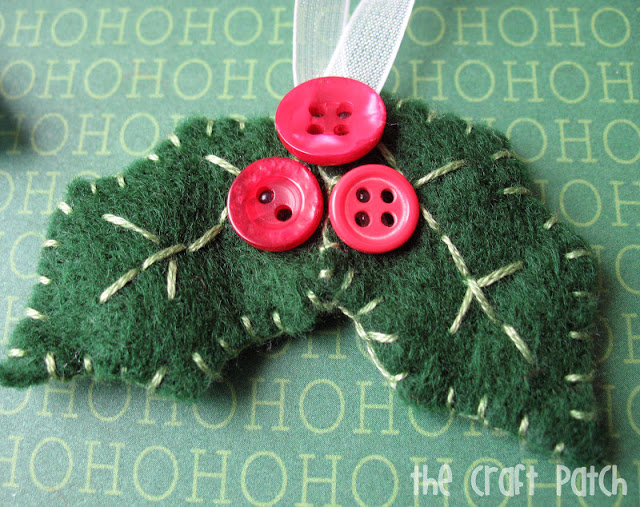
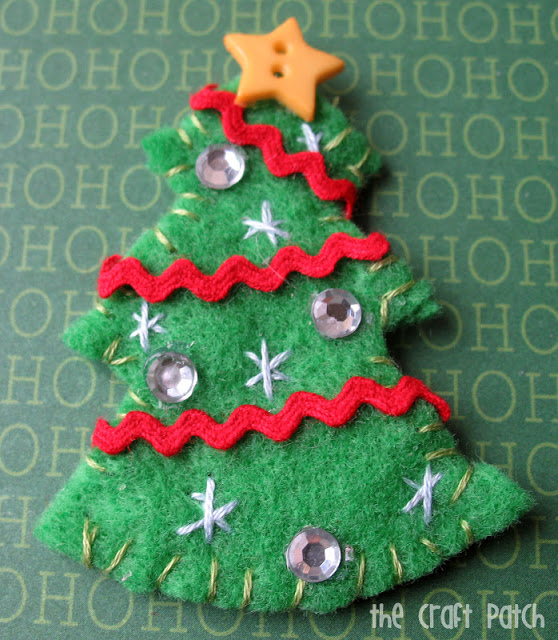
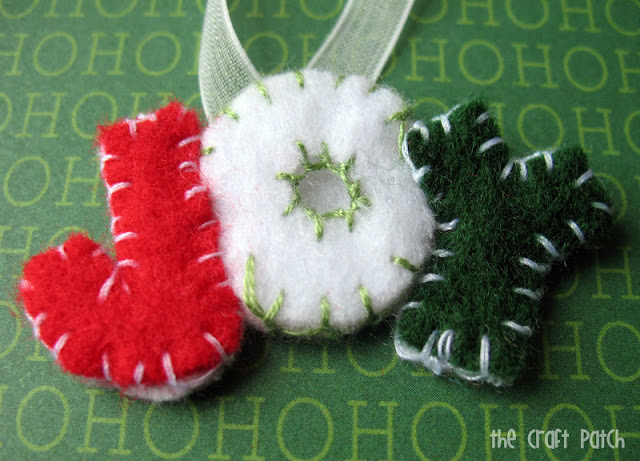
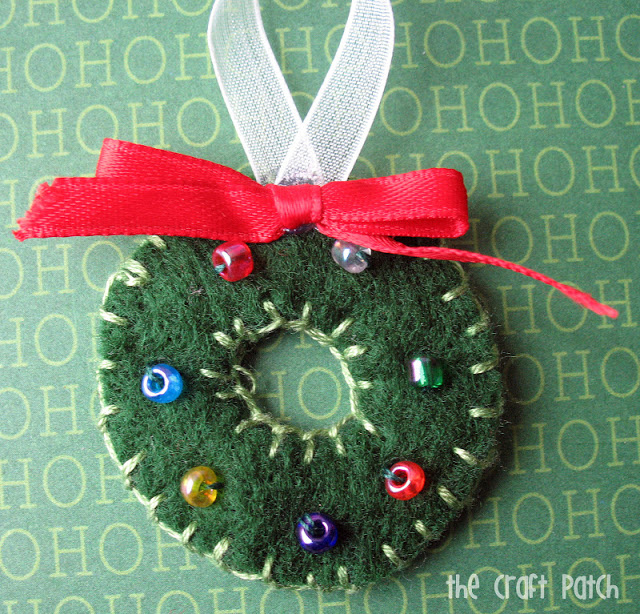
I love that the ornaments are very homemade looking. I think they are whimsical and charming and not too perfect.
And here’s what the tree looks like after we add the last ornament on Christmas Eve:

Comments & Reviews
So fun! I made a similar one for my sister several years ago.
This is adorable and gorgeous! I'd love to make one like it for my family!!! Definitely the kind of thing childhood memories are made of 🙂
This is ADORABLE! I've wanted to make one of these for a few years now……this is probably NOT the year to do it (baby due in 2 weeks and moving iternationally)……but I REALLY want to do one 🙂 LOVE it!!!!
This is really cute! We had a similar one growing up. Makes me wonder what happened to it. I am making one right now that just has pockets for treats, but I might need to make one of these too. 🙂
PS A certain gal in CA with the initials RF sent me over.
Welcome Amy! I'm glad R.F. sent you over. 🙂
I made the calendar this way because my husband had one like this growing up. Fun to know others had something similar.
It's beautiful!! I love your attention to detail and completely agree with you about loving the imperfections because THAT's how you know it was made by hand with love and prayers instead of by a machine. I make and sell DIY KITs for Jesse Trees that are very similar to your advent calendar – except they are also biblical – in case any of your followers want to sew one kind of similar to yours. http://www.etsy.com/shop/NavyMango?section_id=11775968 Merry Christmas!! 🙂 ~Lisa
I love your tree. I have a tree very similar to this my grandmother made. We used to have a box with little 3 D oranemnts of all types. The ornaments have long been lost and I have been thinking of replacing them with felt ornaments. I found your blog in my search. Love the idea. Do you have patterns for the ornaments you would share? Merry Christmas!
Vicki,
I don't have patterns, but the easiest way to make them is to find clip art online of what you want, print it out, and use it as a pattern for making the different shapes. It takes some getting used to and some precise scissor skills, but you can make any felt shapes you want that way. Hope that helps!
Can you tell me how big the whole thing is and approx how big the ornaments are? I am wanting to make one, but don't know where to start!
@kharris
It measures 26" x 38" not including the tabs. The ornaments are around 1-2 inches. Hope that helps! It is a little bit overwhelming to get started.